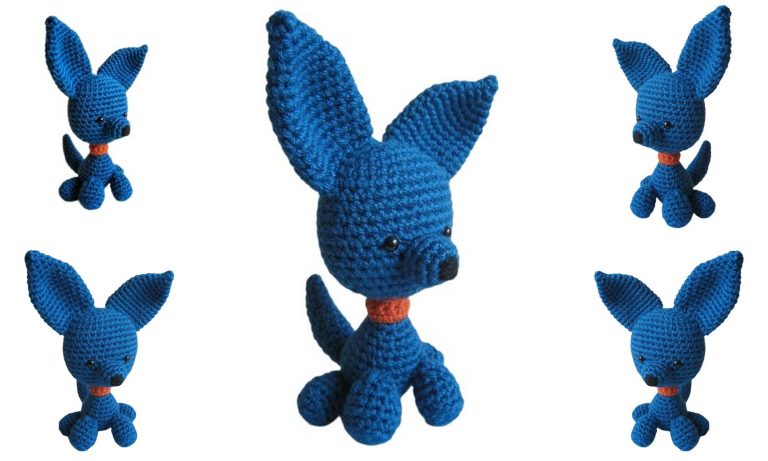
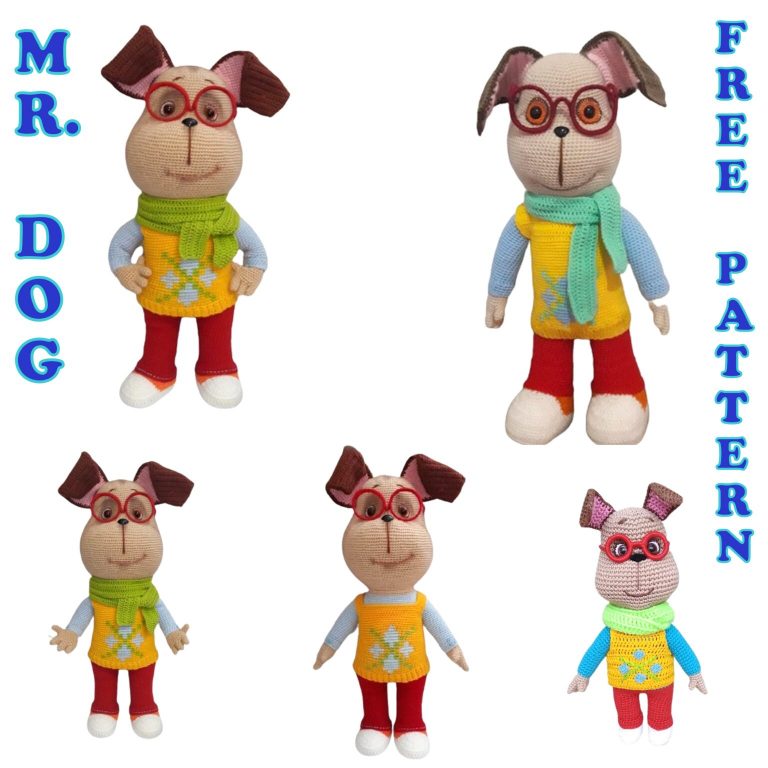
Chihuahua Dog Amigurumi Free Pattern: Create Your Own Crocheted Canine Companion!
Are you a crochet enthusiast and a dog lover? Then you’re in for a treat! We’re excited to share our Chihuahua Dog Amigurumi Free Pattern, a fun and heartwarming project for crafters of all levels. Whether you’re a seasoned crocheter or just starting out, this pattern offers a wonderful opportunity to bring your very own crocheted canine companion to life. With detailed instructions and step-by-step guidance, you’ll find joy in each stitch as you create an adorable Chihuahua amigurumi dog that captures the charm of this beloved breed.
TOOLS AND MATERIALS:
Yarn: Yarn Art Jeans (50% cotton, 50% acrylic) in cream and yellow colors.
Filling material (polyfill).
Marker for marking the beginning of a new row (a safety pin can be used).
Large needle for sewing pieces together.
Scissors.
Piece of cotton fabric for the skirt.
Elastic band.
Two black plastic beads for the eyes.
Some black embroidery floss (for embroidering the nose).
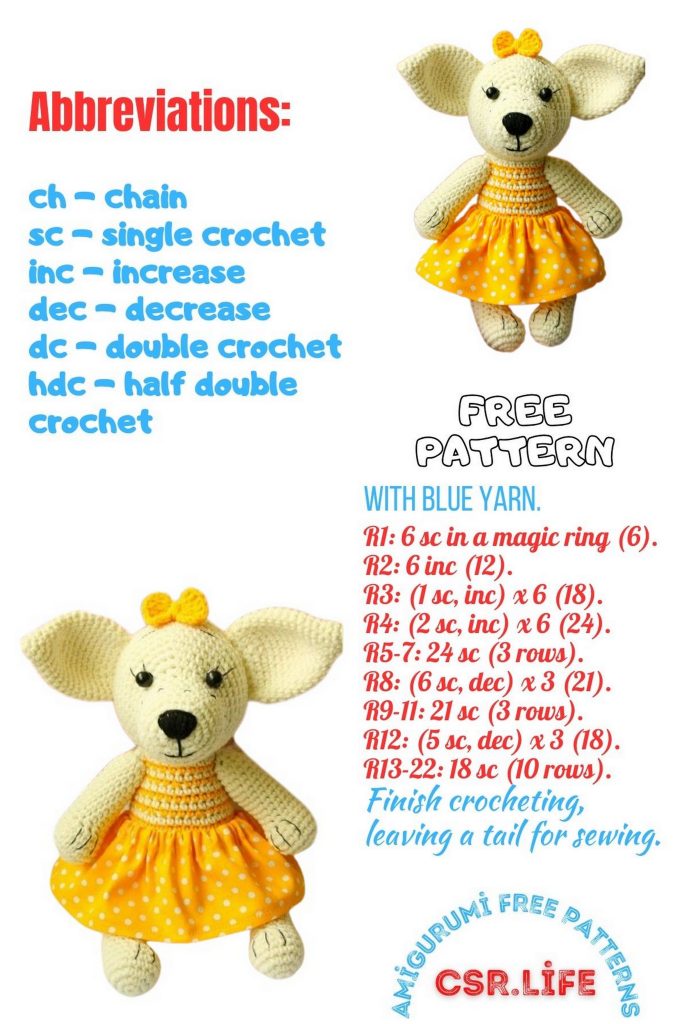
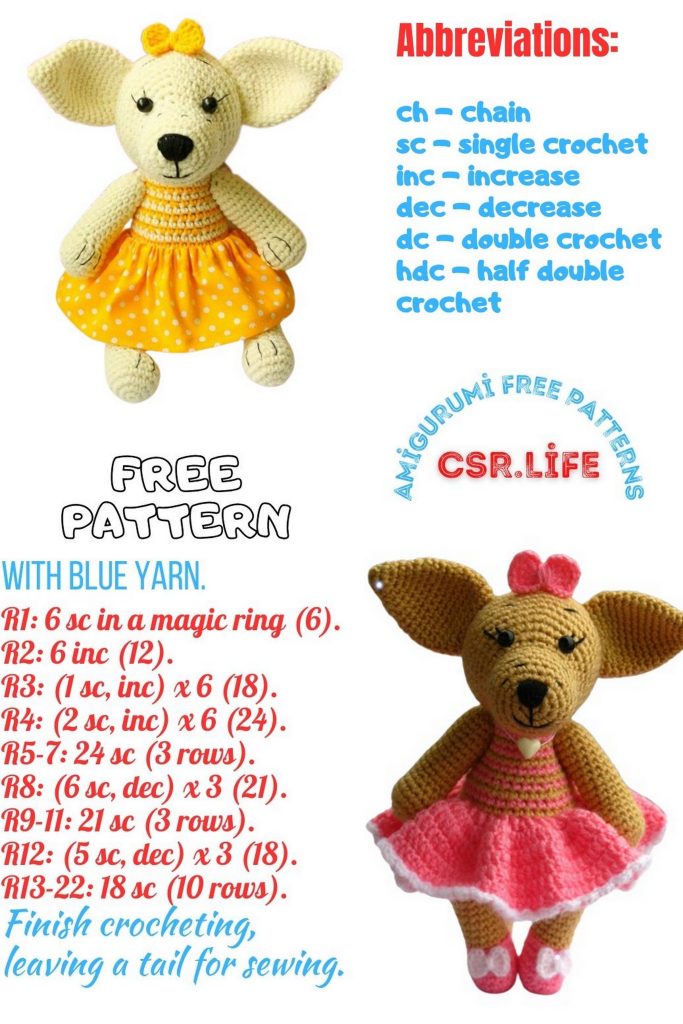
ABBREVIATIONS:
CH – chain.
SC – single crochet.
INC – increase (two single crochets in one stitch).
DEC – decrease (two single crochets together).
PATTERN
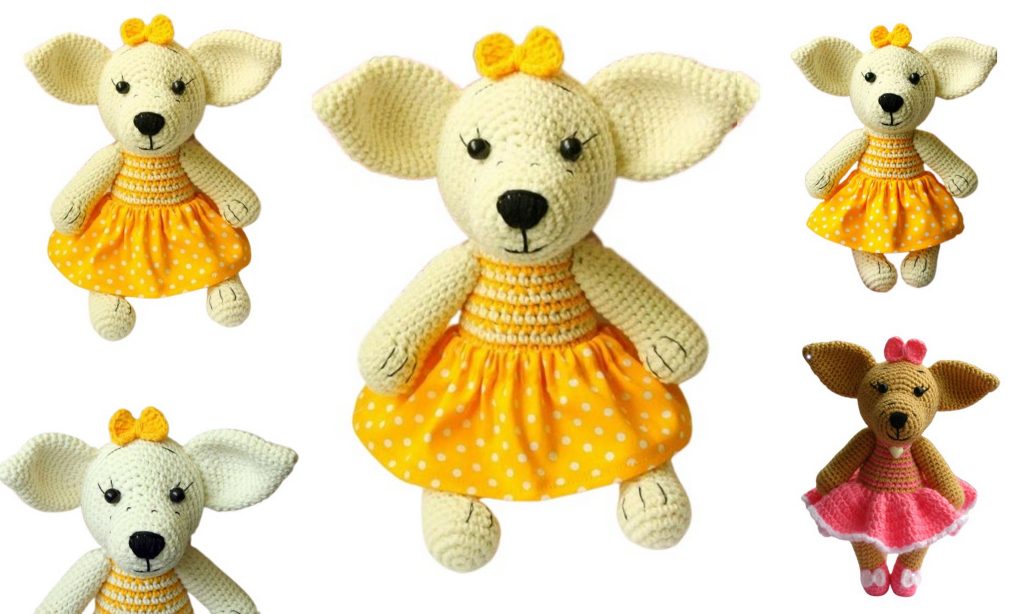
HEAD:
The head is crocheted with cream yarn and stuffed as you go.
Row 1: 6 SC into the amigurumi ring.
Row 2: INC in each stitch around (12).
Row 3: (1 SC, INC) repeat around (18).
Row 4: (2 SC, INC) repeat around (24).
Rows 5-9: 24 SC (24).
Row 10: 8 SC, (1 SC, INC) x 4, 8 SC (28).
Row 11: 13 SC, 2 INC, 13 SC (30).
Row 12: (4 SC, INC) repeat around (36).
Row 13: (5 SC, INC) repeat around (42).
Row 14: 42 SC (42).
Row 15: (6 SC, INC) repeat around (48).
Rows 16-20: 48 SC (48).
Row 21: (6 SC, DEC) repeat around (42).
Row 22: (5 SC, DEC) repeat around (36).
Row 23: (4 SC, DEC) repeat around (30).
Row 24: (3 SC, DEC) repeat around (24).
Row 25: (2 SC, DEC) repeat around (18).
Row 26: (1 SC, DEC) repeat around (12).
Row 27: Continue decreasing until the hole is closed.
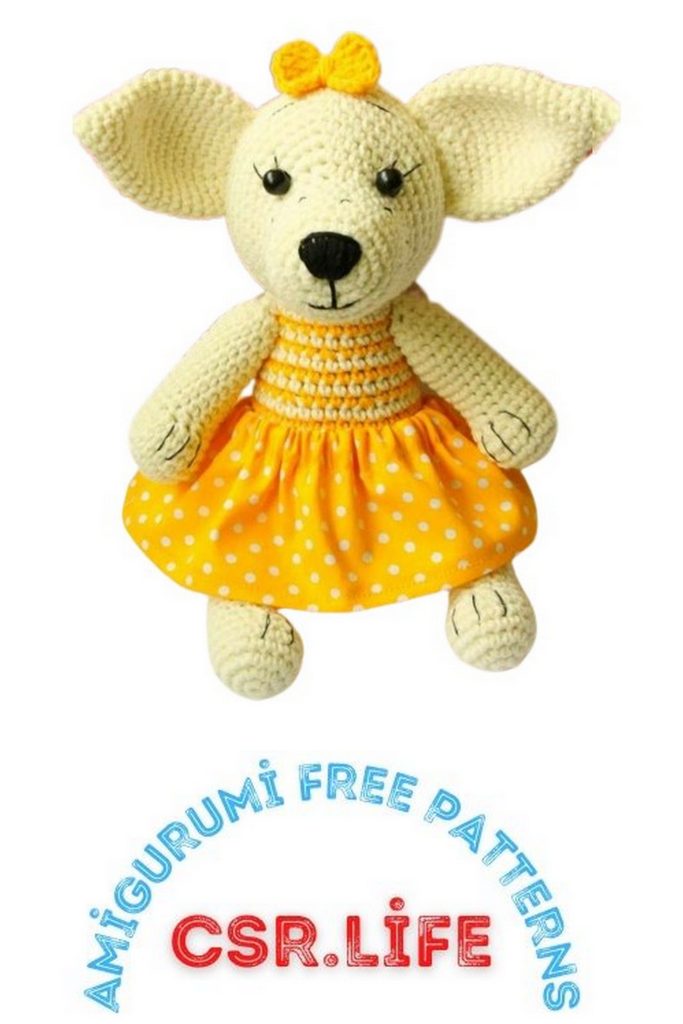
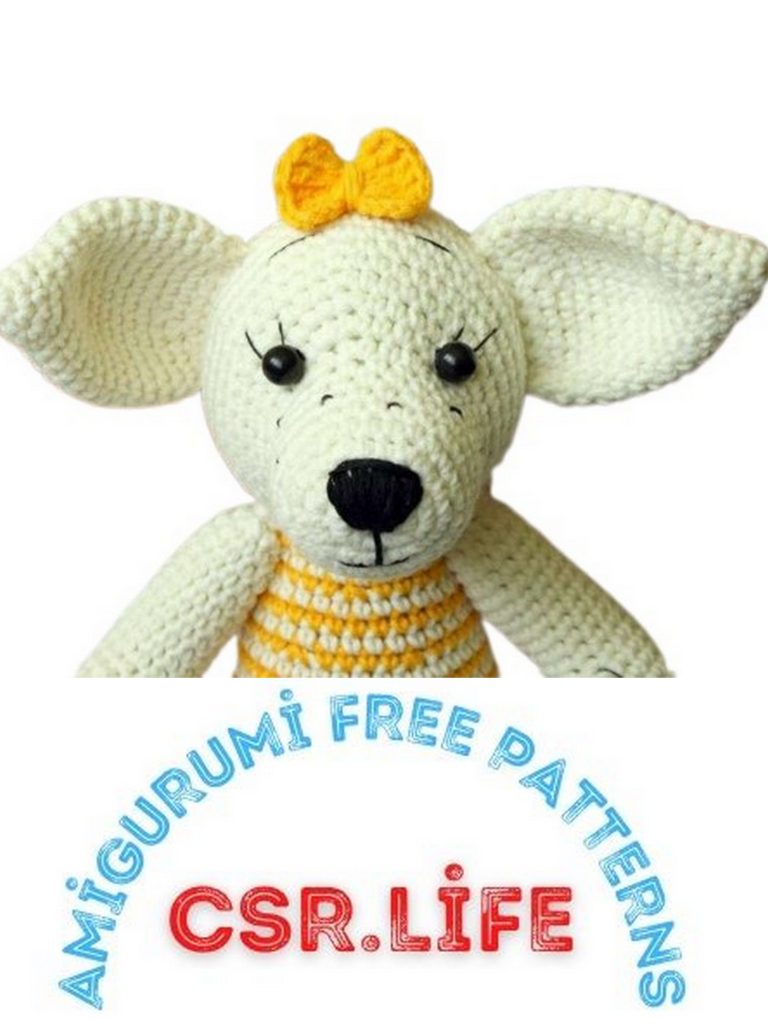
EARS (x2):
Row 1: 6 SC into the amigurumi ring.
Row 2: (1 SC, INC) repeat around (9).
Row 3: 9 SC (9).
Row 4: (2 SC, INC) repeat around (12).
Row 5: (3 SC, INC) repeat around (15).
Row 6: (4 SC, INC) repeat around (18).
Row 7: (5 SC, INC) repeat around (21).
Row 8: 21 SC (21).
Row 9: (6 SC, INC) repeat around (24).
Rows 10-14: 24 SC (24).
Row 15: (6 SC, DEC) repeat around (21).
Row 16: (5 SC, DEC) repeat around (18).
Fold the edges together and crochet 8 SC to close. Ears do not need to be stuffed.
BODY:
Start with cream yarn and stuff as you go.
Row 1: 6 SC into the amigurumi ring.
Row 2: INC in each stitch around (12).
Row 3: (1 SC, INC) repeat around (18).
Row 4: (2 SC, INC) repeat around (24).
Row 5: (3 SC, INC) repeat around (30).
Row 6: (4 SC, INC) repeat around (36).
Row 7: (5 SC, INC) repeat around (42).
Rows 8-12: 42 SC.
Change yarn color to yellow.
Row 13: 42 SC.
Change yarn color to cream and alternate colors every row.
Rows 14-22: 42 SC.
Row 23: (5 SC, DEC) repeat around (36).
Rows 24-26: 36 SC.
Cut the yarn, leaving a long end for sewing.
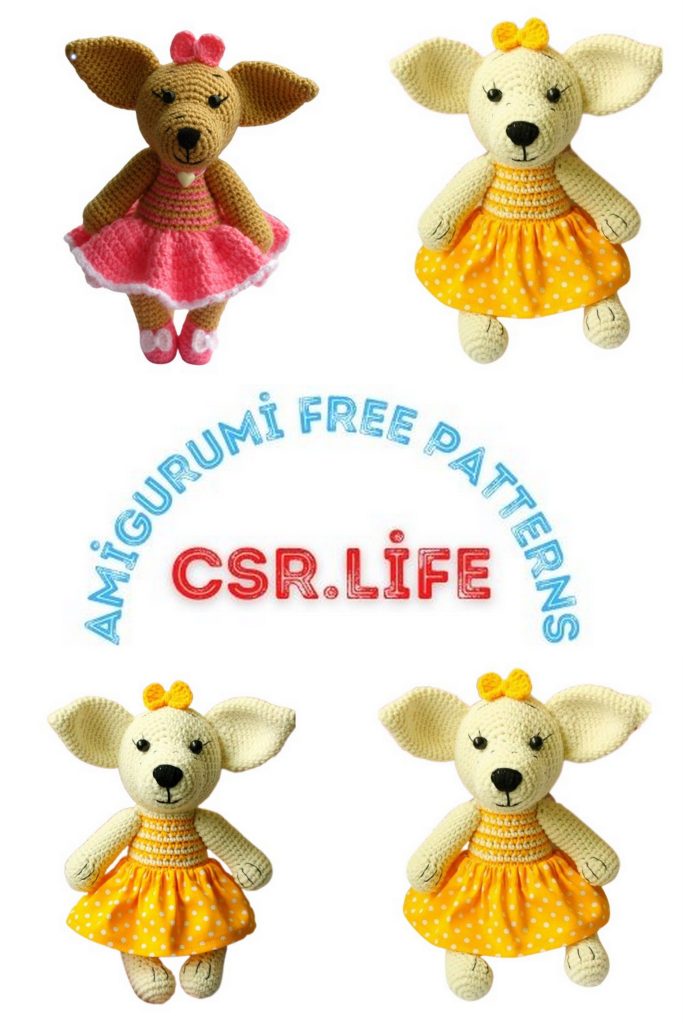
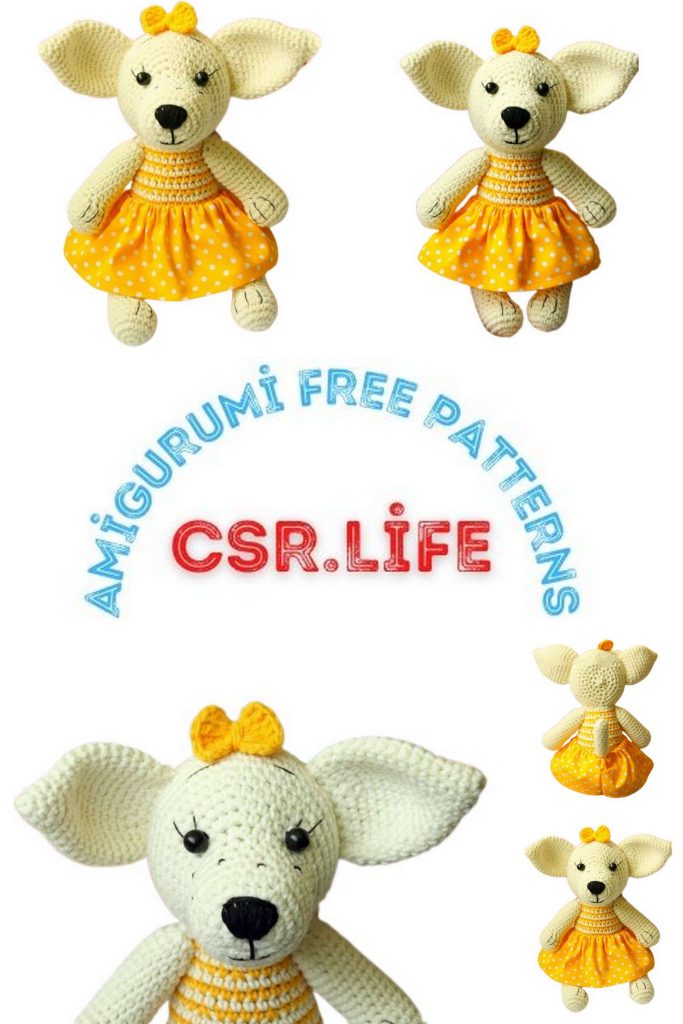
FRONT LEGS (x2):
Row 1: 6 SC into the amigurumi ring.
Row 2: INC in each stitch around (12).
Row 3: (1 SC, INC) repeat around (18).
Rows 4-6: 18 SC.
Row 7: (6 SC, 3 DEC, 6 SC) (15).
Row 8: (7 SC, DEC, 6 SC) (14).
Rows 9-18: 14 SC.
Row 19: (1 SC, DEC) x 4, 2 SC.
Row 20: Continue decreasing until the hole is closed.
Cut the yarn, leaving a long end for sewing.
Repeat for the second front leg.
BACK LEGS (x2):
Repeat the same pattern as the front legs, creating two back legs.
TAIL:
Row 1: 6 SC into the amigurumi ring.
Row 2: (1 SC, INC) repeat around (9).
Rows 3-18: 9 SC.
Cut the yarn, leaving a long end for sewing.
Assembly and Decoration:
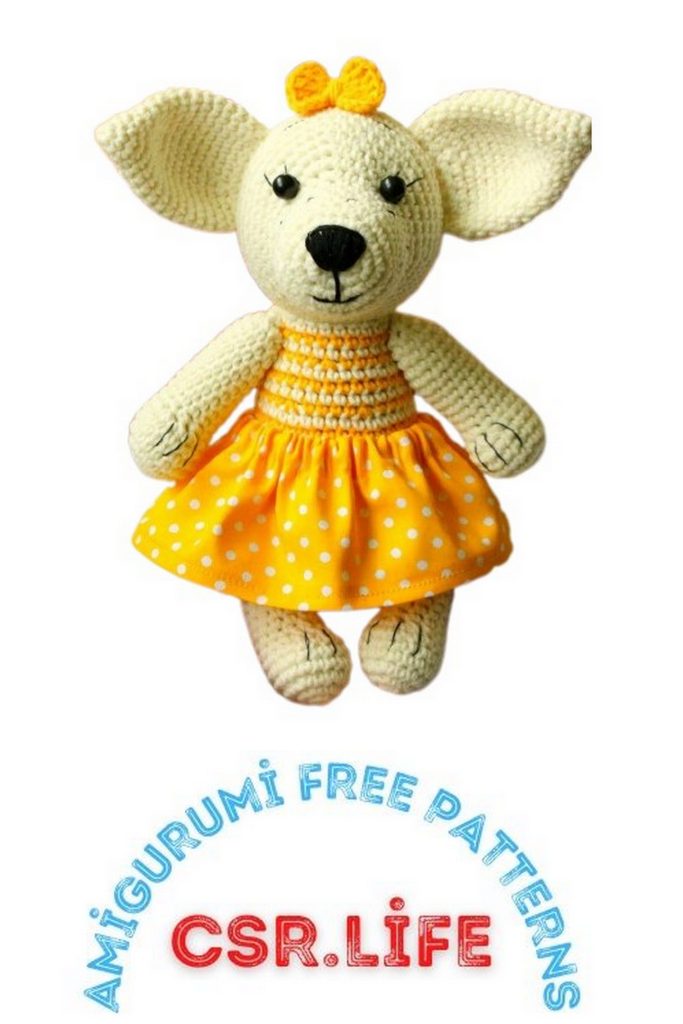
Attach the head to the body.
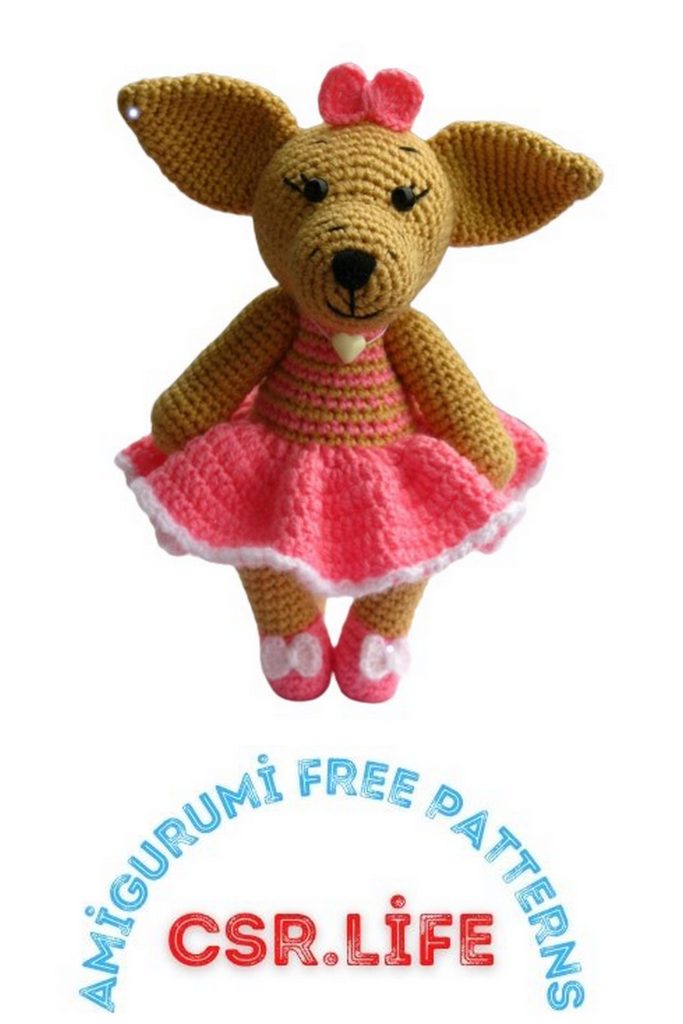
Attach the ears.
Attach the back legs.
Attach the front legs.
Attach the tail.
For the facial features:
Use black embroidery floss to embroider the nose and freckles.
Embroider claws on the paws with yellow yarn.
Crochet a bow with yellow yarn and attach it to the head.
For the skirt:
Take a strip of fabric of the desired length for the skirt.
Fold up the bottom and sew with a sewing machine.
Fold and sew the top to insert the elastic band.
Insert the elastic band using a safety pin and sew the edges together.
Your amigurumi dog is ready!

