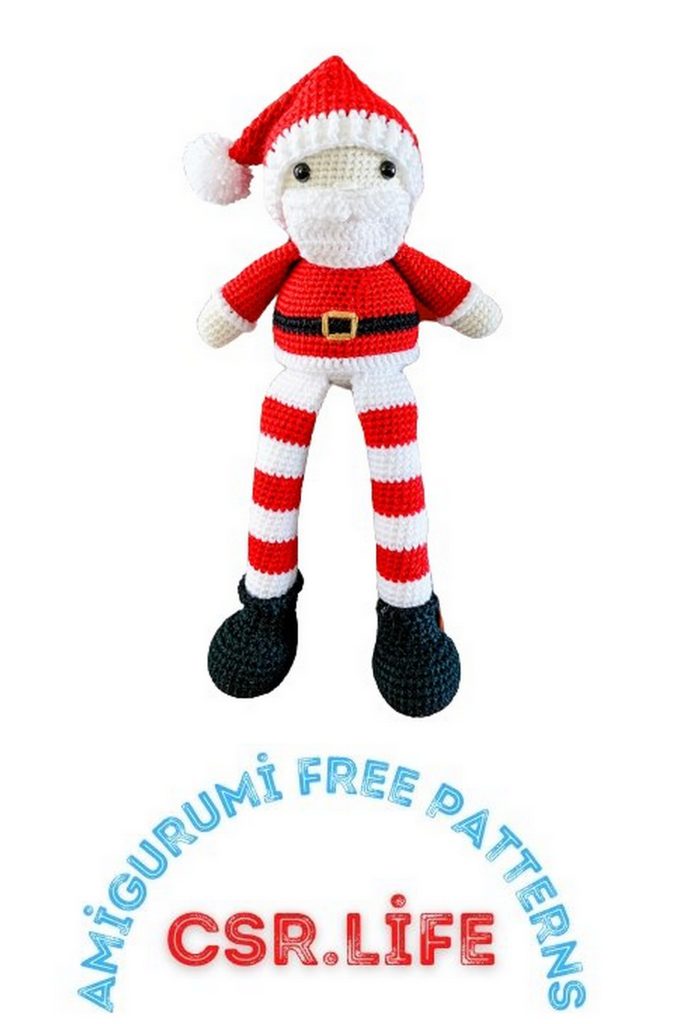
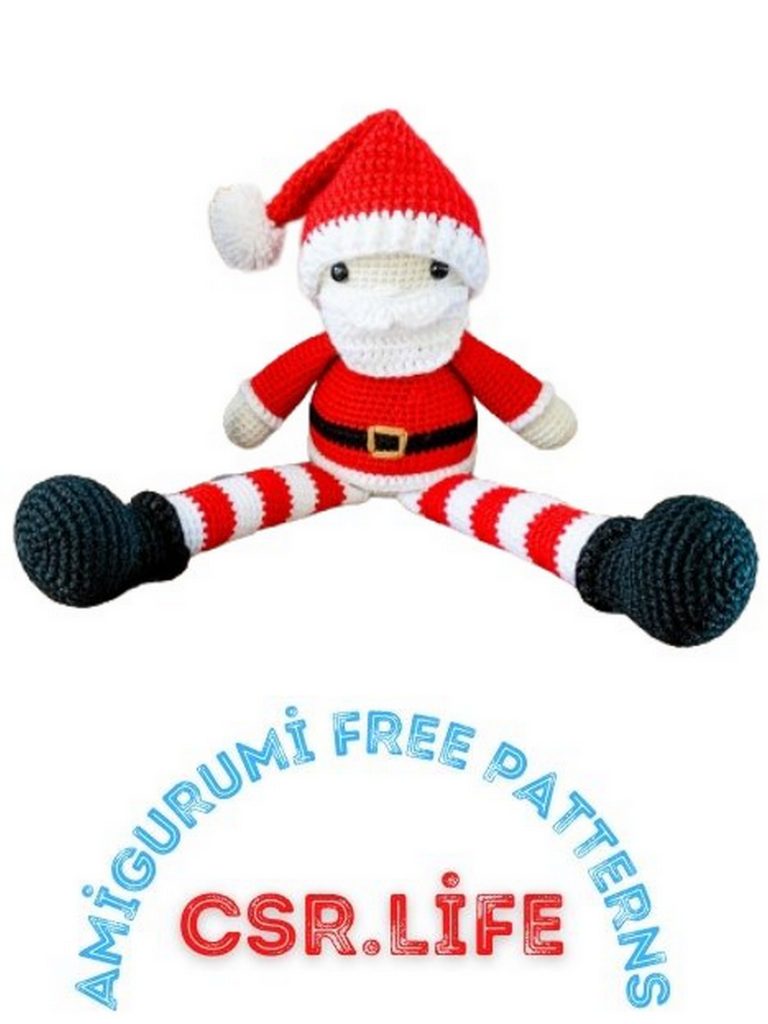
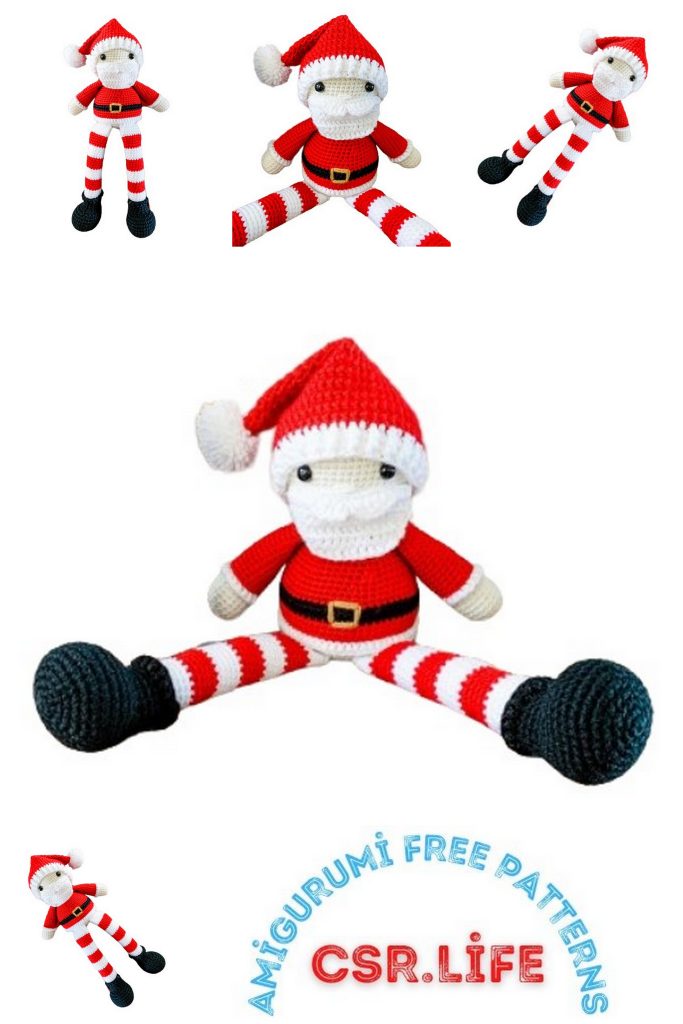
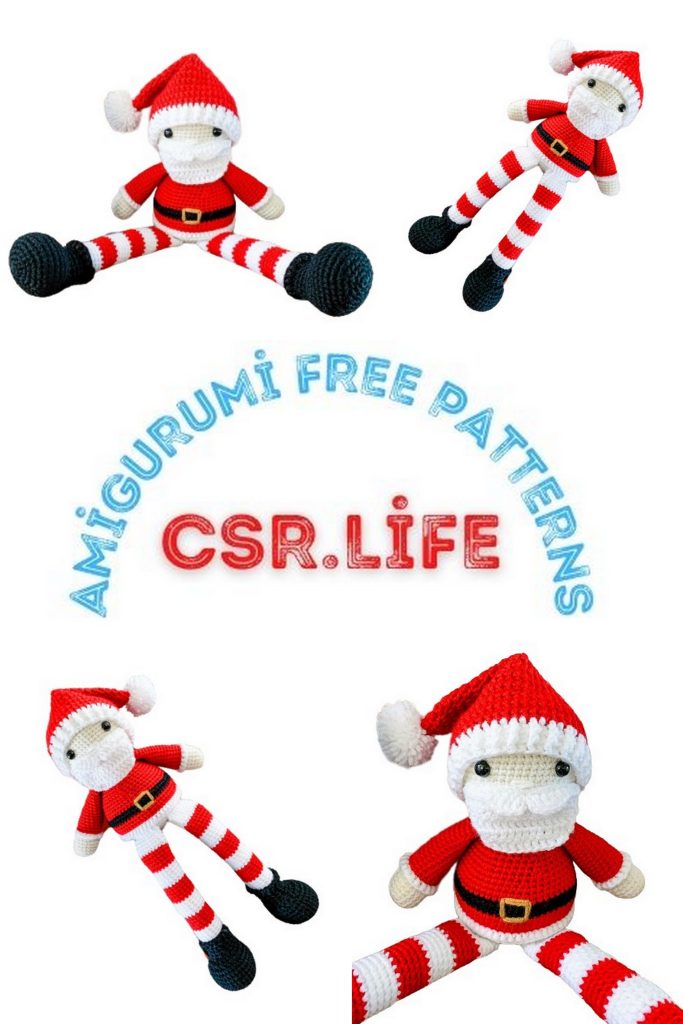
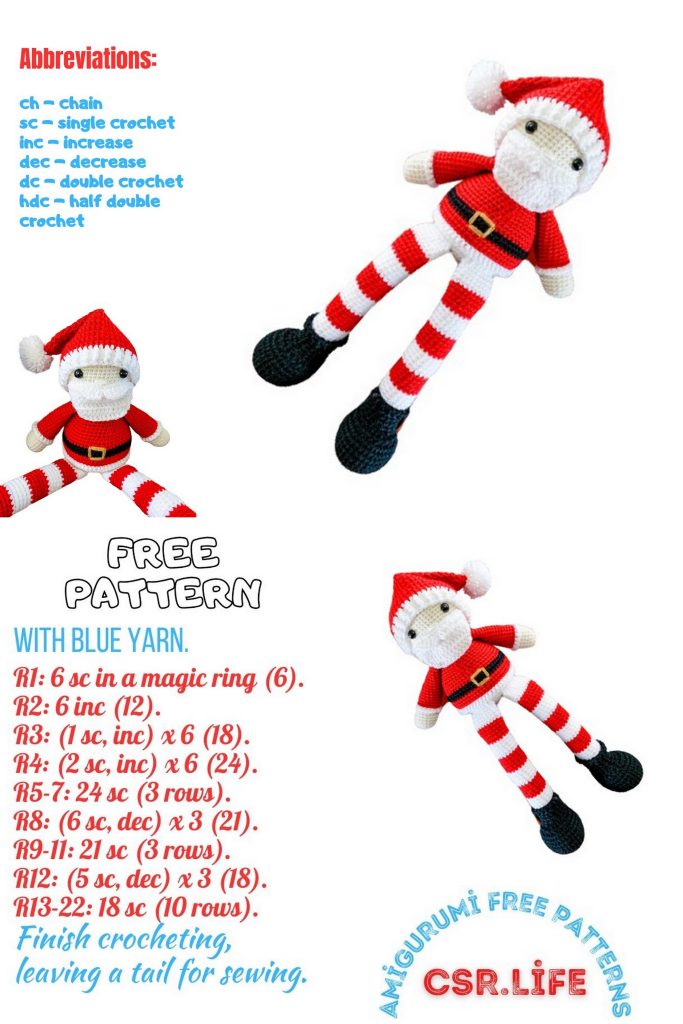
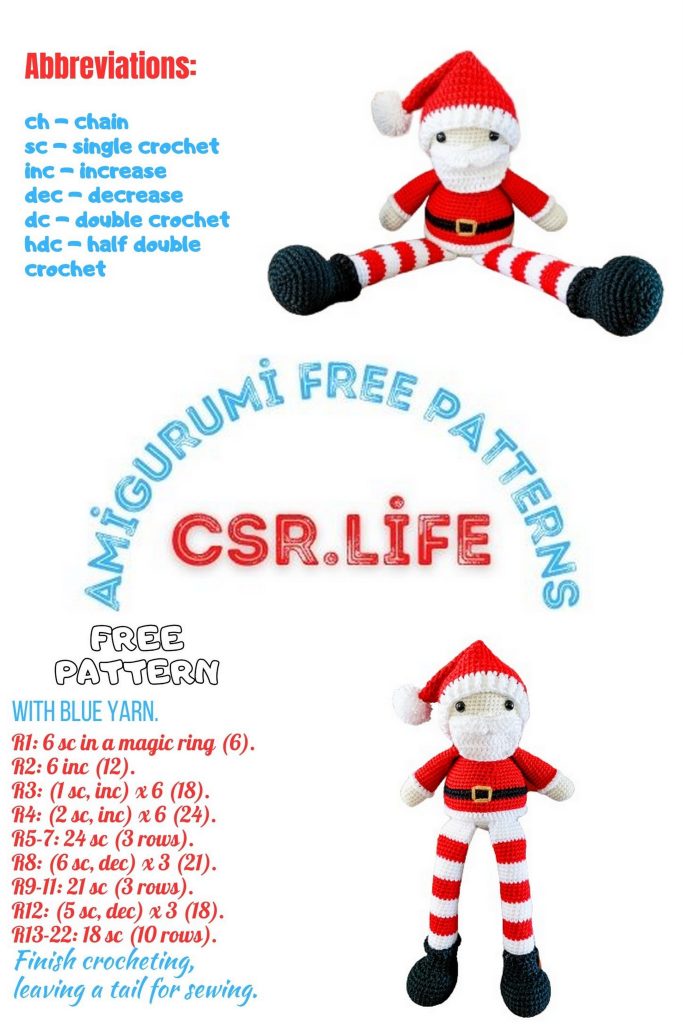
Christmas Santa Claus Amigurumi Free Pattern
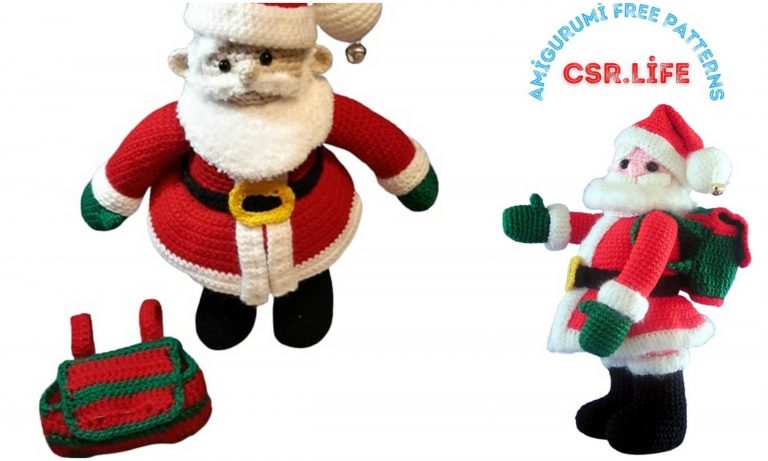
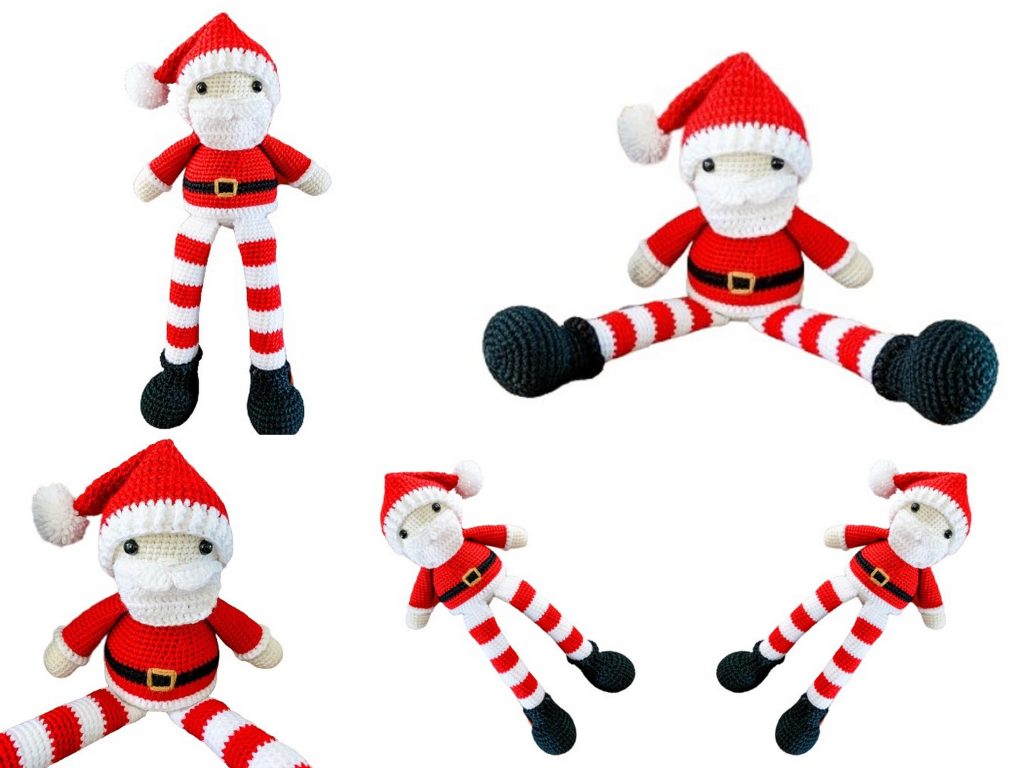
The holiday season is just around the corner, and what better way to embrace the festive cheer than by crafting your very own Christmas Santa Claus Amigurumi doll? Our free pattern will guide you through the creative process, allowing you to bring the magic of Santa Claus to life in the form of a delightful amigurumi toy. Whether you’re a seasoned crocheter or a complete beginner, this project is perfect for all skill levels.
With our detailed instructions and clear, easy-to-follow steps, you can create a whimsical Santa Claus amigurumi that will add a touch of warmth and charm to your holiday decor. Not only is it a wonderful addition to your own festive setup, but it also makes for a heartwarming gift that your loved ones will treasure.
You will need:
About 50g each of Size 4 Worsted weight yarn in skin color, sweater color, stripe colors
(I used Hobby Lobby’s I love this yarn for the project in colors ivory, red, white, and black)
12mm safety eyes
Stuffing
3.75mm hook
Needle for sewing
Stitch marker
¾ cup Poly pellets (these are used to weigh down the body so it can sit on the shelf)
Abbreviations
SC- single crochet
SC INC- single crochet increase (2 SC in each stitch)
INV DEC– Invisible decrease (put hook through the FRONT LOOP ONLY of two consecutive stitches [two loops on hook] Yarn over pull through both loops. [two loops on hook] Yarn over pull through two loops)
Magic Circle– Make a loop, leaving a long tail to work with. Insert hook in center of loop, yarn over and draw up a loop. Yarn over, pull through to make the first chain (this does not count as a stitch!). Continue to crochet over the loop and tail with the number of stitches called for. (If you need 6 SC, then crochet 6 SC inside the ring.) Pull the tail to close the circle.
Always move your stitch marker to the last stitch in the round. This pattern is worked in continuous rounds.
PATTERN
Legs
Using Black:
Round 1: 6 SC in a magic circle.
Round 2: INC in each around. (12)
Round 3: SC in the first, SC INC in the next. (18)
Round 4: SC in the first 2, SC INC in the next. Repeat around. (24)
Round 5: SC in first 3, SC INC in next. Repeat around. (30)
Round 6: SC in first 4, SC INC in the next. Repeat around. (36)
Rounds 7-11: SC in each around. (36)
Round 12: INV DEC 12 times. SC in the remaining 12 stitches. (24)
Round 13: INV DEC 6 times. SC in the remaining 12. (18)
Rounds 14-17: SC in each around. (18)
Change to white. Change colors every 5 rows, alternating white and red.
Rounds 18-52: SC in each around. (18)
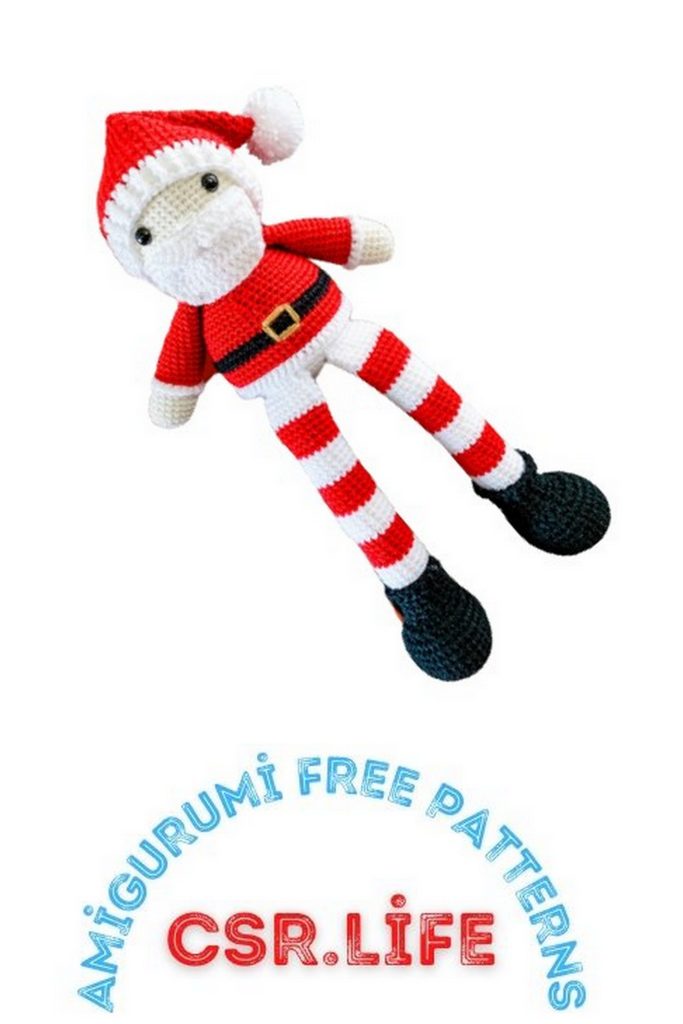
Fasten off leaving a long tail to sew onto the body. Stuff the feet really well. Stuff the rest of the legs lightly, up until the last five rows. Make the boots edge by attaching the black yarn to the first row where you change color, with the legs facing up and the boots down so that your stitches will be facing up.Go around the stitch, like you were making a post stitch. Chain 2. HDC in each around, slip stitching to the first when you meet it. Fasten off and weave in the ends.
You will attach the legs to row 10 of the body, about 4 stitches apart.
Arms
*I only stuff the very bottom and very lightly. Then not at all through the top half.*
Using ivory color:
Round 1: SC 6 in a magic ring.
Round 2: SC INC in each around. (12)
Round 3: SC in first, SC INC in the next. Repeat around. (18)
Rounds 4-8: SC in each around. (18)
Change to sweater color.
Rounds 9-25: SC in each around.(18)
Round 26: SC in the first, INV DEC in the next. Repeat in next.
Fasten off and leave a tail long enough to sew on. Attach the arms between rows 28 and 29 on the body.
Make the sweater edge by attaching white yarn to the first row where you change color, with the hands facing up so that your stitches will be facing down (like the cuffs of your sweater would.) Go around the stitch, like you were making a post stitch. Chain 2. HDC in each around, slip stitching to the first when you meet it. Fasten off and weave in the ends.
Body
With white yarn:
Round 1: In a magic circle, 6 SC.
Round 2: SC INC in each around. (12)
Round 3: SC in first, SC INC in next. Repeat around. (18)
Round 4: SC in first 2, SC INC in next. Repeat around. (24)
Round 5: SC in first 3, SC INC in next. Repeat around. (30)
Round 6: SC in first 4, SC INC in next. Repeat around. (36)
Round 7: SC in first 5, SC INC in next. Repeat around. (42)
Round 8: SC in first 6, SC INC in next. Repeat around. (48)
Round 9: SC in first 7, SC INC in next. Repeat around. (54)
Round 10: SC in first 8, SC INC in next. Repeat around. (60)
Rounds 11-12: SC in each around. (60)
Change to red.
Rounds 13-16: SC in each around. (60)
Change to Black
Rounds 17-18: SC in each around. (60)
Change to Red
Round 19: SC in each around. (60)
Round 20: SC in the first 8, INV DEC in the next. Repeat around. (54)
Rounds 21: SC in each around. (54)
Round 22: SC in the first 7, INV DEC in the next. Repeat around. (48)
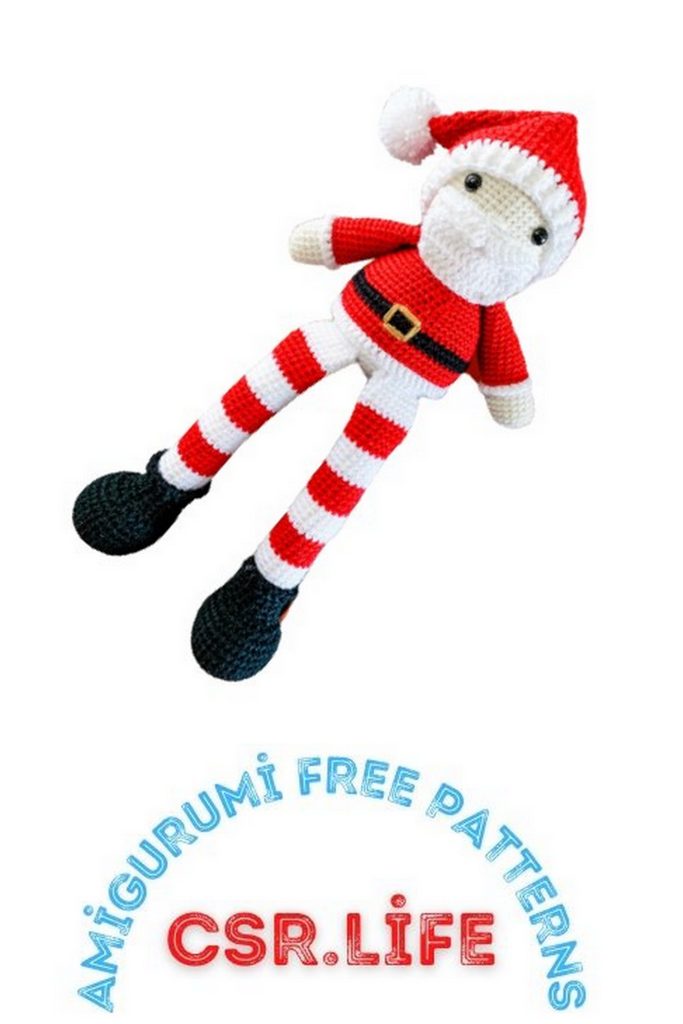
Sew the belt buckle on by using a gold yarn. I made two passes in a rectangle shape.
Round 23: SC in each around. (48)
Round 24: SC in the first 6, INV DEC in the next. Repeat around. (42)
Round 25: SC in each around. (42)
Round 26: SC in the first 5, INV DEC in the next. Repeat around. (36)
Round 27: SC in each around. (36)
Round 28: SC in the first 4, INV DEC in the next. Repeat around. (30)
Round 29: SC in the first 3, INV DEC in the next. Repeat around. (24)
Round 30: SC in the first 2, INV DEC in the next. Repeat around. (18)
Round 31: SC in the first, INV DEC in the next. Repeat around. (12)
Change to skin color.
Rounds 32: SC in each around (12)
From here we will be increasing the head. From this point I am resetting the number on the rounds. Round 33 of the body is now Round 1 of the head. It will be easy to see.
Head
Round 1: SC in first, SC INC in next. Repeat around. (18)
Round 2: SC in first 2, SC INC in next. Repeat around. (24)
Round 3: SC in first 3, SC INC in next. Repeat around. (30)
Round 4: SC in first 4, SC INC in next. Repeat around. (36)
Round 5: SC in first 5, SC INC in next. Repeat around. (42)
Round 6: SC in first 6, SC INC in next. Repeat around. (48)
Round 7: SC in first 7, SC INC in next. Repeat around. (54)
Round 8-20: SC in each stitch around. (54)
Place the safety eyes in between rows 13 and 14, ten stitches apart. I also like to stretch the bottom of the head a little. It makes it more round from the point of the neck.
Round 21: SC in the first 7, INV DEC in the next. Repeat around. (48)
Round 22: SC in the first 6, INV DEC in the next. Repeat around. (42)
Round 23: SC in the first 5, INV DEC in the next. Repeat around. (36)
Round 24: SC in the first 4, INV DEC in the next. Repeat around. (30)
Round 25: SC in the first 3, INV DEC in the next. Repeat around. (24)
Round 26: SC in the first 2, INV DEC in the next. Repeat around. (18)
Round 27: SC in the first, INV DEC in the next. Repeat around. (12)
Round 28: INV DEC around. (6)
Fasten off leaving a long tail to make the nose. If you need tips on sewing on the nose, check out this post.
Sweater Edge
Make the sweater edge by attaching white yarn to the first row where you change color, with the bottom facing up so that your stitches will be facing down (like the edge of your sweater would.) Go around the stitch, like you were making a post stitch. Chain 2. DC in each around, slip stitching to the first when you meet it. Fasten off and weave in the ends.
Beard
Using white yarn, chain 20.
Row 1: In the 2nd chain from hook DC. DC in each stitch across. Chain 1 and turn. (18)
Row 2: DEC. DC in the next 14. DEC in the last two stitches. (16)
Row 3: DEC. DC in the next 12. DEC in the last two stitches. (14)
Row 4: DEC. DC in the next 10. DEC in the last two stitches. (12)
Row 5: DEC. DC in the next 8. DEC in the last two stitches. (10)
Fasten off and leave a long tail to sew onto the face. Sew up along the side of the beard to the top corner.
Mustache
Chain 20. SC in the first 4, HDC in the next, DC in the next, TRC in the next 3.Chain 3 and slip stitch to the next stitch. Chain 3. TRC in the next 3, DC in the next, HDC in the next, SC in the final 4.
Fasten off. Attach the mustache to the top of the beard, sewing the the top stitches of the beard and mustache.
Attach the beard to the face directly under nose using pins. Sew along the top. Fasten off and weave in the ends.
Hat
At the end of each round you will chain 2. It does not count as a stitch. Fasten to the first stitch with a slip stitch at the end of each row.
With Red:
Round 1: In a magic circle crochet 10 DC.
Round 2: DC in each around. (10)
Round 3: DC in the first, INC in the next. Repeat around. (15)
Round 4: DC in each around. (15)
Round 5: DC in the first 2, INC in the next. Repeat around. (20)
Round 6: DC in each around. (20)
Round 7: DC in the first 3, INC in the next. Repeat around. (25)
Round 8: DC in each around. (25)
Round 9: DC in the first 4, INC in the next. Repeat around. (30)
Round 10: DC in the first 5, INC in the next. Repeat around. (35)
Round 11: DC in the first 6, INC in the next. Repeat around. (40)
Round 12: DC in the first 7, INC in the next. Repeat around. (45)
Round 13: DC in the first 8, INC in the next. Repeat around. (50)
Rounds 14-19: DC in each around.
Change to white.
Round 20: DC in each around. (50)
Round 21-22: Front post double crochet (FPDC) around the first stitch. Back post double crochet(BPDC) in the next. Alternate to the end of the row.
Fasten off and weave in ends.
Attach a fluffy pom pom to the top.

