Free Scorpion Zodiac Doll Amigurumi Pattern: Craft Your Own Adorable Creature!
Welcome to the enchanting world of amigurumi crafting! Are you ready to embark on a new crochet adventure? Dive into our free Scorpion Doll Amigurumi pattern and bring this unique creature to life with your own hands.
Crafting a Scorpion Doll Amigurumi may seem unusual, but the result is absolutely adorable. With our step-by-step instructions and beginner-friendly techniques, you’ll soon find yourself crocheting your way to a charming and cuddly companion.
Whether you’re a seasoned crocheter looking for a new challenge or a beginner eager to learn, this pattern is perfect for all skill levels. As you work through each stitch, you’ll witness the transformation of yarn into a delightful Scorpion Doll, ready to join your amigurumi collection or become a cherished gift for someone special.
So grab your crochet hooks and let your creativity soar as you embark on this captivating crochet journey. Get ready to craft your own Scorpion Doll and experience the joy of bringing a unique creature to life with our amigurumi free pattern!
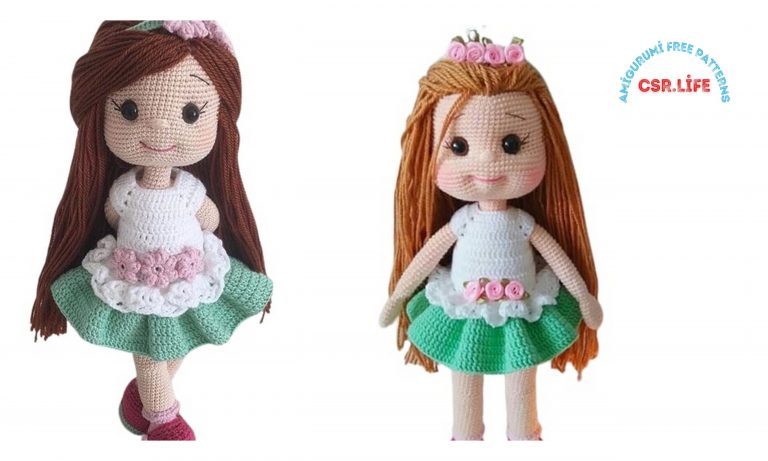
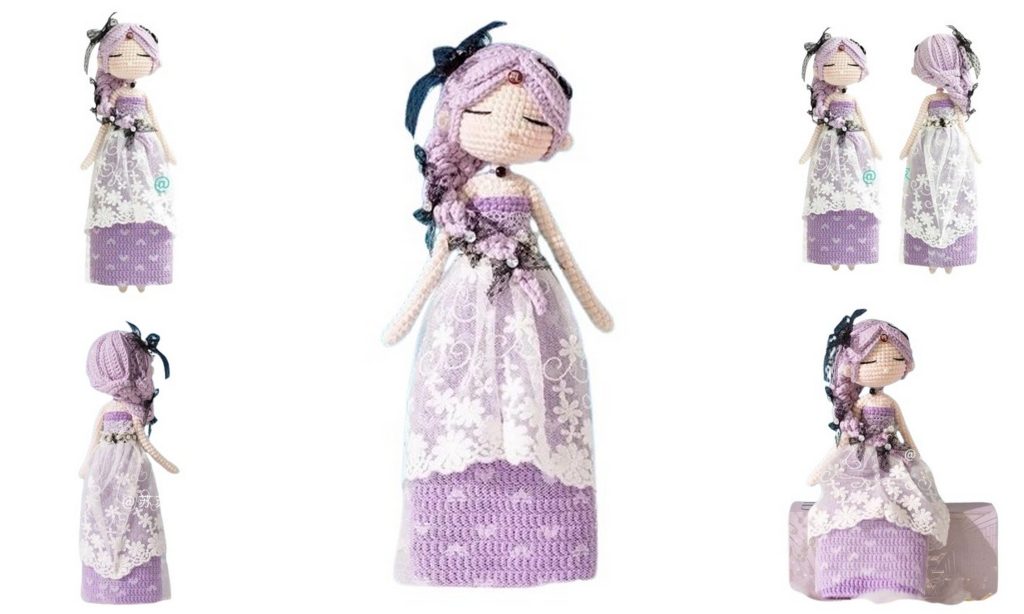
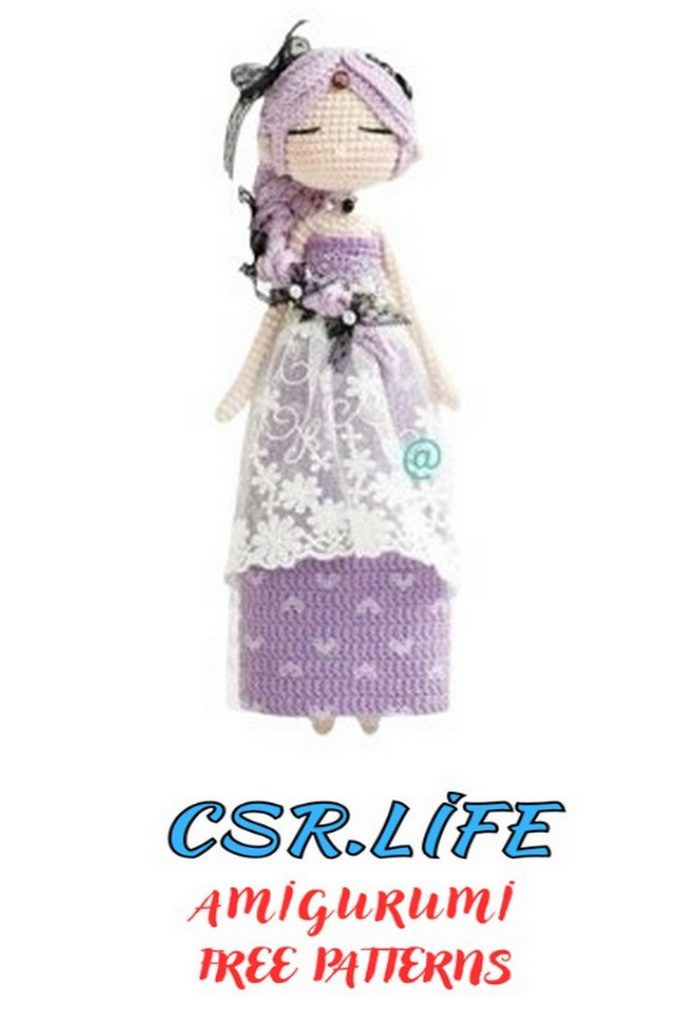
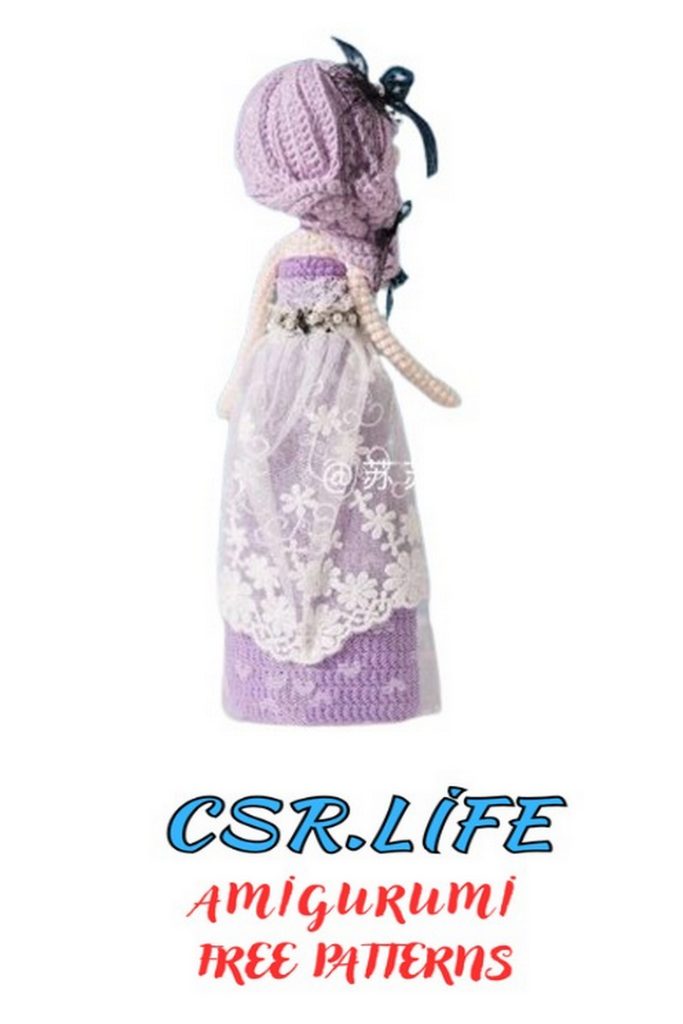
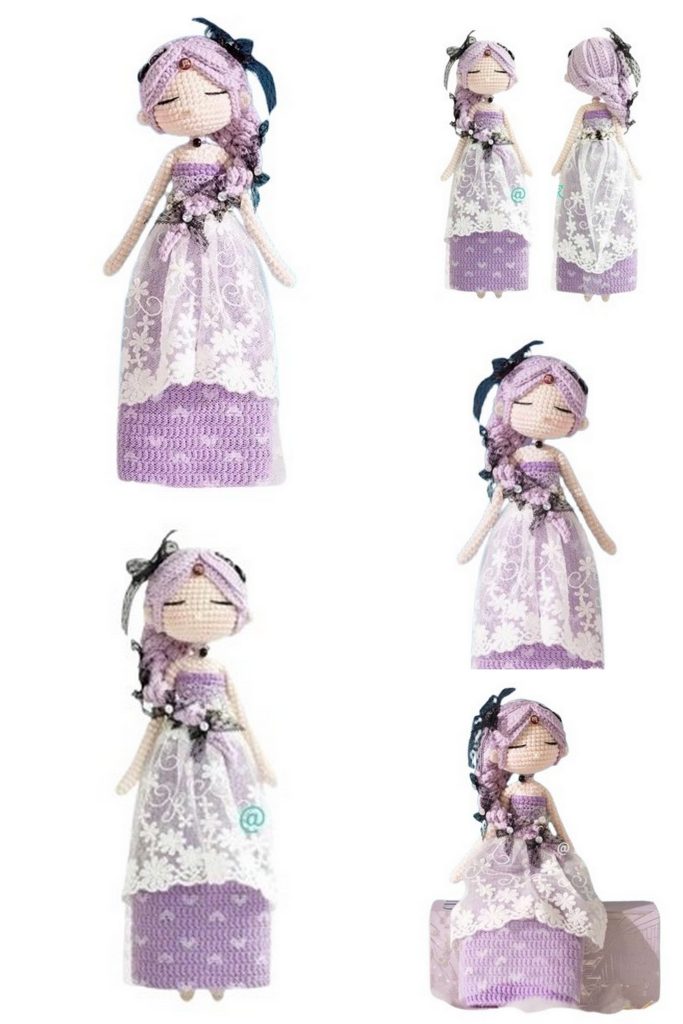
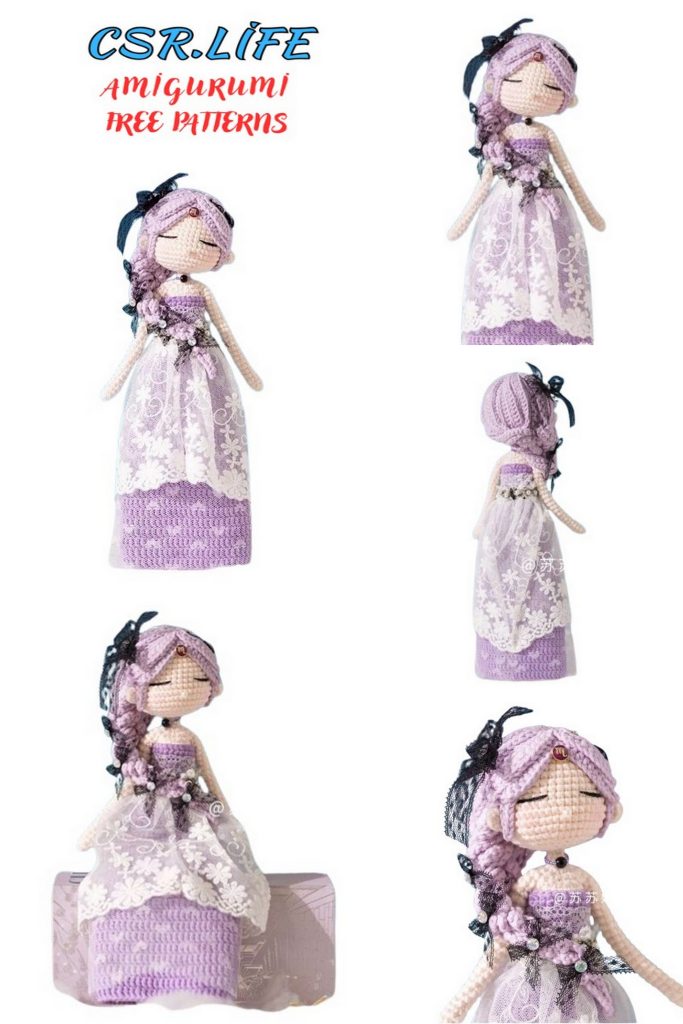
Doll consists of a main body and accessories. The main body consists of four parts: arms, legs, torso, and head, while the accessories include facial features, hair, necklace, and dress. First, crochet the main part of the item, then the accessories.
Approximate height is 31 cm.
Note: Measurements are done manually, with an error margin of 1-2 cm; size is provided for reference only.
ABBREVIATIONS:
MR – magic ring
CH – chain stitch
SC – single crochet
INC – increase
DEC – decrease
HDC – half double crochet
DC – double crochet
FPDC – front post double crochet
BPDC – back post double crochet
FO – fasten off
PATTERN
PART 1: ARMS *2
R1. 6 SC in MR
R2. 5 SC, INC (7)
R3. 3 SC, INC in next stitch, 3 SC (9)
R4. 9 SC
R5. 3 SC, DEC, 2 SC (7)
R6-23. 7 SC
Note: Leave about 15 cm of yarn after each arm.
PART 2: LEGS, BODY
Crochet 2 legs in a spiral. After completing, insert wire for shaping and stuff. After finishing, join them to crochet the torso. Then attach arms and insert wire for arms while crocheting. Stuff as you go.
LEGS *2
R1. 6 SC in MR
R2. SC, INC, 2 SC, INC, SC (8)
R3-4. 8 SC
R5. INC, 6 SC (10)
R6. SC, INC, 7 SC (12)
R7. SC, DEC, 7 SC (10)
R8. DEC, 6 SC (8)
R9. DEC, 6 SC (7)
R10-11. 7 SC
R12. INC, 6 SC (8)
R13-14. 8 SC
R15. SC, INC, 6 SC (9)
R16-17. 9 SC
R18. 2 SC, INC, 6 SC (10)
R19. 3 SC, INC, 6 SC (11)
R20. 4 SC, INC, 6 SC (12)
R21-24. 12 SC
R25. 4 SC, DEC, 6 SC (11)
R26. 3 SC, DEC, 6 SC (10)
R27. 2 SC, DEC, 2 SC, 4 INC (13)
R28. 5 SC, 4 DEC (9)
R29. 2 SC, INC, 6 SC (10)
R30. 3 SC, INC, 6 SC (11)
R31. 4 SC, INC, 6 SC (12)
R32. 5 SC, INC, 6 SC (13)
R33. 6 SC, INC, 6 SC (14)
R34. 6 SC, INC, 7 SC (15)
R35. 7 SC, INC, 7 SC (16)
R36. 16 SC
R37. 7 SC, INC, 8 SC (17)
R38. 17 SC
R39. 8 SC, INC, 8 SC (18)
R40-42. 18 SC
Insert wire and stuff.
R43. Right leg: 23 SC/Left leg: 13 SC.
Leave about 15 cm of yarn for the left leg and do not cut the yarn for the right leg. Left and right legs are distinguished when the front part of the body is facing you.
BODY
R1. CH 2, connect two legs, 18 SC, 2 SC, 18 SC, 2 SC (40)
R2-3. 40 SC
R4. (6 SC, DEC) * 5 (35)
R5. 35 SC
R6. (5 SC, DEC) * 5 (30)
R7. 30 SC
R8. (4 SC, DEC) * 5 (25)
R9. (3 SC, DEC) * 5 (20)
R10-18. 20 SC
R19. 5 SC, 1 SC with arm, 9 SC, 1 SC with arm, 4 SC (20)
R20. 8 SC, DEC, 14 SC, DEC, 6 SC (30)
Insert wire for shaping arms.
R21. (3 SC, DEC) * 6 (24)
R22. (2 SC, DEC) * 6 (18)
R23. (SC, DEC) * 6 (12)
R24. 6 DEC (6)
R25-34. 6 SC
Note: Leave about 15 cm of yarn for closing.
PART 3: HEAD
R1. 6 SC in MR
R2. 6 INC (12)
R3. (SC, INC) * 6 (18)
R4. (INC, 2 SC) * 6 (24)
R5. (3 SC, INC) * 6 (30)
R6. (2 SC, INC, 2 SC) * 6 (36)
R7. (5 SC, INC) * 6 (42)
R8-12. 42 SC
R13. 12 SC, (SC, INC) * 3, 5 SC, (SC, INC) * 3, 13 SC (48)
R14-16. 48 SC
R17. (2 SC, DEC, 2 SC) * 8 (40)
R18. (3 SC, DEC) * 8 (32)
R19. (DEC, 2 SC) * 8 (24)
R20. (SC, DEC) * 8 (16)
R21. 8 DEC (8)
R22-24. 8 SC
Note: Leave about 5 cm of yarn.
PART 2: Accessories
STEP 1: Facial features
Embroider eyes and nose on the front of the head, apply blush, sew on ears, and finally attach earrings.
EARS *2
R1. In MR: 1 CH, SC, 2 HDC, SC, SS
Note: Leave 15 cm of yarn.
STEP 2: Hair
Hair includes a base, curls, and hair accessories. First, crochet the base, then the curls; after finishing, attach it to the head and decorate with hair accessories.
BASE
R1. 8 SC in MR
R2. FPDC: 8 INC (16)
Note: Begin each row with 1 CH and end with SS.
R36. CH, skip 2 stitches, 5 SS, 15 SC, 7 HDC, 3 HDC with yarn over, 5 SC, SS
R2. 31 CH, skip 2 stitches, 5 SS, 10 SC, 7 HDC, 3 HDC with yarn over, 5 SC, SS
R3. 41 CH, skip 2 stitches, 5 SS, 20 SC, 7 HDC, 3 HDC with yarn over, 5 SC, SS
R4. 61 CH, skip 2 stitches, 5 SS, 40 SC, 7 HDC, 3 HDC with yarn over, 5 SC, SS
5-12. Repeat steps 1, 2, 3, and 4 twice.
R13. 16 CH, skip 2 stitches, 2 SS, 2 SC, 9 HDC with yarn over, 2 SC, SS
R14. 14 CH, skip 2 stitches, SS, SC, 9 HDC with yarn over, 2 SC, SS
R15. Crochet as 14th row
R16. Crochet as 13th row
Second row of curls:
1-6: 41 CH, skip 2 stitches, 5 SS, 20 SC, 7 HDC, 3 HDC with yarn over, 5 SC, SS
7-8. 4 CH, skip 2 stitches, SS, SC, 9 HDC with yarn over, 2 SC, SS
STEP 3: Necklace
Use the yarn used for the head to make a necklace, then put it on the body.
STEP 4: Dress
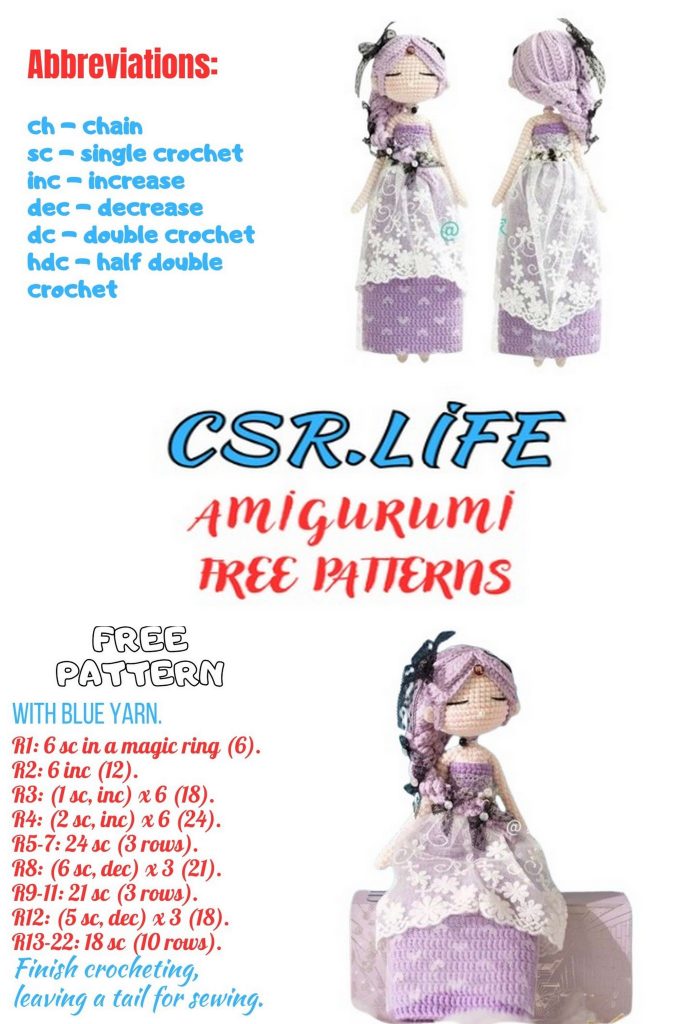
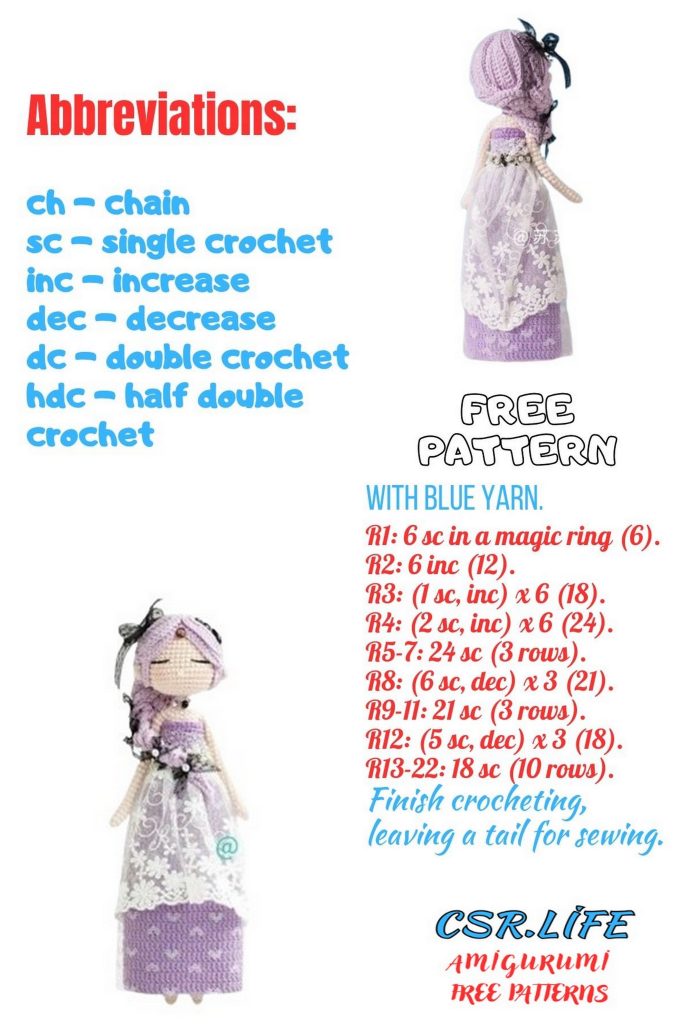
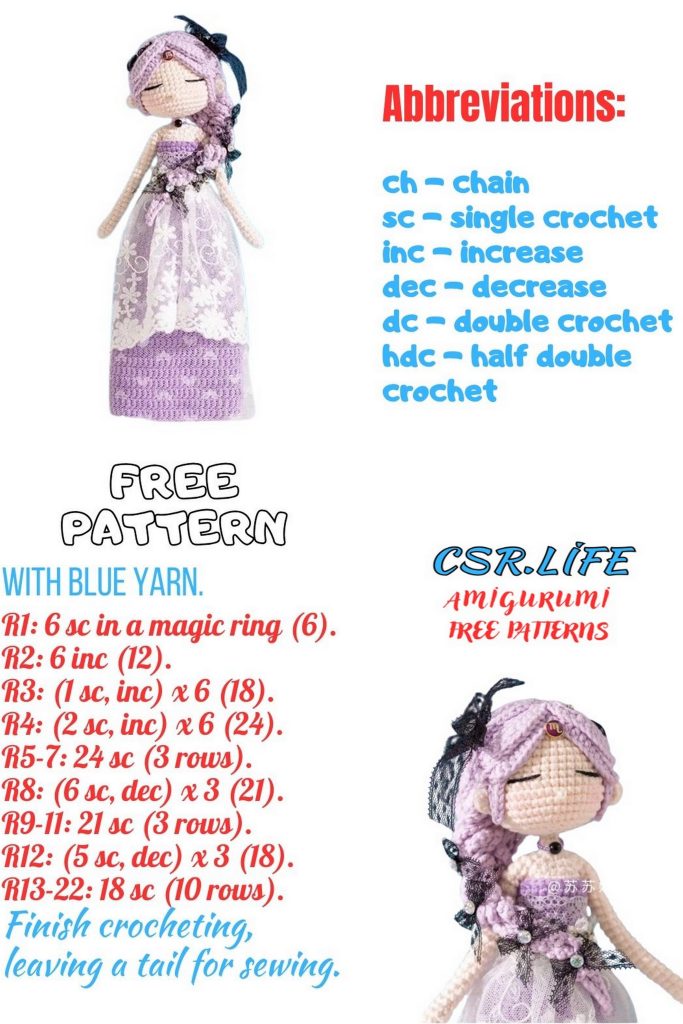
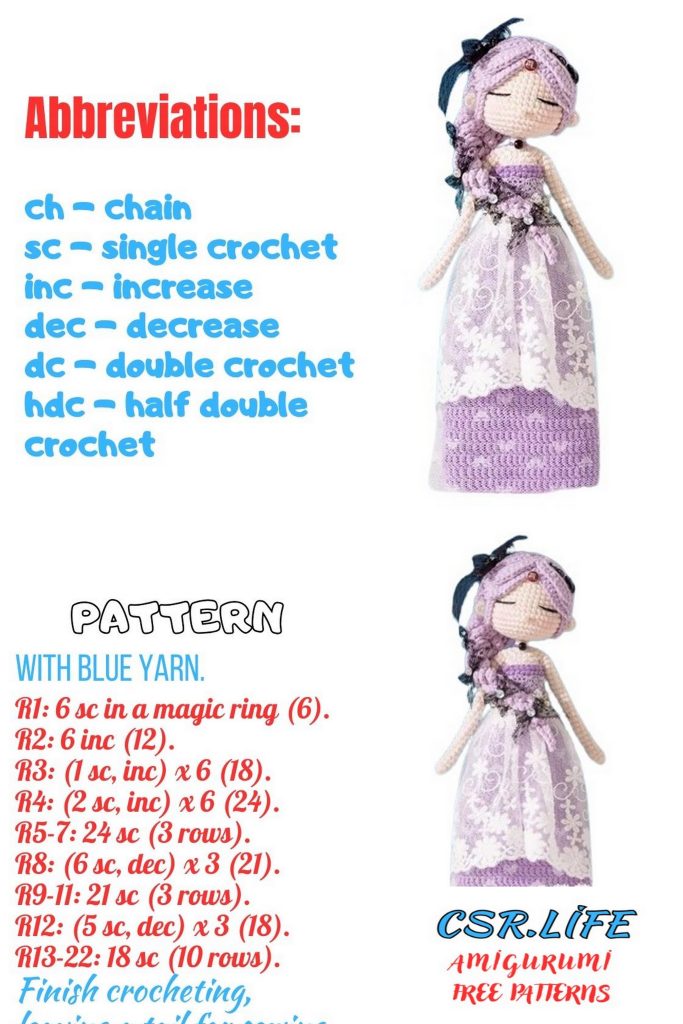
Divided into 2 parts: knitted part and decoration. The fabric detail of the dress is crocheted in single crochet loop and bordered with a hook in a circle. After finishing, add decorative accessories to the dress. They are divided into Love Mesh yarn, floral lace, wavy lace, and bead lace.
DRESS FABRIC
R1. 25 CH, join in a ring, 25 SC
R2-9. 25 SC
R10. FPDC: (4 SC, INC) * 5 (30)
R11. 3 CH, 4 BPDC, INC in BPDC, (5 BPDC, INC in BPDC) * 4 (35)
R12. 3 CH, 34 BPDC (35)
R13. 3 CH, 5 BPDC, INC in BPDC, (6 BPDC, INC in BPDC) * 4 (40)
R14-15. 3 CH, 39 BPDC (40)
R16. 3 CH, 6 BPDC, INC in BPDC, (7 BPDC, INC in BPDC) * 4 (45)
R17-18. 3 CH, 44 BPDC (45)
R19. 3 CH, 7 BPDC, INC in BPDC, (8 BPDC, INC in BPDC) * 4 (50)
R20-21. 3 CH, 49 BPDC (50)
R22. 3 CH, 8 BPDC, INC in BPDC, (9 BPDC, INC in BPDC) * 4 (55)
R23-34. 3 CH, 54 BPDC (55)

