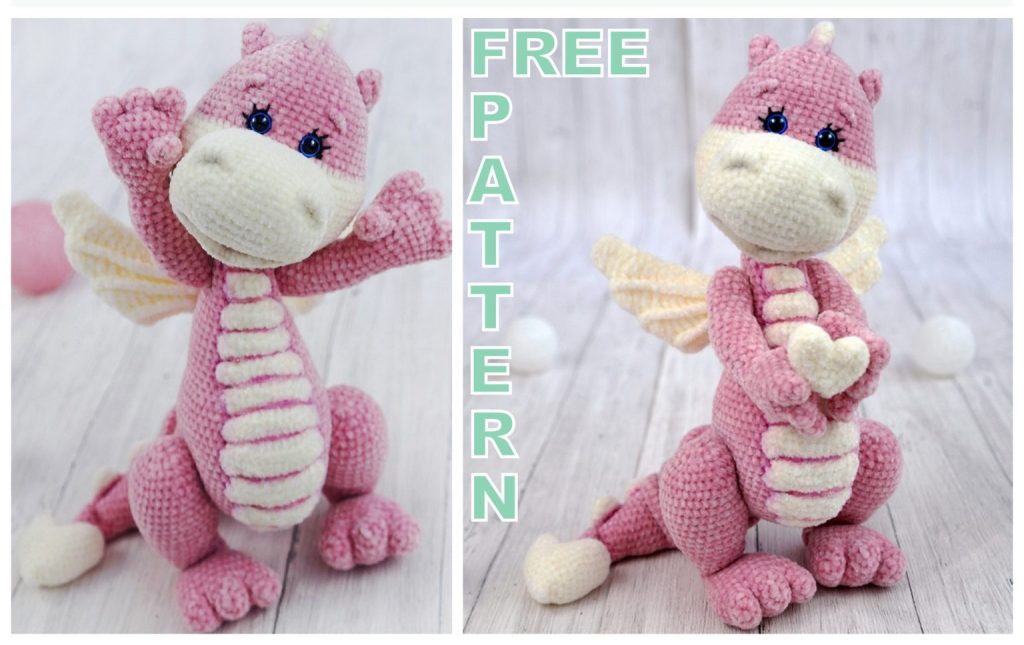
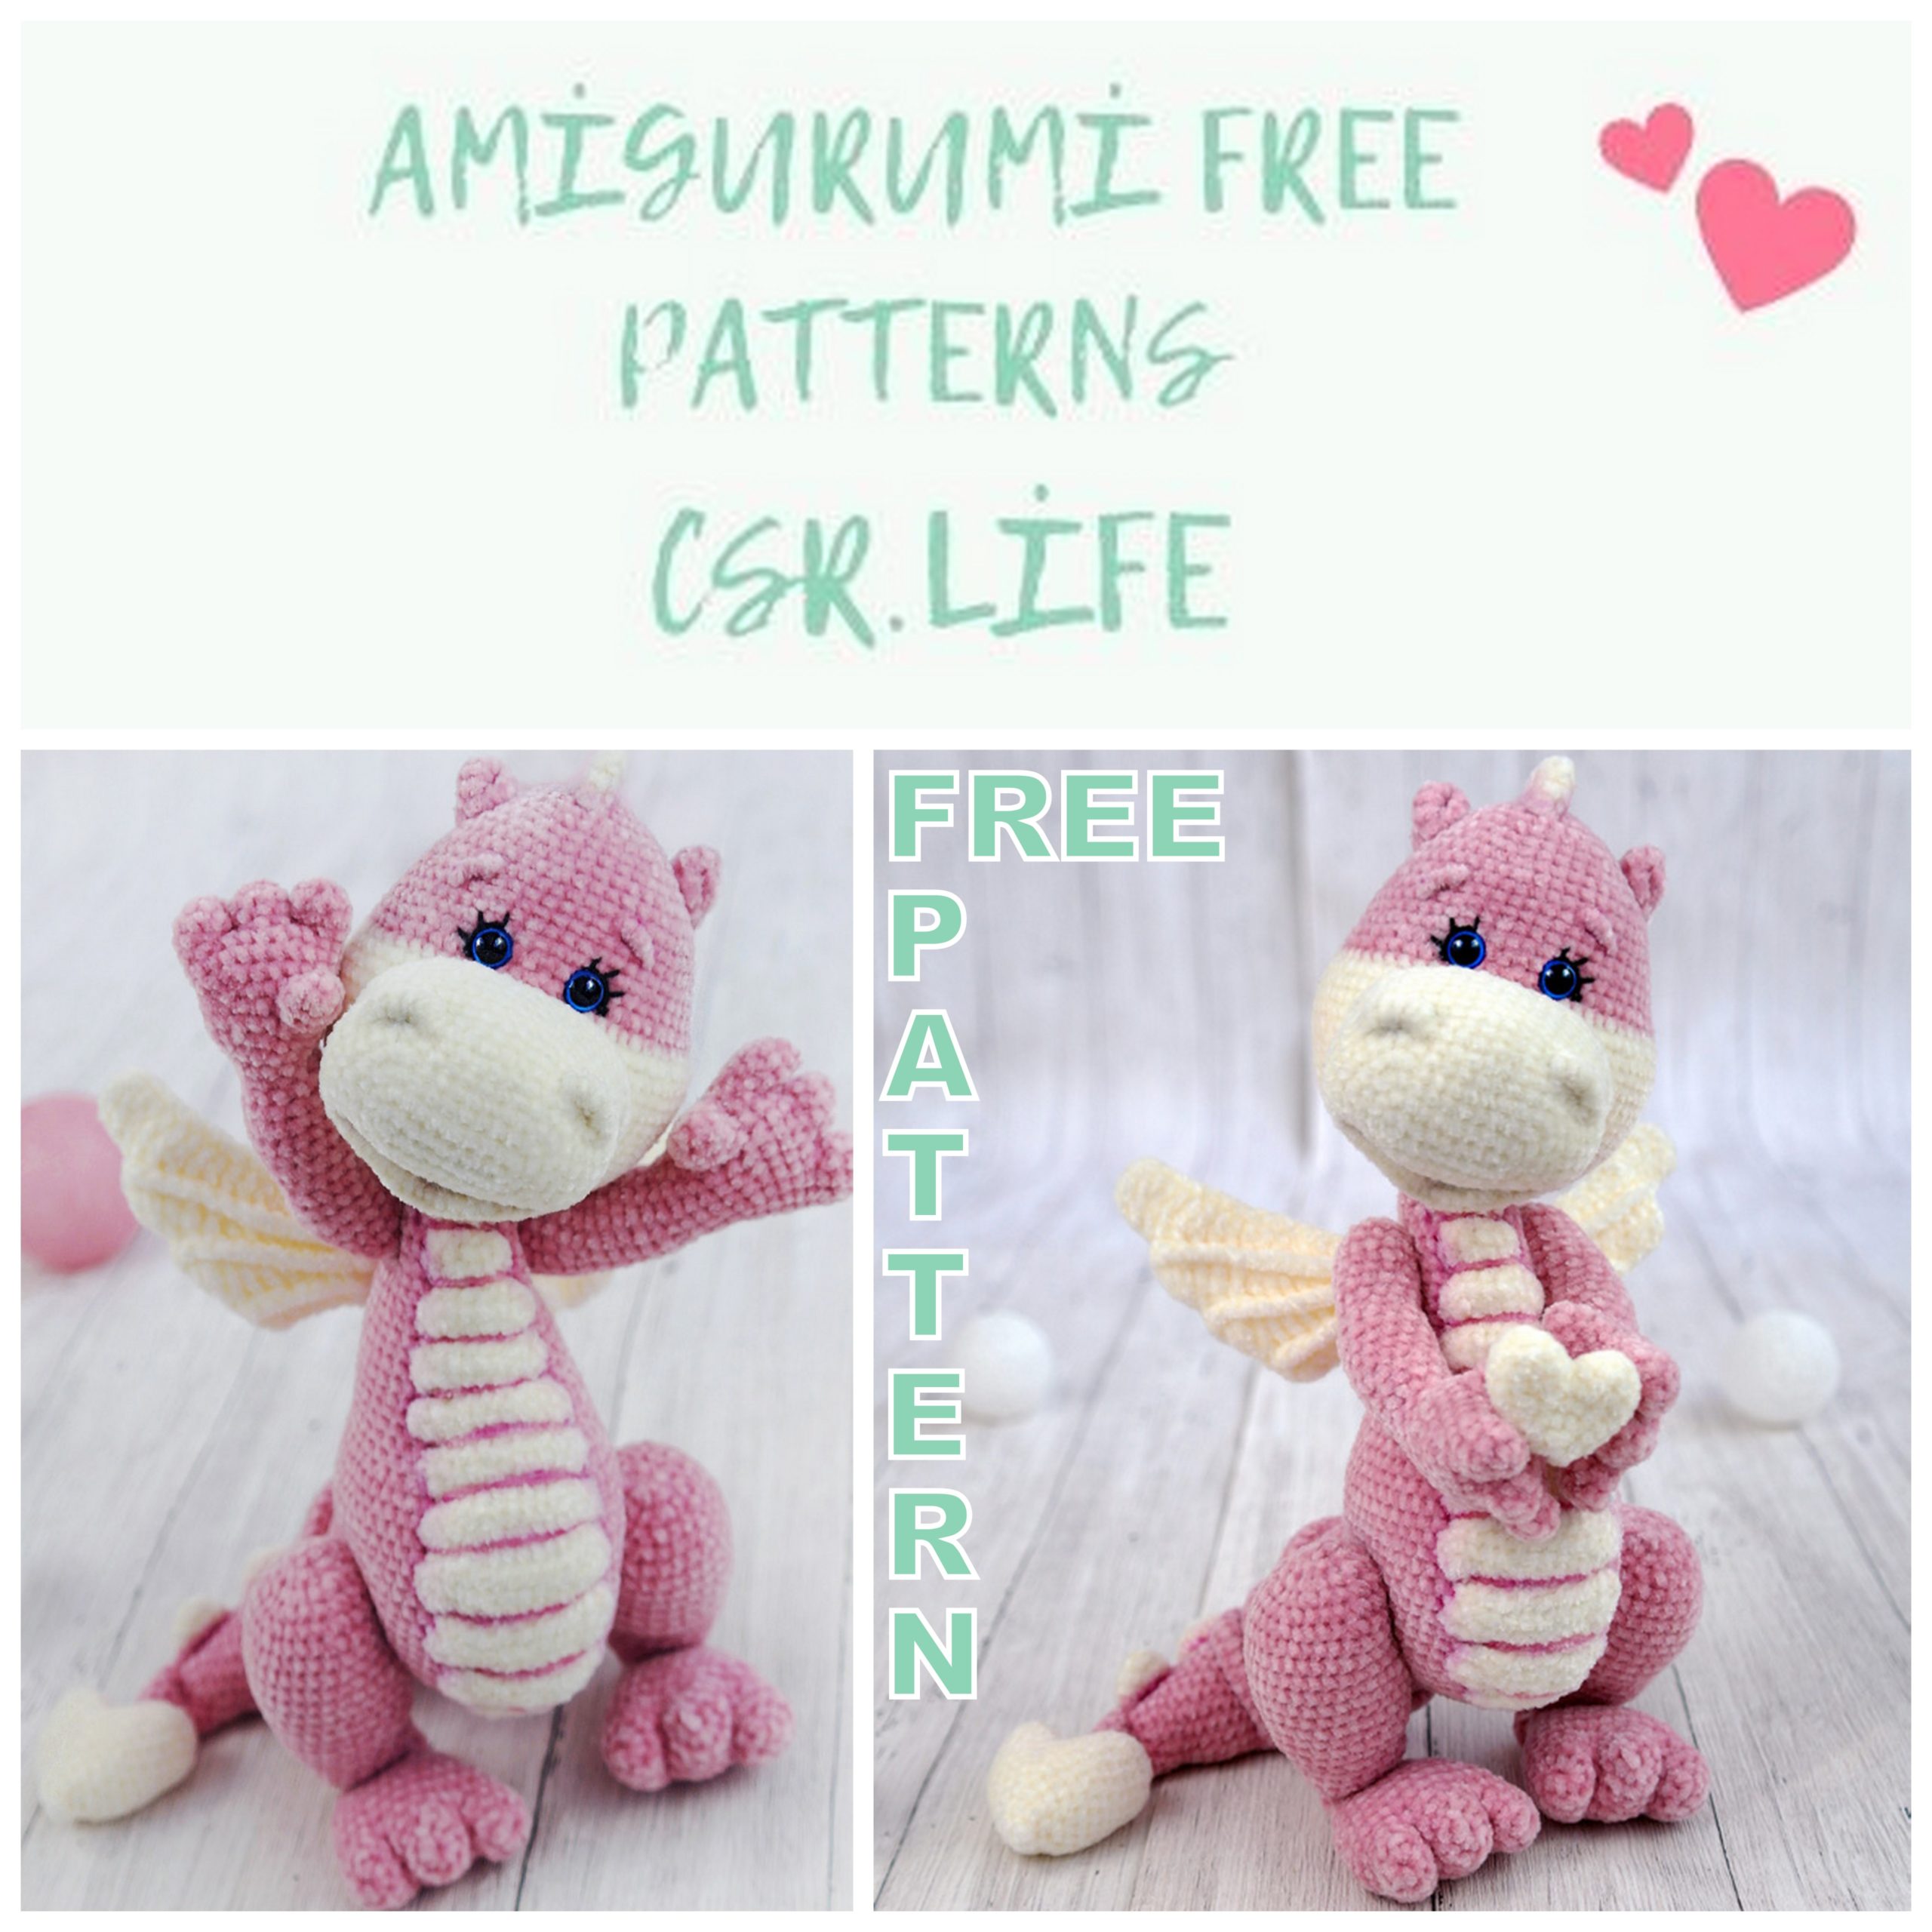
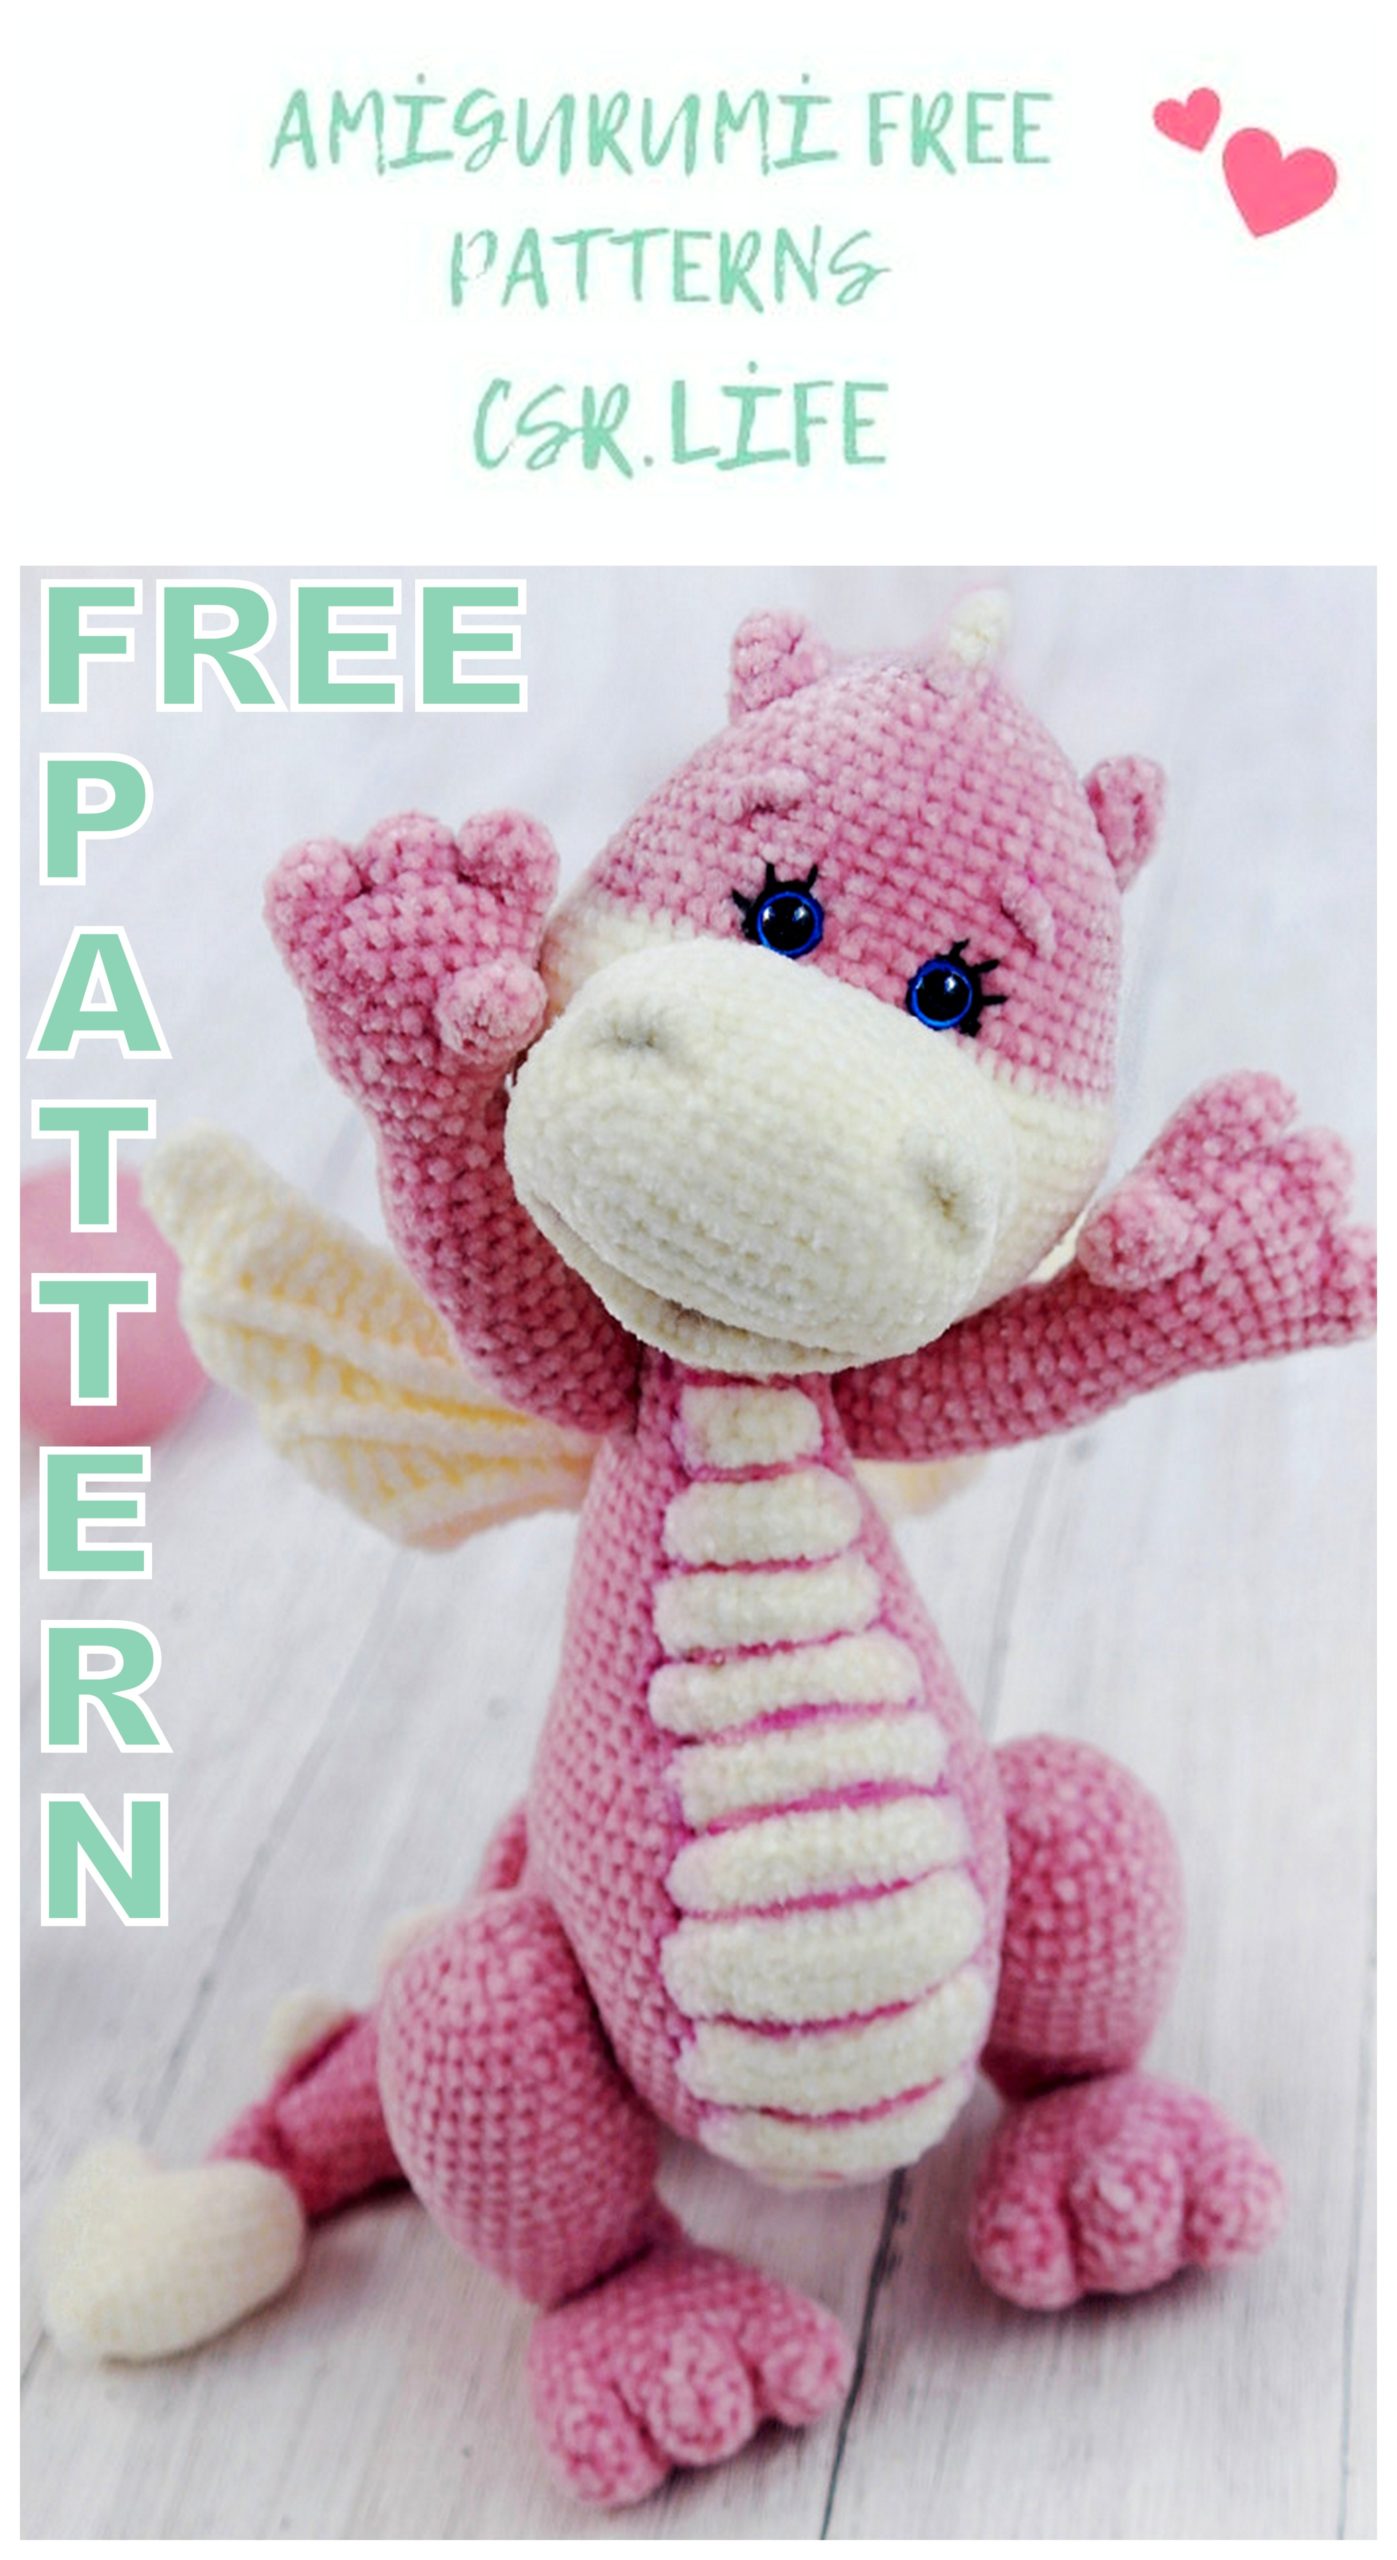
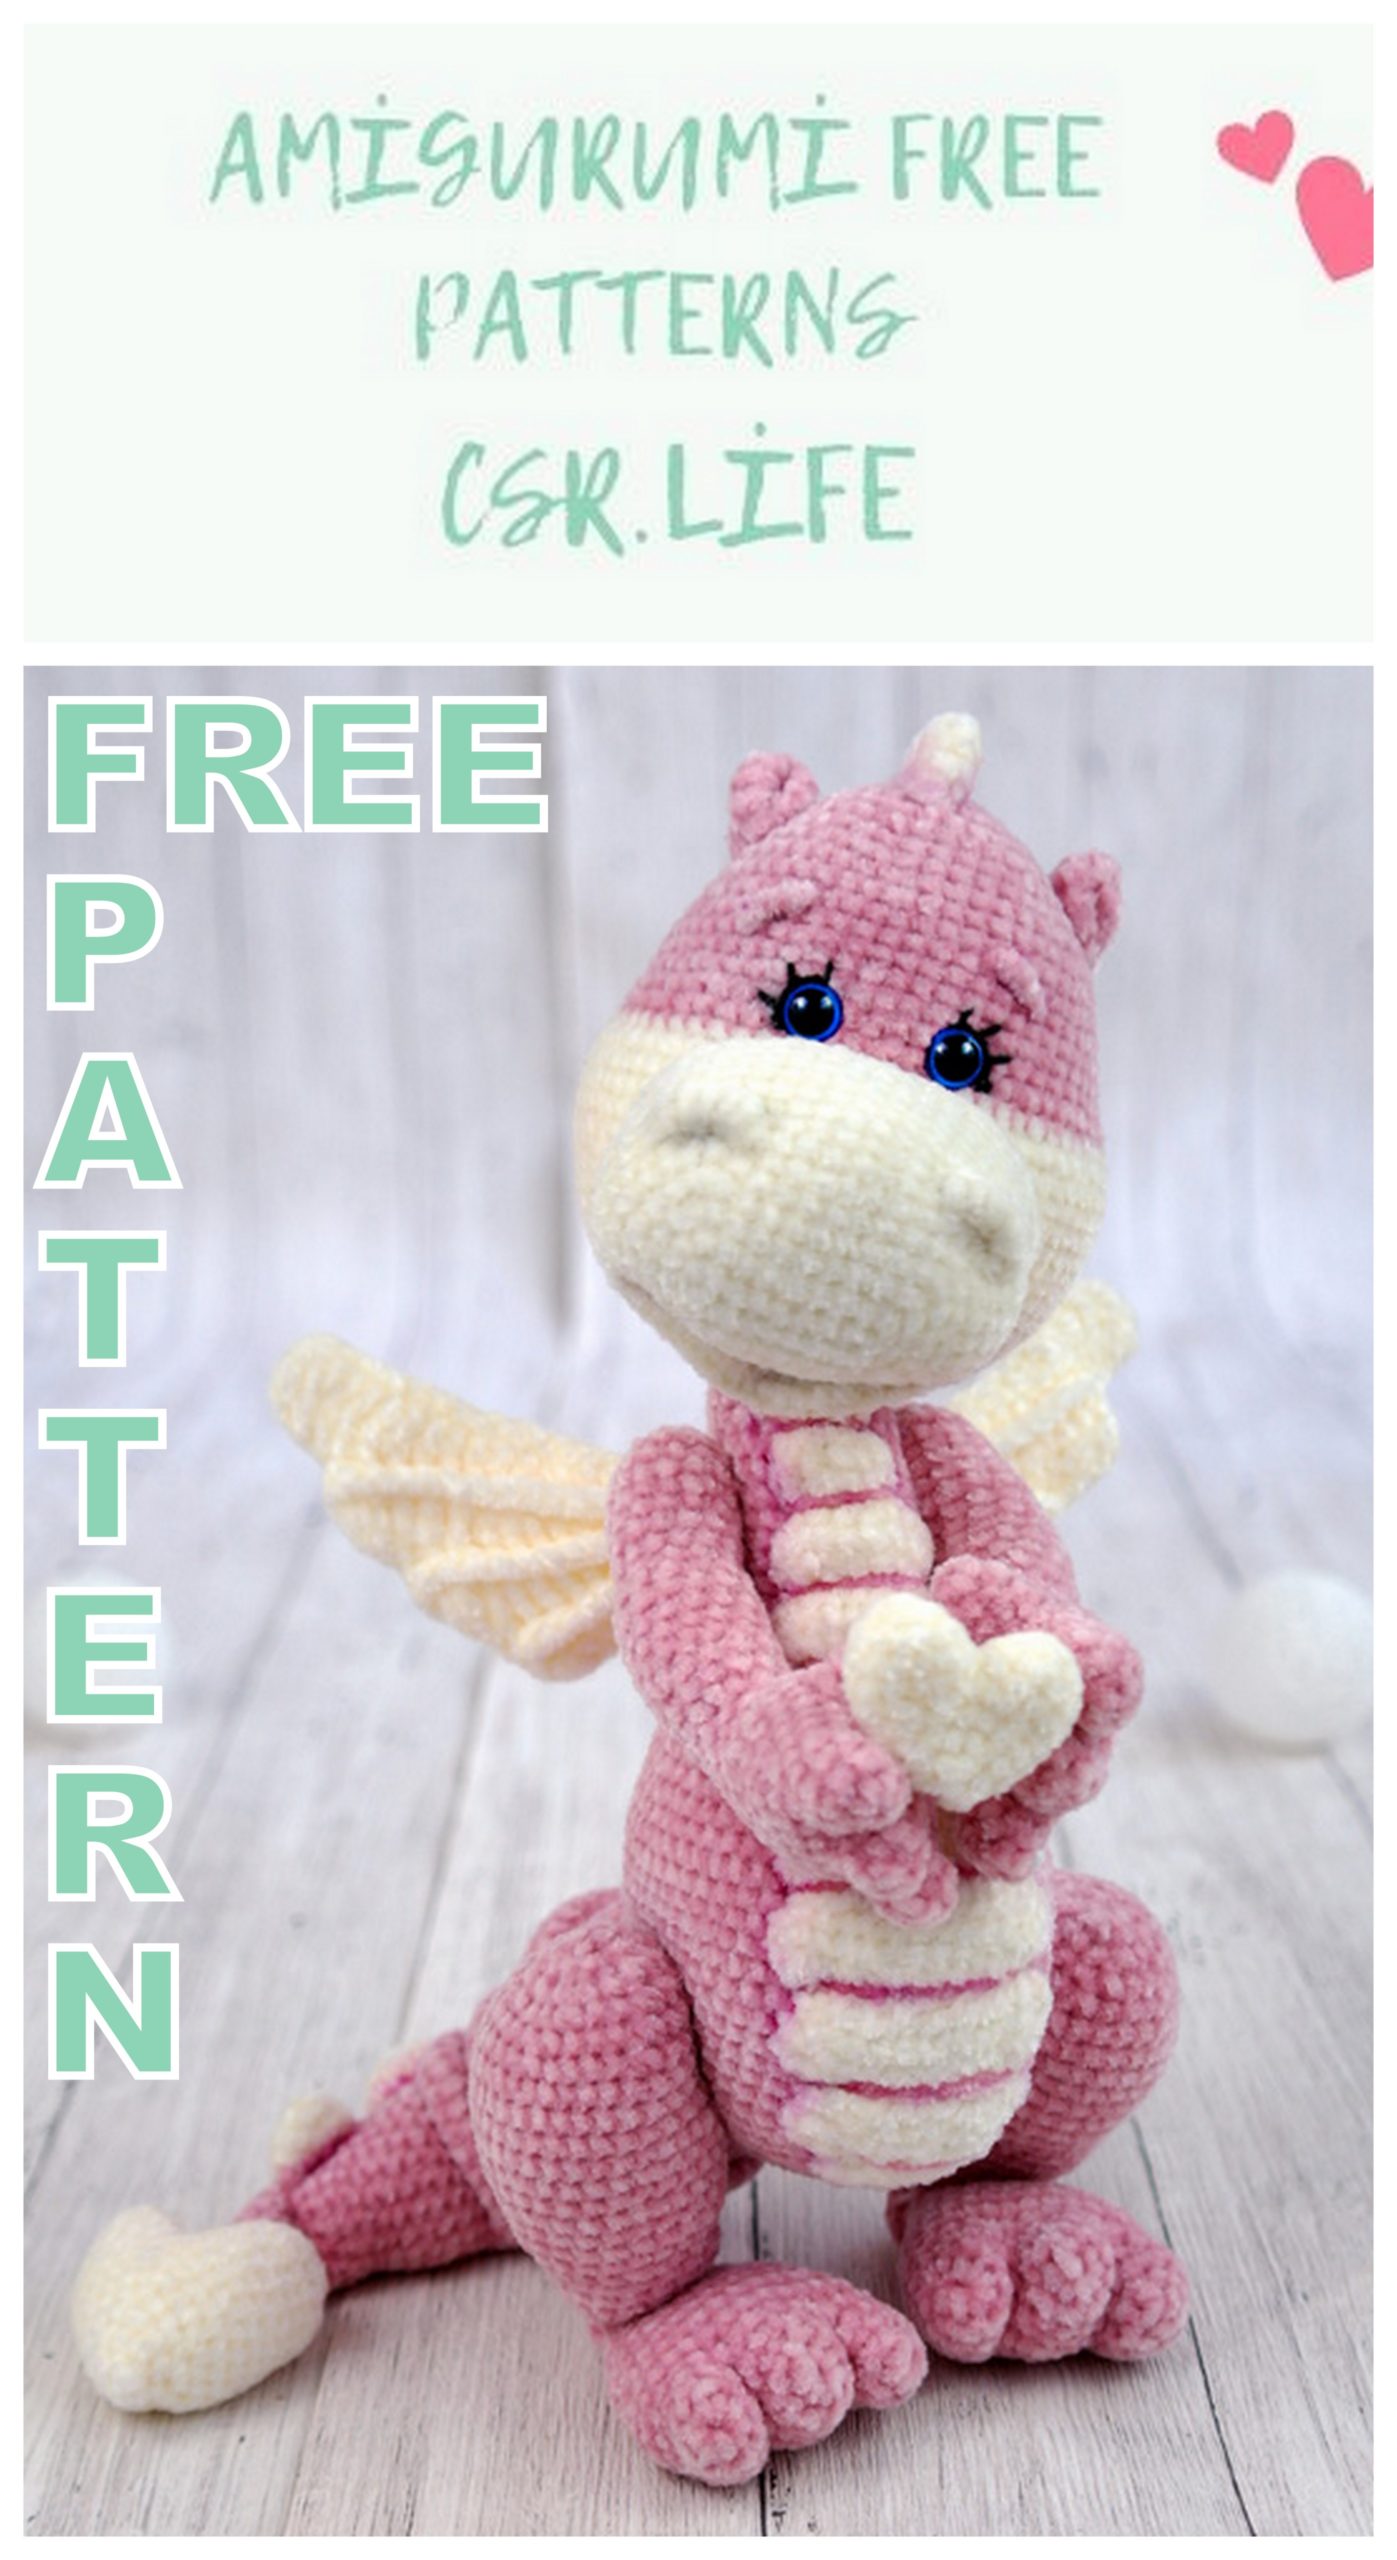
Amigurumi Little Dragon Free Crochet Pattern
Welcome to our website where you can find the most beautiful and highest quality samples of Amigurumi patterns. All the amigurumi patterns you can’t find are available on our website. Every day we continue to share new amigurumi patterns for you. Stay tuned to reach these amigurumi patterns before anyone else
Little Dragon Little Dragon
Some tips:
1. Every Part will be worked in spiral rounds. Each round will be finished with slst.
2. Use a stitch marker. A little thread (just use a different colour from the main one) can help as
well to count the rounds. Place it over the working thread and it will be easy to pull it out.
The little dragon is
crocheted from chenille
wool and very soft and
cuddly. Stands by itself
and is about 27 cm tall.
Depending on the wool
size can be smaller or
larger.
-When crocheting the
dolls I always use a
smaller size hook than
is suggested on the yarn
band. For example, if
it is recommended to
use a 3 mm hook I use
a 1,5 mm hook. It keeps
the stitches tight and
prevents the stuffing
from showing through
holes in the fabric. The
dolly will also be more
accurate.
Materials:
✓70gr Pink yarn
35gr white yarn
KATIA VELVET FINE
Crochet hook 1, 75 mm
✓Safety eyes 8 mm, black yarn for the eyelashes
✓Fiberfill
✓1 long needle for tightenings
Abbreviations:
sc – single crochet
ch – chain
Inc – increase, crochet 2sc in
one stitch
dec – decrease, crochet two sc
together
3 sc in 1 – crochet 3 sc in the
same stitch
3sc tog – crochet 3sc together
X dec – decrease x-times
X inc – increase x-times
(…)x – repeat what is in
brackets x-times
dc – double crochet
hdc- half double crochet stich
tr – triple crochet
Fingers: ( make 8 pieces)
6 sc in a magic ring
1. (2 sc, 1 inc)x2 (8)
2. 8 sc. Make 6 fingers, fasten of and hide the end. When you’ve
finished the 4th finger (for each hand)- do not fasten off but just start
joining the other fingers the following way.
Do not stuff
1. 4 sc on the second finger, 8 sc on the third finger, 4 sc on the second finger, 8sc on the first finger
= 24. This will be the new beginning of the row.
2-3. 24 sc
4. Right arm: 10 sc, 1 dec, 10 sc, 1 dec (22)
5. Right arm: 2 sc, 4sc together with the 4th finger, 16 sc (22)
6. Right arm: 2 sc, 4 sc on the 4th finger, 16 sc (22)
(Left arm : 4. 1 dec, 10 sc, 1 dec, 8 sc, take the 4th finger and crochet 2sc together with the arm (22)
5. 2sc more with the 4th finger, 18sc, 2sc on the 4th finger (22)
6. 2sc on the 4th finger, 20 sc (22))
7. 9 sc, 1 dec, 9 sc, 1 dec (20)
8. 6 sc, 3 sc tog, 7 sc, 3 sc tog, 1sc (16)
9. 6 sc, 1 dec, 6 sc, 1 dec (14) stuff
10. 5 sc, 1 dec, 5 sc, 1 dec (12)
11. 5 sc, 1 inc, 5 sc, 1 inc (14)
12. 14 sc
13. 6 sc, 1 inc, 6 sc, 1 inc (16)
14- 15. 16 sc
16. 1 dec, 5 sc, 1 dec, 5 sc, 1 dec (13)
17. 1 inc, 5 sc, 1 inc, 5 sc, 1 inc (16)
18- 22. 16 sc, stuff
23. (1 sc, 1 dec) х5, 1 sc (11)
24. 5 dec, 1 sc
Close the hole, fasten off and hide the ends.
Arms
Legs
Toes: (6 details)
9 sc in a magic ring,
1. (2 sc, 1 inc)x3 (12)
Do not stuff. We do not cut the thread of the third toe, joining the 2 following toes
6sc on the first toe, 6sc on the second toe, 12sc on the third toe, 6sc on the second toe, 6sc on the
first toe = 36 Place a marker, this will be the new beginning of the row.
2-3. 36 sc
4. 1 sc, 8 dec, 19 sc (28)
5. 12 sc, 1 dec, 12 sc, 1 dec (26)
6-7. 26 sc
8. 10 sc, 3 sc tog, 10 sc, 3 sc tog (22)
9. 22 sc
10. 9 sc, 1 dec, 9 sc, 1 dec (20)
11. (3 sc, 1 dec)х 4 (16)
12. (2 sc, 1 dec)х 4 (12)
13. (1 sc, 1 dec)х 4 (8) stuff
14. 8 inc (16)
15. 16 sc
16. 8 dec (8)
Draw together those 8 stitches with the yarn end, fasten off and hide the ends.
Next, will be crocheting the upper part of the leg.
Chain 12, sl st to the first stitch (to make a circle), crochet in rounds.
1. 12 sc (12)
2. ( 1 sc, inc)х6 (18)
3- 5. 18 sc
6. (2 sc,1 inc)х6 (24)
7-9. 24 sc
10. (3 sc,1 inc)х6 (30)
11. 30 sc
12. (4 sc,1 inc)х6 (36)
13- 16. 36 sc
17. (4 sc, 1 dec)х6 (30)
18. (3 sc, 1 dec)х6 (24)
19. (2 sc, 1 dec)х6 (18) stuff
20. (1 sc, 1 dec)х6 (12)
6 dec, close the hole, fasten off and
hide the ends. Sew both pieces together. See picture for better understanding.
Tail
1. 6 sc in a magic ring,
2. 6 sc (6)
3. 6 inc
4- 6. 12 sc
7. 5 sc, 1 inc, 5 sc, 1 inc (14)
8. 14 sc
9. 6 sc, 1 inc, 6 sc, 1 inc (16)
10. 7 sc, 1 inc, 7 sc, 1 inc (18)
11. 8 sc, 1 inc, 8 sc, 1 inc (20)
12. 20 sc
13. 9 sc, 1 inc, 9 sc, 1 inc (22)
14- 15. 22 sc
16. 10 sc, 1 inc, 10 sc, 1 inc (24)
17. 11 sc, 1 inc, 10 sc into the front loops only, 1 sc, 1 inc (26)
18. 26 sc
19. 12 sc, 1 inc, 12 sc, 1 inc (28)
20. 28 sc
21. 13 sc, 1 inc, 10 sc together with the 10 unused back loops from round 17, 3 sc, 1 inc (30)
The first fold on the tail was obtained. All folds run parallel to each other.
22. 14 sc, 1 inc, 14 sc, 1 inc (32)
23. 15 sc, 15 sc into the front loop only, 2 sc (32)
24. 15 sc, 1 inc, 15 sc, 1 inc (34)
25. 16 sc, 1 inc, 16 sc, 1 inc (36)
26. 16 sc, 15 sc together with the 15 unused back loops from round 23, 5 sc (36)
27. 17 sc, 1 inc, 17 sc, 1 inc (38)
28. 18 sc, 1 inc, 18 sc, 1 inc (40)
29. 19 sc, 1 inc, 19 sc, 1 inc (42)
30- 31. 42 sc
32. 11 sc, 22 sc into the front loop, 9 sc
33- 36. 42 sc
37. 12 sc, 22 sc together with the 22 unused back loops from round
32, 8 sc (42)
38- 44. 42 sc
Stuff the tail.
Leave the stitching thread.
Tail
Head
Start crocheting with the pink color.
6 sc in a magic ring, place a round marker.
*Keep an eye on the round marker, it should always be a straight line in the back middle part of
the head and body.
1. 6 inc. (12)
2. (1 sc, 1 inc)х6 (18)
3. (2 sc, 1 inc)х6 (24)
4. (3 sc, 1 inc)х6 (30)
5. (4 sc, 1 inc)х6 (36)
6. 36 sc
7. (5 sc, 1 inc)х6 (42)
8. (6 sc, 1 inc)х6 (48)
9. (7 sc, 1 inc)х6 (54)
10-14. 54 sc
15. 24 sc, place additional eye marker, 6 sc, place additional eye marker, 24 sc (54)
De additional markers are there to help you find the right position for the eyes.
16. 9 sc(1 inc, 1 sc)x6, 12 sc, (1 sc, 1 inc)x6, 9 sc (66)
Change color to white.
17. 66 sc
18. 9 sc (1 inc, 2 sc)x6, 12 sc, (2 sc, 1 inc)x6, 9 sc (78)
19-25. 78 sc
26. 9 sc (1 dec, 2 sc)x6, 12 sc, (2 sc, 1 dec)x6, 9 sc (66)
27. 66 sc
If you’re making this toy for a child and you
want to use safety eyes – it’s time to place
them now (use
the markers from rnd 15 for the right
position). Now please eyes insert and fasten
them between row 15 and 16.
28. (9 sc, 1 dec)х6 (60)
29. (8 sc, 1 dec)х6 (54)
30. (7 sc, 1 dec)х6 (48)
31. (6 sc, 1 dec)х6 (42)
32. (5 sc, 1 dec)х6 (36)
33. (4 sc, 1 dec)х6 (30)
34. (3 sc, 1 dec)х6 (24)
Stuff the head
35. (2 sc, 1 dec)х6 (18) Leave a thread for sewing 7
Body
Muzzle
(White yarn)
Smile on the muzzle is crocheted in the same way as the folds
and the tail.
Chain 9, start the 2nd chain from the hook
1. 8 sc, 3 sc in one, 8 sc, 3 sc in one (22)
2. 8 sc, 3 inc, 8 sc, 3 inc (28)
4. 8 sc, (1 inc, 1 sc)x3, 8 sc, (1 inc, 1 sc)x3 (34)
5. 8 sc, (1 inc, 2 sc)x3, 8 sc, (1 inc, 2 sc)x3 (40)
6. 8 sc, (1 inc, 3 sc)x3, 8 sc, (1 inc, 3 sc)x3 (46)
Crochet 4 sc replace the marker after this stitch, this will be
the new beginning of the row. The marker goes along the
middle of the muzzle, it goes straight.
7. 17 sc, 12 sc into the front loops only, 17 sc (46)
If you are crocheting with chenille wool and the chains are not
so clearly visible, you can mark the first and the last chain with
a colored thread.
8- 10. 46 sc
6 sc in a magic ring
1. 6 inc. (12)
2. (1 sc, 1 inc)х6 (18)
3. (2 sc, 1 inc)х6 (24)
4. (3 sc, 1 inc)х6 (30)
5. (4 sc, 1 inc)х6 (36)
6. (5 sc, 1 inc)х6 (42)
7. (6 sc, 1 inc)х6 (48)
8. (7 sc, 1 inc)х6 (54)
9. (8 sc, 1 inc)х6 (60)
10- 21. 60 sc
22. 12 sc, (1 sc, dec)х 12, 12 sc (48)
23. 48 sc
24. 12 sc, 12 dec, 12 sc (36)
24- 27. 36 sc
28. (4 sc, 1 dec)х6 (30)
29-32. 30 sc
33. (3 sc, 1 dec)х6 (24) stuff the body
34-37. 24 sc
38. (2 sc, 1 dec)х6 (18)
Fasten of and hide the ends.
Assembly
Muzzle
11. 17 sc, 12 sc together with the 12 unused back loops from round 7, 17 sc (46)
You should have a smile now.
12. 46 sc
13. 12 sc, 22 sc into the front loops only, 12 sc (46)
14- 17. 46 sc
18. (2 sc, 1 dec)х3, 22 sc together with the 22 unused back loops from round 13, (2 sc, 1 dec)х3 (40)
Sew legs between
onto the body
between the rows
10 -11.
Sew the nose onto the head (place
the muzzle on the white part from the
head). Stuff.
Take the wire, about 10 cm long. Wrap with tape and insert the wire into the body. Put the head
onto the body and sew the head onto the body.
Sew arms onto the body between the rows 36-37
Sew the tail onto the middle lower part of the body, see picture.
Embroider the nostrils with stitches (between the rows 6 and 8) – 3 sc wide for each stitch to form
the nostril, see picture for explanation.
Assembly
You can also embroider the eyebrows a couple rows higher than the eyes. The eyelashes
are embroidered with black yarn, see the picture for the right placement.
Spikes (12 pieces)
1. 5 sc in a magic ring
2. 5 inc. (10)
3. 10 sc
Sew them onto the middle of the
head, back and tail.
Ears
1. 5 sc in a magic ring
2. 5 inc. (10)
3- 4. 10 sc
Fold the ears and sew onto
the head at the 7th row of the
head.
Assembly
Wings
Chain 23, start in the 4nd chain from the
hook
1. 6 tr, 5 dc, 3 hdc, 6 sc
Turn
2. 1 ch, 17 sc into the back loops only ( we do
not us the last 3 loops at the end of the rnd)
Turn, crochet into the back loops only from 1 row, 3 ch
3. 5 tr, 4 dc, 2 hdc, 6 sc
Turn
4. 1 ch, 13 sc into the back loops only (we do not us the last 3 loops at the end of the rnd)
Turn, crochet into the back loops from 3th row, 3 ch
5. 5 tr, 3 dc, 2 hdc, 3 sc
Wings
Turn
6. 1 ch, 10 sc into the back loops only (we do not
us the last 3 loops at the end of the rnd)
Turn, crochet into the back loops from 5th row, 3
ch
7. 2 tr, 3 dc, 2 hdc, 3 sc
The second side of the wing
Chain 13, start in the 4nd chain from the hook
1. 2 tr, 3 dc, 2 hdc, 3 sc
Turn
2. 1 ch, 10 sc into the back loops only , chain 6 ,
Turn,
Start in the 4nd chain from the hook: 3 tr in 3 ch,
then into the remaining unused loops of row 1:2
tr, 3 dc, 2 hdc, 3 sc Turn
3. 1 ch, 13 sc sc into the back loops only and now chain 7, Turn,
Start in the 4nd chain from the hook: 4 tr in 4 ch, then into the unused loops of row 2: 1 tr, 4 dc, 2
hdc, 6 sc Turn
4. 1 ch, 17 sc into the back loops only, chain 6, Turn,
Start in the 4nd chain from the hook: 3 tr in 3 ch, then into
unused loops of row 3: 3 tr, 5 dc, 3 hdc, 6 sc
Fold the wings together and sew close, see picture.
Sew the wings on both sides of the second spike on the back,
see picture.
The white breast and tummy consists of 11 small parts.
Parts 1,2
Chain 4, start in the 2nd chain from the hook
1. 2 sc, 3 sc in one, 2 sc, 3 sc in one (10)
Part 3
Chain 5, start in the 2nd chain from the hook
1. 3 sc, 3 sc in one, 3 sc, 3 sc in one (12)
Part 4
Chain 7, start in the 2nd chain from the hook
1. 5 sc, 3 sc in one, 5 sc, 3 sc in one (16)
Parts 5,6
Chain 9, start in the 2nd chain from the hook
1. 7 sc, 3 sc in one, 7 sc, 3 sc in one (20)
Part 7
Chain 10, start in the 2nd chain from the hook
1. 8 sc, 3 sc в1, 8 sc, 3 sc в 1 (22)
Wings
Assembly
Part 8
Chain 11, start in the 2nd chain from the hook
1. 9 sc, 3 sc in one, 9 sc, 3 sc in one (24)
Part 9
Chain 10, from the 2nd chain from the hook
1. 8 sc, 3 sc in one, 8 sc, 3 sc in one (22)
Part 10
Chain 9, start in the 2nd chain from the hook
1. 7 sc, 3 sc in one, 7 sc, 3 sc in one (20)
Part 11
Chain 7, start in the 2nd chain from the hook
1. 5 sc, 3 sc in one, 5 sc, 3 sc in one (16)
Sew the parts together from part 1 till 11.
Sew the part onto the belly, taking
care of the round part on each part to
keep this shape.
Make a stitching line with pink yarn
to accent all parts, like I did on the
following picture.
If desired, you can also tint the belly. I always use pastel chalk or
watercolor pencils.
You can also tint the smile and nostrils with light gray. I also
tinted the spikes with pink paint.
At the tip of the tail we attach the heart.
Heart:
2 parts crochet:
6 sc in a magic ring
1. 6 inc. (12)
2. (1 sc, 1 inc)х6 (18)
3. 18 sc
Connect the two parts together
4. crochet 18 sc of the part 1, crochet now 18
sc of the part 2 (36)
5-6. 36 sc
7. ( 4 sc, 1 dec)х 6 (30)
8. 30 sc
9. ( 3 sc, 1 dec)х 6 (24)
10. 24 sc
11. ( 2 sc, 1 dec)х 6 (18) stuff
12. ( 1 sc, 1 dec)х 6 (12)
13. 6 dec
Close the hole, fasten off and hide the ends.
Sew the two pieces together.
Have fun crocheting!