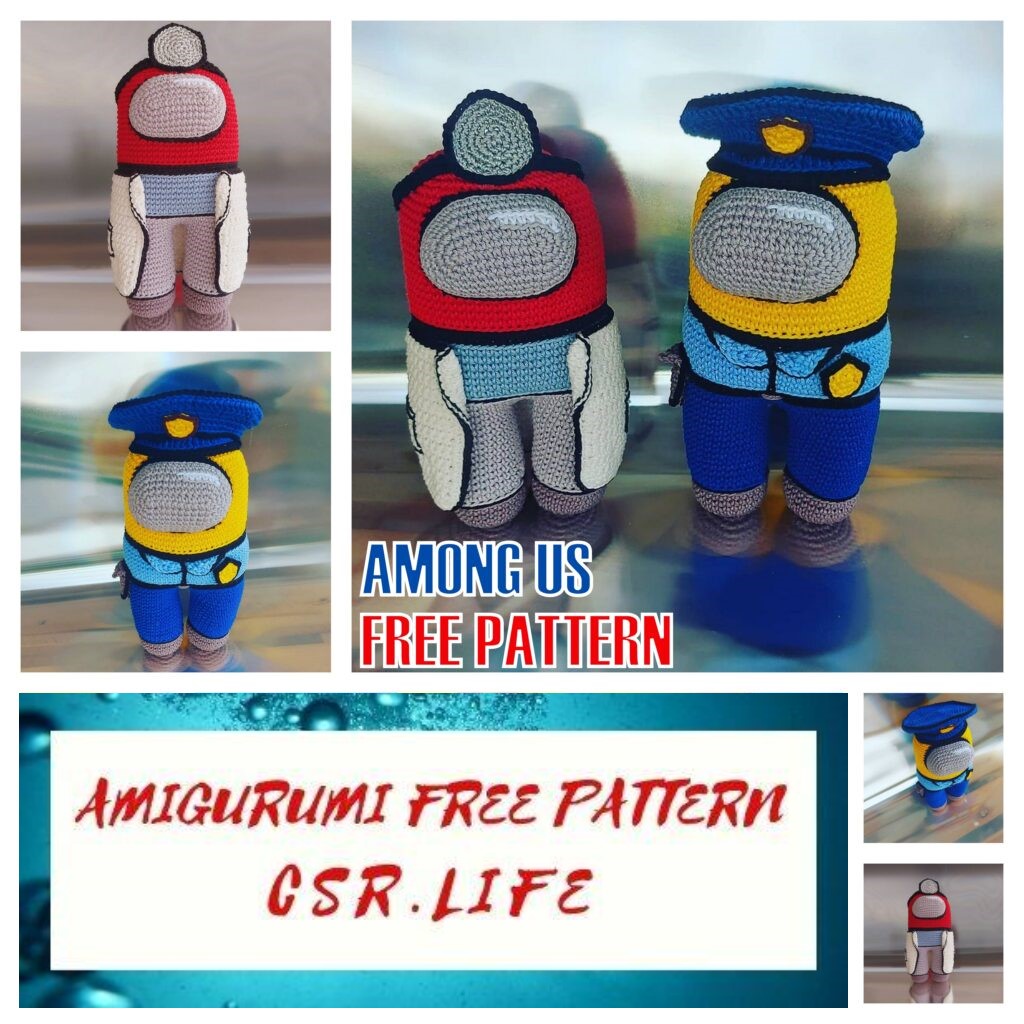
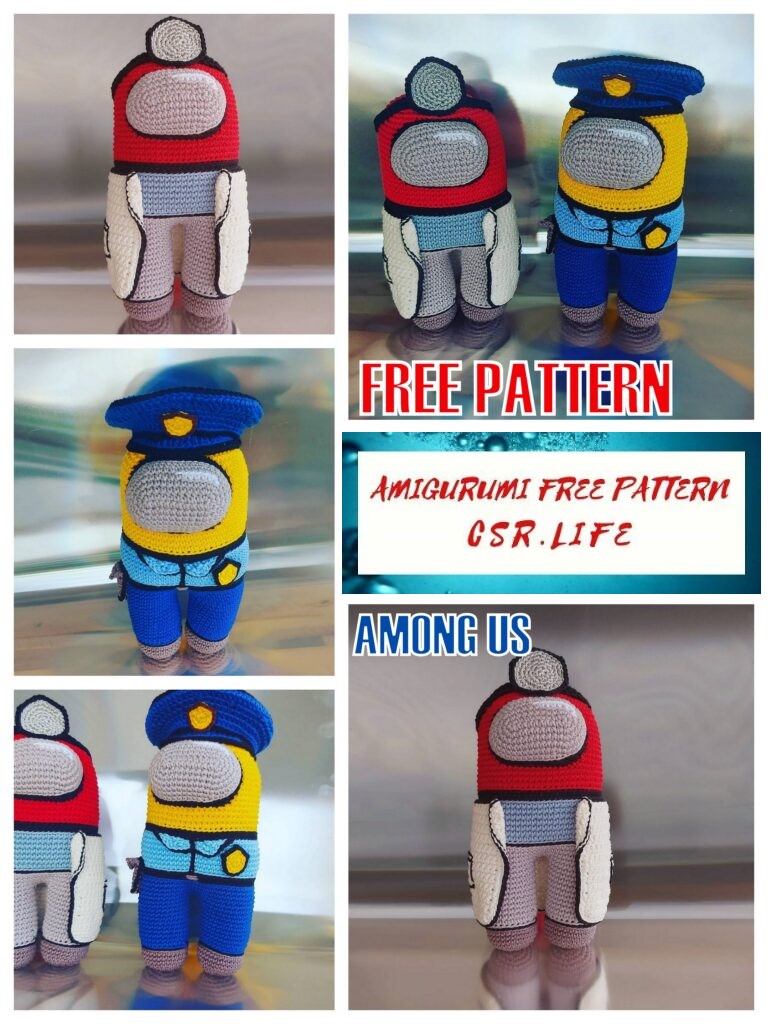
Amigurumi Among Us Free Pattern
We share wonderful amigurumi free patterns with you. In this article, amigurumi among us free pattern is waiting for you.
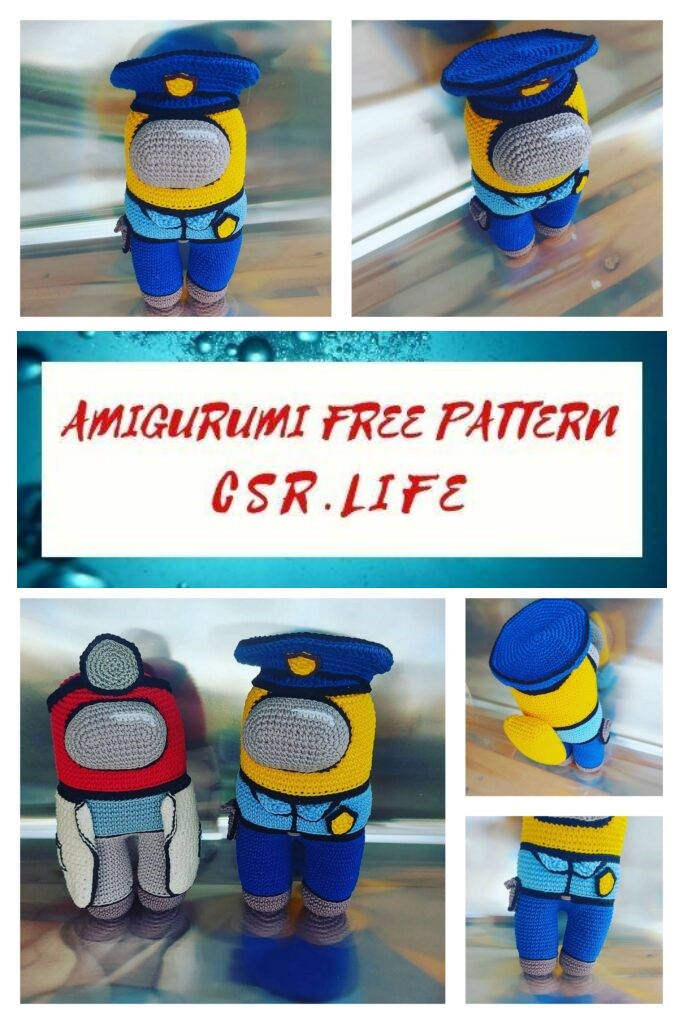
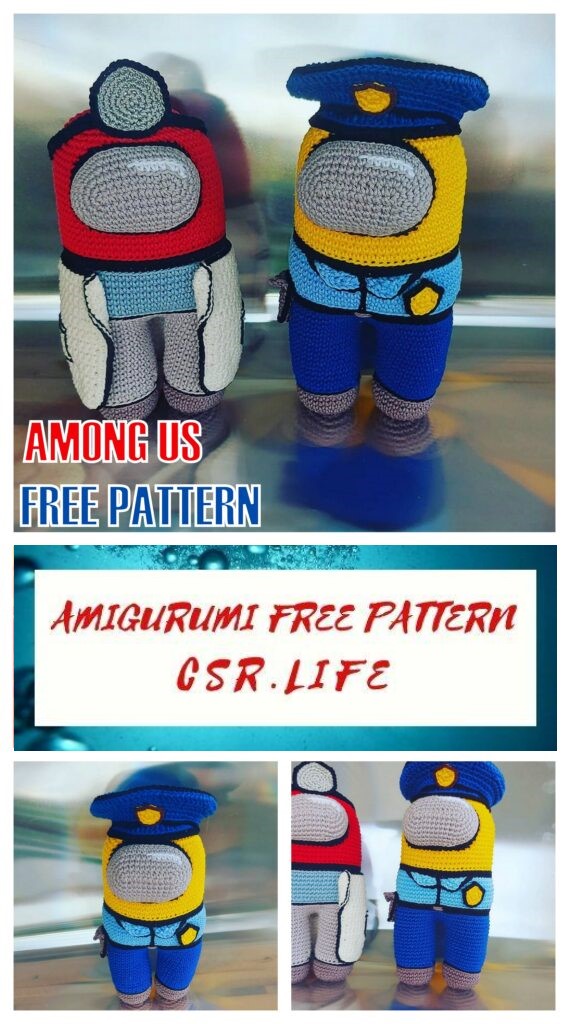
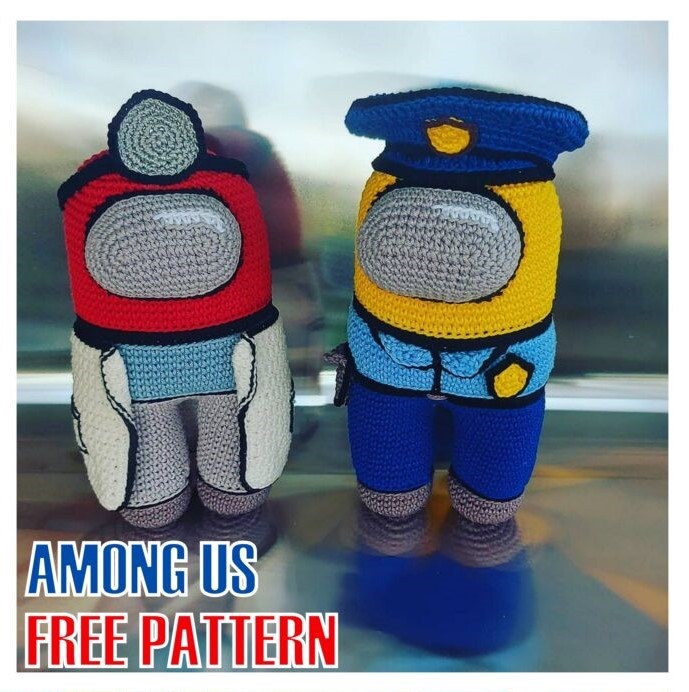
Knitted Captain from the game Among Us
List of materials
Yarn Children’s whim 50 g / 225 m – blue, white, black, gray
A bit of yellow thread for embroidery on a cap and shoulder straps.
Needle for sewing on details and embroidery.
Colorless glue “Moment”, or the one that you use
Filler
Hook No. 1.25
When using this yarn, the height of the toy is 11-12 cm
Abbreviations:
sc – single crochet
HDC – half double crochet
inc – increase
dec – decrease
sl-st- slip stitch
ch – chain
(12) – number of loops in a row
PATTERN

Legs
blue
1 row – MAGIC RING 6 sc (6)
2nd row – 6 inc (12)
3 row – (sc, inc) x 6 (18)
4 row – 18 sc (18)
the black
5 row – 18 sc (18) do not cut the thread, leave on the seamy side
blue
6 row – 18 sc
Now let’s go back to the black row – insert the hook into the first column of the black row, grab the black
thread and make a loop on the face, then we knit the entire black row with connecting posts,
while the thread remains all the time from the inside out.
Thus, knit all black stripes of the body.
Row 7-9 – 18 sc, cut off the thread.
We knit the second leg in the same way, but we do not cut the thread
We fill with filler during knitting.
Connect the legs
Knit 3 chain stitches and connect with the other leg at the end of the row.
Body
blue
Row 10 – (18 sc at leg, 3 sc at sts) x 2 (42)
11-13 row – 42 sc
the black
14 row – 42 sc
white
15-18 row – 42 sc
the black
19 row – 42 sc
white
20-30 rows – 42 sc
31 row – (5 sc, dec) x 6 (36)
32 row – (4 sc, dec) x 6 (30)
33 row – (3 sc, dec) x 6 (24)
34 row – (2 sc, dec) x 6 (18)
35 row – (sc, dec) x 6 (12)
36 row – 6 dec (6)
Cut the thread, pull off the hole, hide the thread.
Screen
Knits in a circle
grey
Cast on 6 stitches
Row 1 – in 3 sc, 2 sc, 3 sc in one loop, on the reverse side 3 sc, 3 sc in one loop (12)
2nd row – 3 sc, 3 inc, 3 sc, 3 inc (18)
3 row -, 3 sc, (sc, inc) x 3, 3 sc, (sc, inc) x 3 (24)
4 row -, 3 sc, (2 sc, inc) x 3, 3 sc, 2 (sc, inc) x 3 (30)
5 row – 30 sc
the black
6 row – 30 sc, leave thread to sew on.
Backpack
Knits in white.
1 row – MAGIC RING 8 sc (6)
2 row – (sc, inc) x 4 (12)
3 row – (2 sc, inc) x 4 (16)
4th row – (3 sc, 3 sc in one loop) x 4 (24)
5 row – (4 sc, 2 inc) x 4 (32)
6 row – 5 sc, inc, ch, inc, (6 sc, inc, ch, inc) х 3, sc (40)
You should get a square, we knit an additional 8 sc to the corner
7 row – for back half loops 40 sc
8 row – 40 sc
9 row – (8 sc, dec) x 4
Decreases should be in the corners to form the corners of the backpack.
We leave the thread for sewing.
Cap
Knit in white
1 row – Magic ring into 6 sc
2nd row – 6 inc (12)
3 row – (sc, inc) x 6 (18)
4 row – sc, inc, (2 sc, inc) х 5, sc (24)
5 row – (3 sc, inc) x 6 (30)
6 row – 2 sc, inc, (4 sc, inc) x 5, 2 sc (36)
7 row – (5 sc, inc) x 6 (42)
8 row – 3 sc, inc, (6 sc, inc) x 5, 3 sc (48)
9 row – (7 sc, inc) x 6 (54)
10 row – (2 sc, dec) x 13, dec (40)
Now we need to strengthen the top of the cap. To do this, you need to cut a circle to the size of the bottom of the cap made of cardboard or plastic, fix it inside with glue.
11 row – 8 sc, dec, (8 HDC, dec HDC) x 2, 8 sc, dec (36)
12 row – 6 sc, 24 HDC, 6 sc (36)
Row 13 – 11 sc, 14 HDC, 11 sc (36)
Row 14-15 – 10 sc, 16 HDC, 10 sc (36)
16 row – 8 sc, 20 HDC, 6 sc, 2 sl-st (36)
Cut the thread and hide.
We knit a visor with a black thread in rotary rows
1 row – 10 loops from the last we fasten the thread, 16 inc, sc, ch
Row 2 – sk from previous row, 5 sc, 20 HDC, 5 sc, 2 sl-st, ch
3 row – 3 sl-st, 4 sc, 13 HDC, 4 sc, sl-st to the end of the visor, and then tie the remaining white bottom of the cap with sc.
Assembly
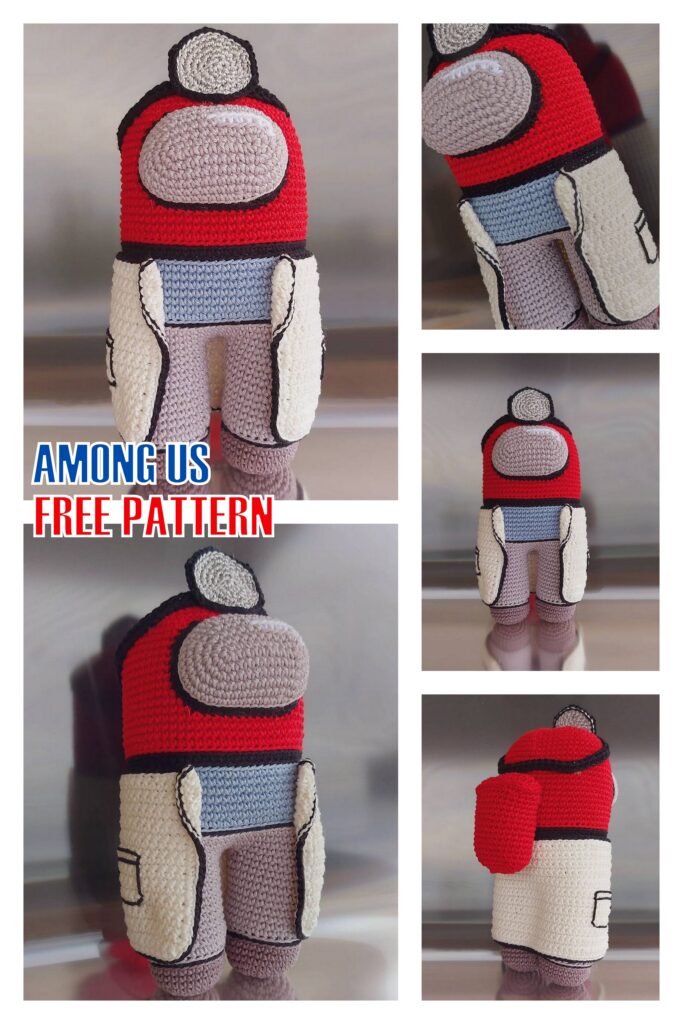
Sew the backpack on the back, adding a little filler to it so that the backpack keeps its shape.
Sew on the screen, departing from the upper black stripe 3 rows.
We embroider a collar, shoulder straps, a sign on a cap.
Add some filler to the front of the cap so that it is taller and sewn or glued to the body.
Make a tie in any convenient way – knit, embroider, draw.