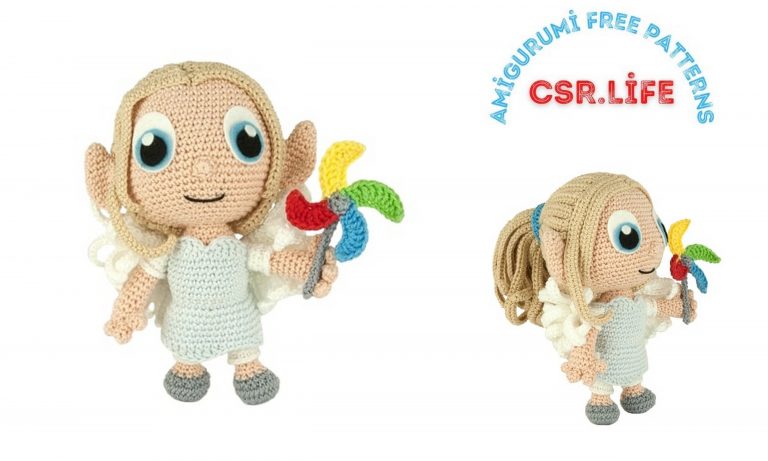
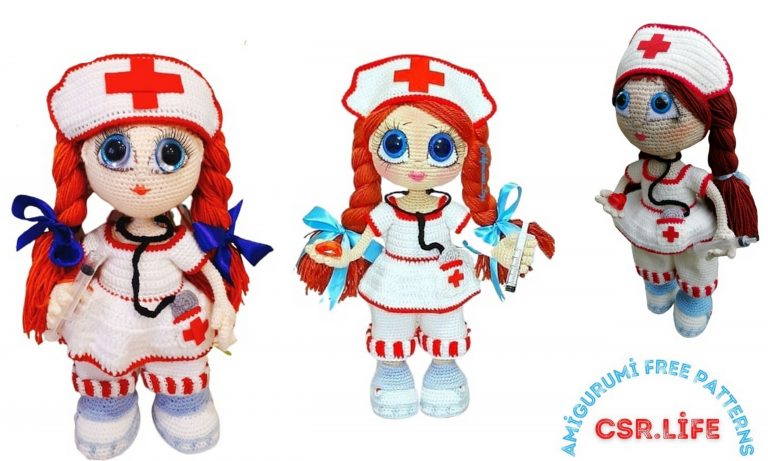
Aria Doll Amigurumi Free Pattern
I share Amigurumi free patterns on my website. In this article, aria doll amigurumi free pattern is waiting for you.
Abbreviations:
ch: chain
sc: single crochet
dec: decrease
inc: increase
sl-st: slip stitch
hdc: half double crochet
dc: double crochet
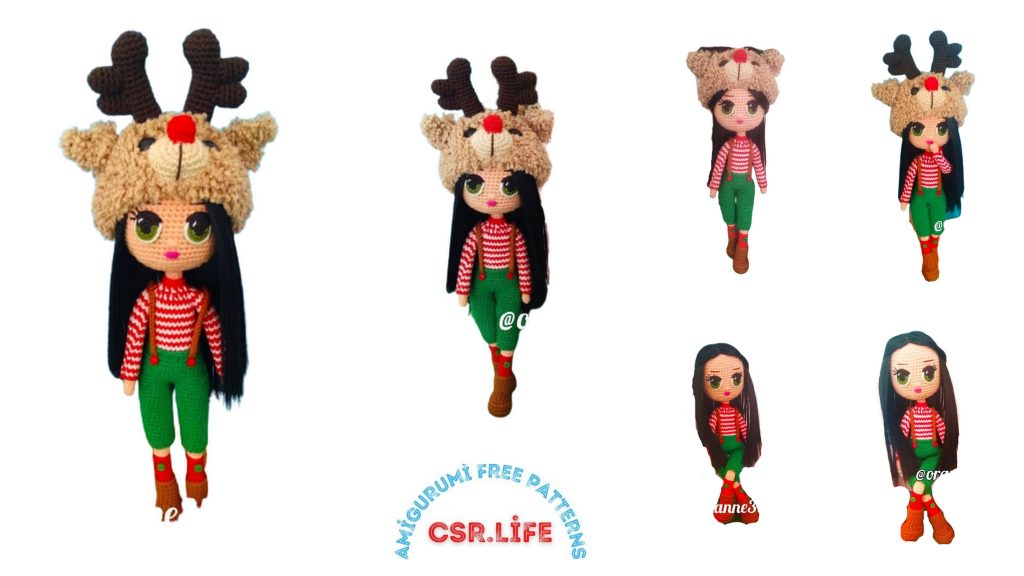
Pattern
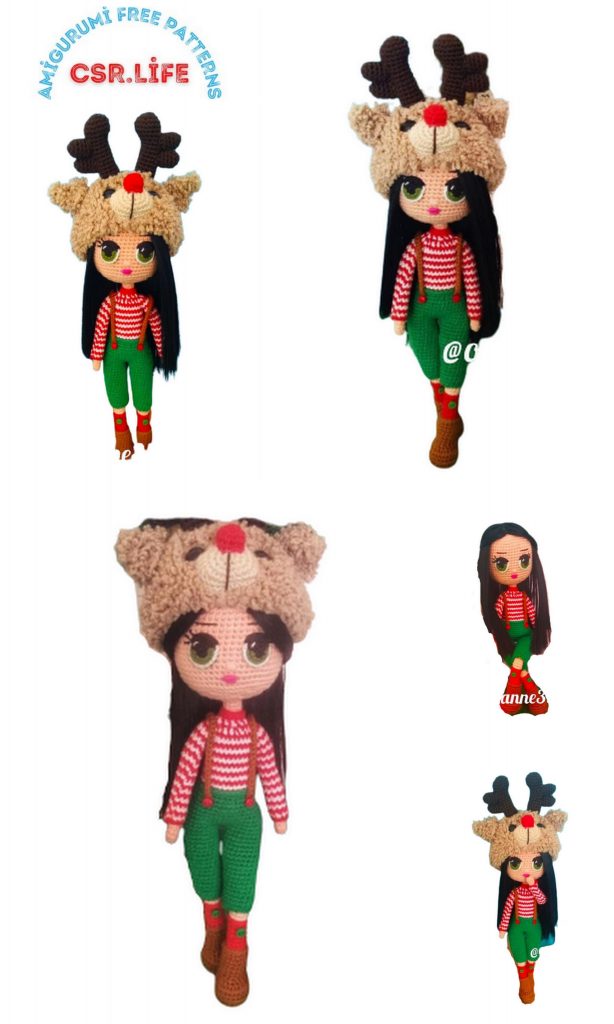
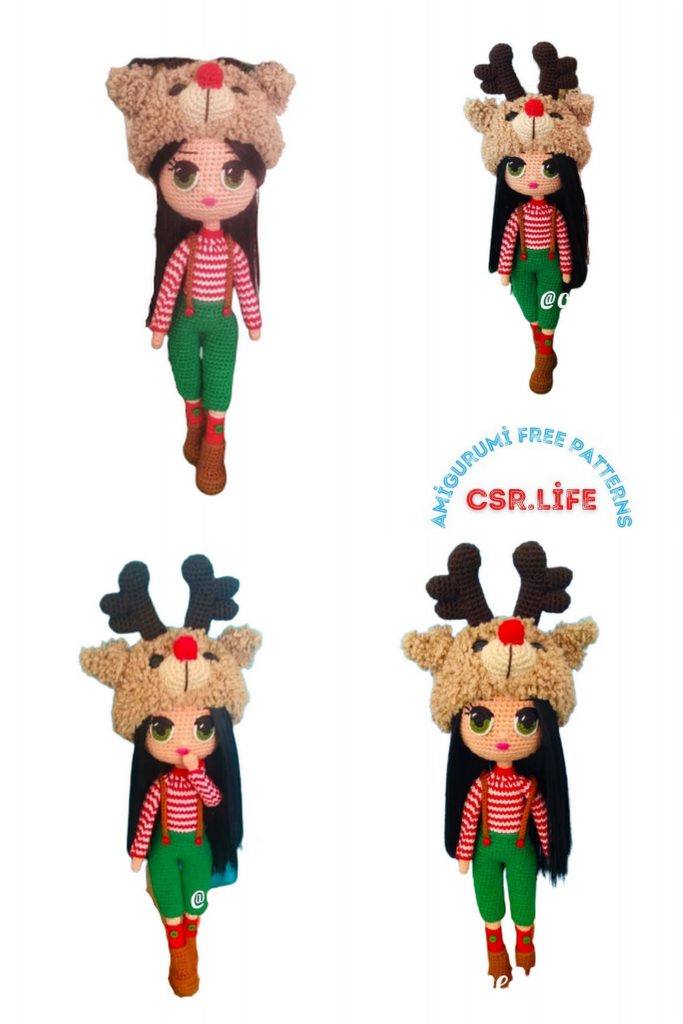
Legs
(we start with coffee color)
1- Pull 4 ch 1inc,1sc,into the same loop 4sc,1sc,1inc(10)
2-2inc,1sc,4inc,1sc,2inc(18)
3-(1sc,1inc)*2.1sc,(1sc,1inc)*41sc,(1sc,1inc)*2(26)
when joining, the face of the lower sole and the upper
the faces of the sole will face each other in opposite directions
5- When joining the two bases, the blo of the lower base becomes the upper
26sc to sink into the flo of the sole
6-blo 26
7-26sc
8-1dec,4sc,8dec,2sc,1dec(16)
9-7sc,2dec,5sc(14)
10-14 14sc
15-flo to 14sc with brown, remaining flo
we switch to red in the part of the remaining flo
1sc,1dec,2sc,1dec,1sc,1dec,1sc,1dec,1sc(10)
Note: after making the first row from flo with red
we pass the wire to the leg. 16-21. rows in red
10sc
22- 10sc from flo with red, remaining blo
10sc 23-42 with tan to part. rows 10sc(right
Legs continue..
42nd row on the leg, knit 9 sc, leaving the remaining 1 sc empty)
Note: Extra 5sc for left leg after 42nd row is finished
It is knitted more (the end should be inside the leg)
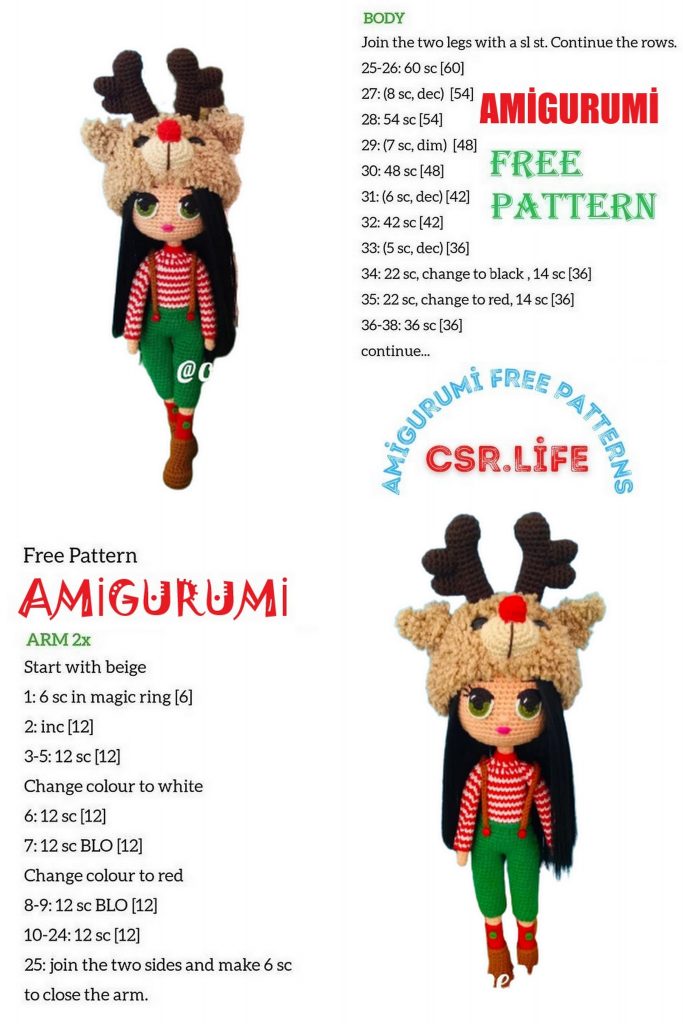
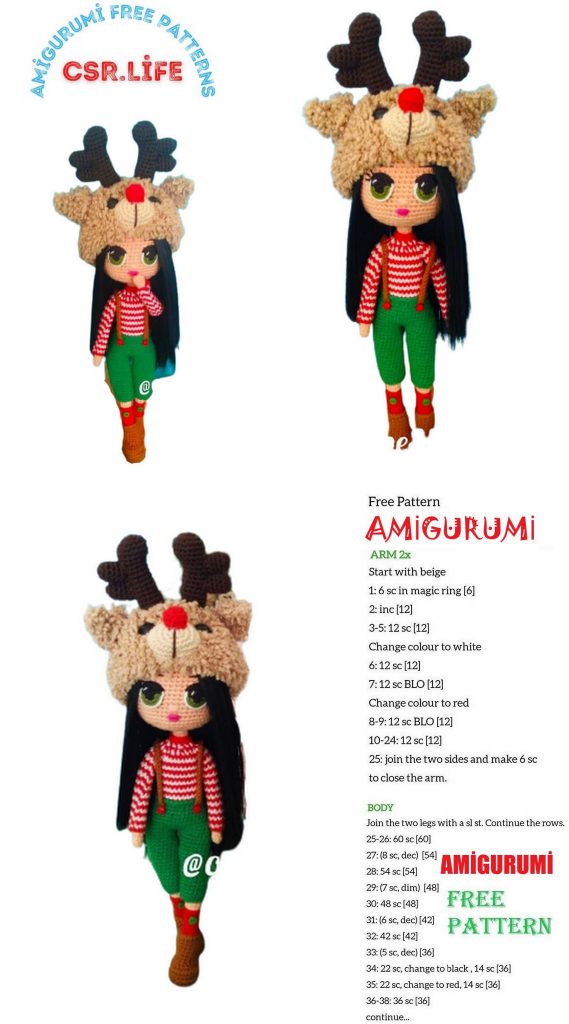
PANTS LEGS
with Left Green
16 sc on 1-16 ch (chains as loosely as possible)
should be withdrawn) 2-16sc
3-11sc,1inc,4sc (17)
4-5. rows 17sc
6-11sc,1inc,5sc(18) 7-8. rows 18sc 9-11sc,1inc,6sc(19) 10-11.
rows 19sc 12-11sc,1inc,7sc(20) 13-17. rows20sc
With Right Green
16 sc on 1-16 ch (chains as loosely as possible)
should be pulled)
2-16sc
3-4sc,1inc,11sc(17)
4-5. rows 17sc
6-4sc,1inc,12sc (18)
Rows 7-8 18sc
9-4sc,1inc,13sc (19)
Rows 10-11 19sc
12-4sc,1inc,14sc(20)
13-17. rows 20sc
Note: Before the body assembly is done, the trousers
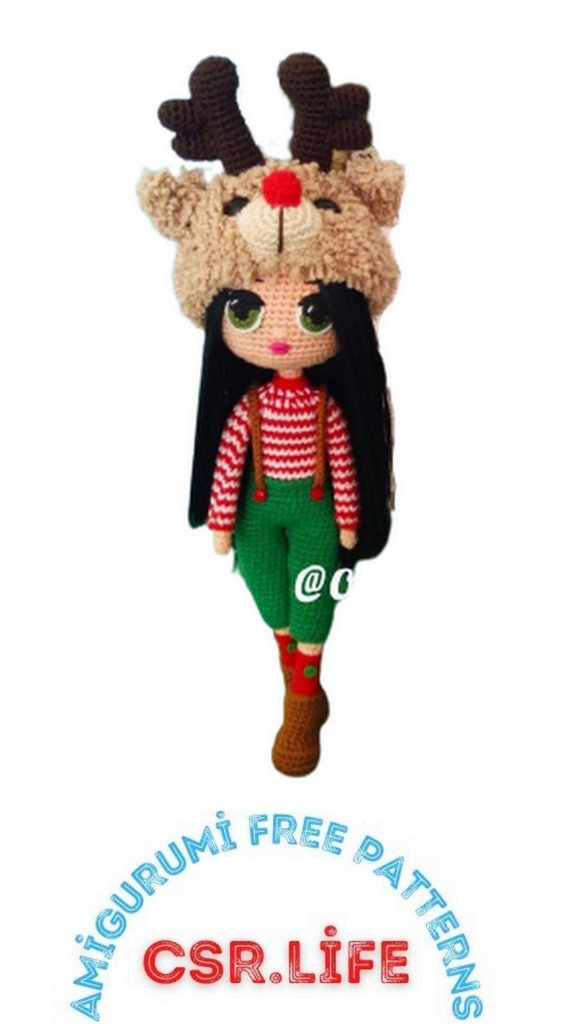
is dressed. (pictures below)
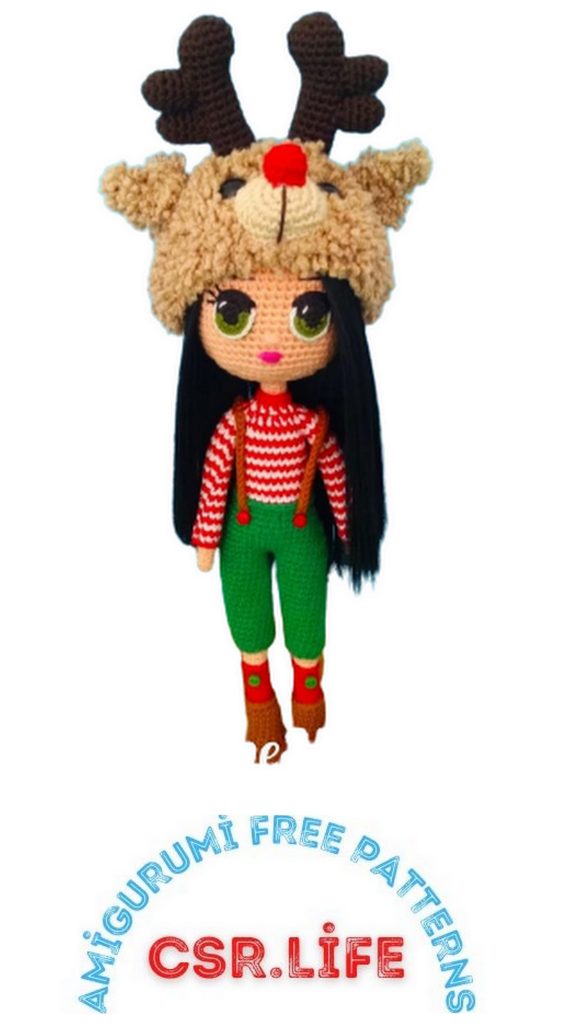
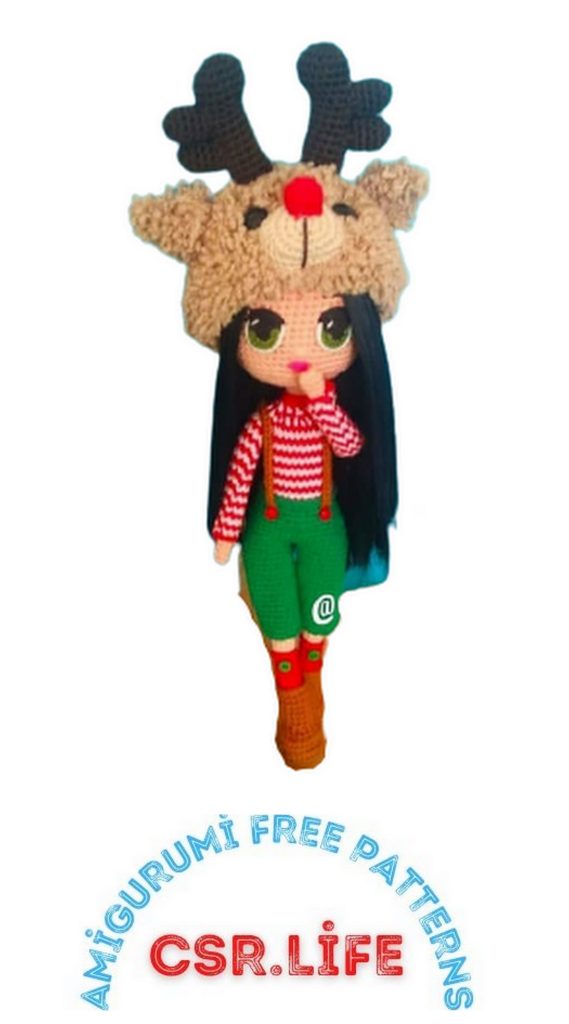
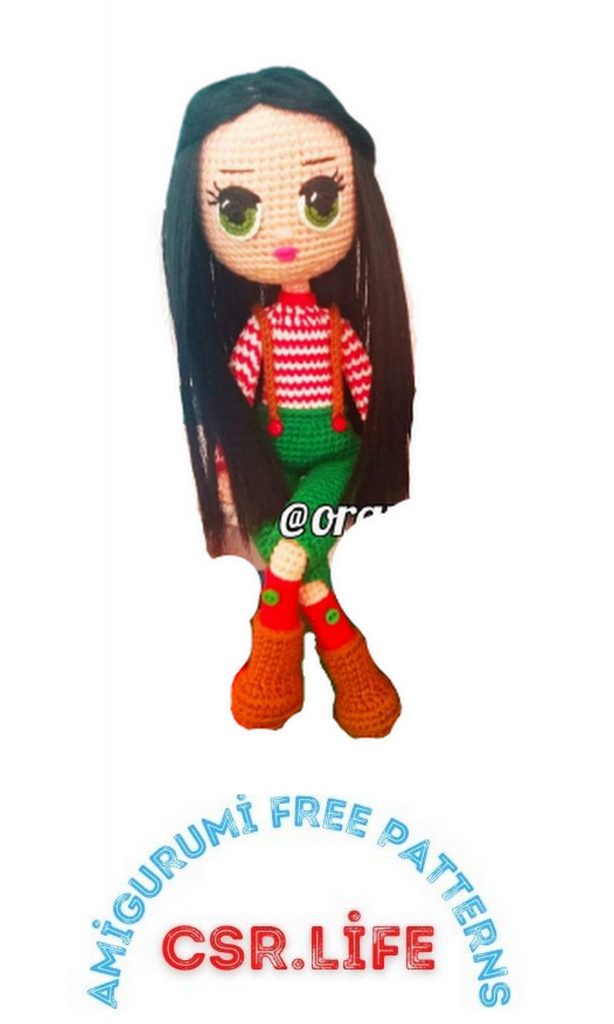
LEG JOINT AND BODY
1-We draw 4 ch from the right leg and tie it to the left leg. Left
10sc from leg, 4sc to top of ch, 10sc from right leg, ch
4sc on top(28)
2-8. rows 28sc 9-5sc,1dec,12sc,1dec,6sc(26) 10-26sc
11-4sc,1dec,12sc,1dec,6sc(24) 12-4sc,1dec,11sc,1dec,5sc(22) 13-22sc
14-4sc,1dec,9sc,1dec,5sc(20) Rows 15-21 20sc
Note: After the 21st row of leg join
It is passed to join the trouser legs.
PANTS JOIN With Green
1- Knit 6sc more from the right leg and pull 1ch with the right leg.
joins (start point)20sc from left leg, ch
1sc to top, 20sc to right leg, 1sc to top of ch(42)
2-42sc
3-8sc,1dec,20sc,1dec,10sc(40)
4-40sc
5-9sc,1dec,18sc,1dec,9sc(38)
6-38sc
7-8sc,1dec,17sc,1dec,9sc(36)
8-36sc
9-(4sc,1dec)*6(30)
10-8sc,1dec,12sc,1dec,6sc(28)
11-flo 28sc
ARM
with tan
1-magic ring into 6
2 to 22 6sc
Note: We do not combine the arms with the body without knitting the sweater and sweater sleeves.
SWEATER SLEEVES With Red (it needs to be knitted on the baby’s sleeve)
We draw 1-10 loose ch, tie them together and make 10sc with red on top
2 to 22 10sc
Color change will be made in each row. Color of the last row
must be white.
SWEATER
Note : The last row of trousers is left behind.
starts from blo
with red
1- 28sc from blo
2-11. 28sc between rows (red-white color in each row)
change will be made. The first row starts with red, the last two
the row ends in red.)
BABY SLEEVE JOIN
1-5sc, with arm 2sc,8sc,with arm 2sc,3sc
2-5sc,4sc from arm,8sc,4sc from arm,3sc
3-(1dec,1sc)*8(16)
4-(1dec,2sc)*4(12)
5-(1sc,1dec)*3(9)
6-9) 9sc
SWEATER SLEEVE JOIN
I continue with the white part of the baby’s body.
we do
1-7sc, 3sc with arm, 11sc, with arm 3sc, 4sc each
color red-white alternating 2-7sc from arm
7sc,11sc,7sc from arm, 4sc
3-(1dec,1sc)*12 (24)
4-(1dec,2sc)*6 (18) 5-(1dec,1sc)*6 (12)
6-7 12sc with red
PANTS HANGERS
Take the loop from the back of the trousers and over 35 ch 34sl-st
Note: After finishing the SL-STs, the first time in the pants
dipped into the side loop of the loop we sank and with sl-st
we fix
HEAD
with tan
1-Magic ring into 6sc
2-6in(12)
3-(1sc,1inc)*6 (18)
4-(2sc,1inc)*6 (24)
5-(3sc,1inc)*6(30)
6-(4sc,1inc)*6(36)
7-(5sc,1inc)*6(42)
8-(6sc,1inc)*6(48)
9-(7sc,1inc)*6(54)
10-24 (54sc)
25-(7sc,1dec)*6(48)
26-(6sc,1dec)*6(42)
27-(5sc,1dec)*6(36)
28-(4sc,1dec)*6(30)
29-(3sc,1dec)*6(24)
30-(2sc,1dec)*6 (18)
31-(1sc,1dec)*6 (12)
32-(2sc,1dec)*3(9)
EYES
3 times the rope was used by separating the rope
1-We combine black magic ring into 8sc with sl-st and draw 1 ch 2-black
Combine with 3inc, green with 5inc sl-st and draw 1 ch
3- combine black 6sc, green 10sc with sl-st and draw 1 ch
4-Black places are black and green places are white and the whole row
sl-st throughout
FACE SETTLEMENTS
-Eyes 15-20. between the rows (distance between two eyes)
Between 3.5-4 loops
should be)
-Nose 20-21. 2 stitches wide (thread the yarn) between the rows
without dividing)
-Lip 22-23. 2 stitches wide (thread the yarn) between the rows
without dividing)
-Lip side lines are half loop with twice the yarn
should be wide.
-Eyebrows13-14. It will be made 4 stitches wide between the rows. (With 2 or 3 times the yarn)
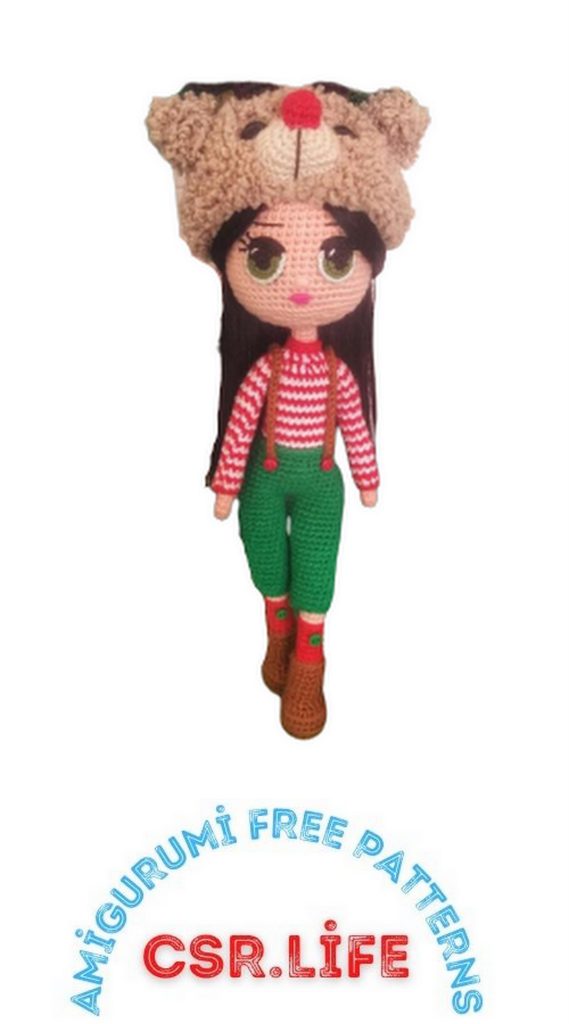
face details as in the picture.
CAP
Anakuzular with a rope (between 2.5 mm hook and anakuzusi)
by joining 2 times the rope
loosely knit)
1-magic ring into 6
2-6in(12)
3-(1sc,1inc)*6 (18)
4-(2sc,1inc)*6 (24)
5-(3sc,1inc)*6 (30)
6-(4sc,1inc)*6 (36)
7-13 36 sc
With HAT (BREAK) Beige
1-magic ring into 6
2-6in(12)
3-12inc(24)
4-2sc,(into the same loop 1sc,1hdc),3hdc,(into the same loop 1hdc,1sc),3sc,1inc,3sc,(1sc,1hdc into same loop),3hdc,(same 1hdc,1sc),3sc,1inc(29) into loop
5-29sc
6-3sl-st (remaining loops will remain free)
Note: The lower part of the cream piece in the mouth
should be one row above the bottom row of the hat
it should be sewn by putting fiber in the mouth
HAT (NOSE) With Red
1-magic ring into 6
2-6in(12)
3-12sc
4-10sc,2sl-st
Note: Planting by putting some fiber inside the nose
should be done
HAT (HORN) With dark brown
1-magic ring into 6
2-6in(12)
3-(1sc,1inc)*6(18)
4-18sc
5-12sc,1dec,4sc(17)
6-11sc,1dec,4sc(16)
7-9sc,3dec,1sc(13)
8-11 13sc
12-4sc,1inc,8sc(14) (10sc,1inc,2sc for left horn)
13-17 14sc
HAT (SIDE HORNs) With dark brown
1-magic ring into 5
2-5in(10)
3-5. 10sc between rows
6-3sc,3hdc,4sc (10) (4sc,3hdc,3sc for left)
Note: Rows 7 and 8 from the side upper horn top
planting will begin.
Horn planting 4 rows of the bottom row will be left empty
should be done in sequence.
HAT (EARS)
Anakuzu with rope
1-2ch check 1skip 1sc 2-1sc
3-2inc
4-4in.
5-4dec
6-2dec

