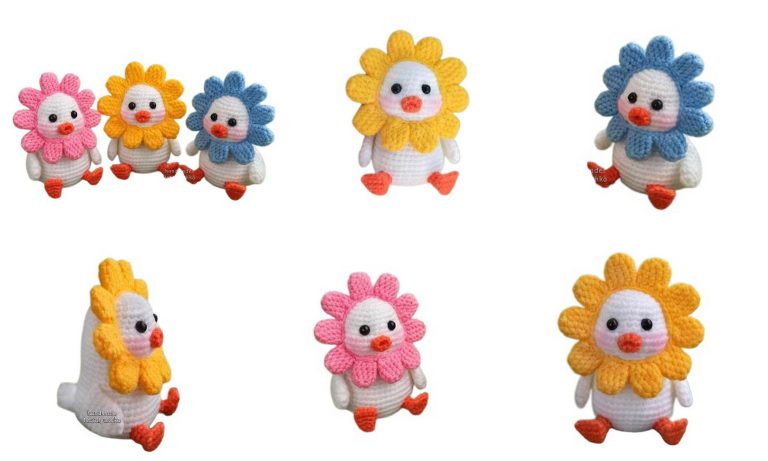
Baby Leon Amigurumi Free Crochet Pattern
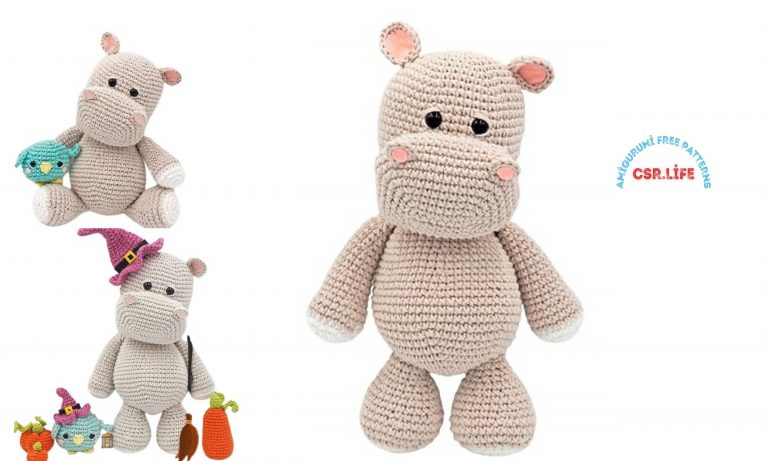
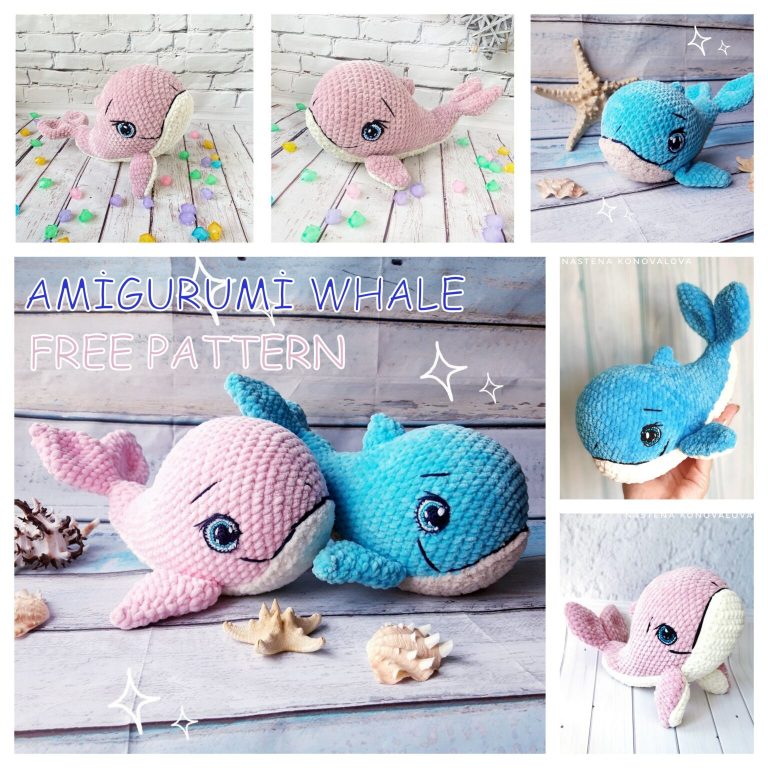
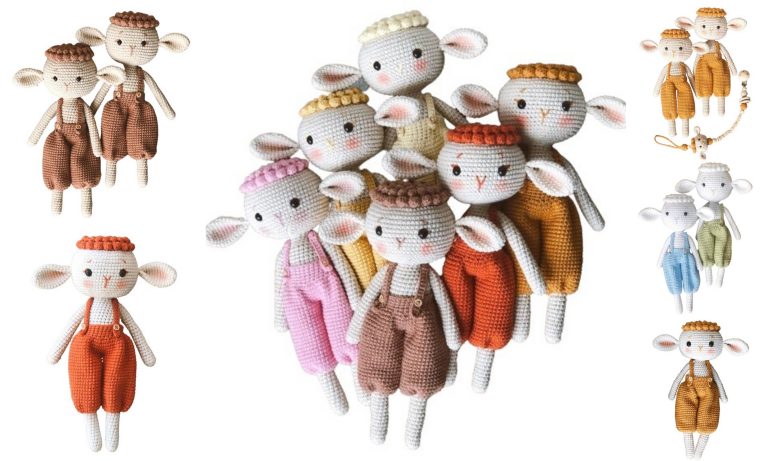
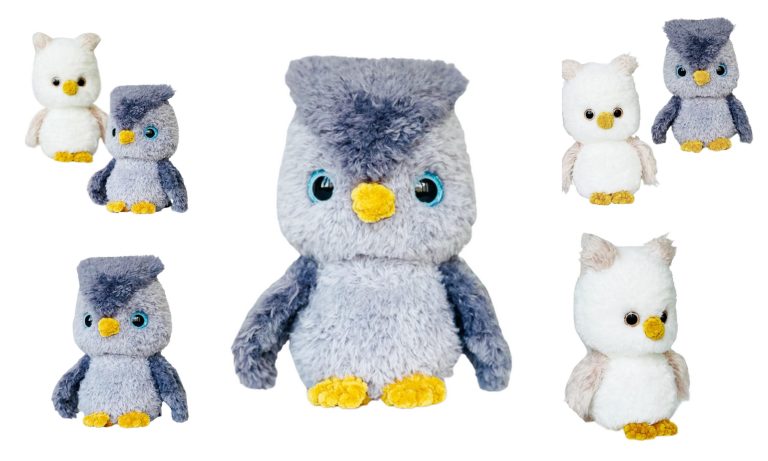
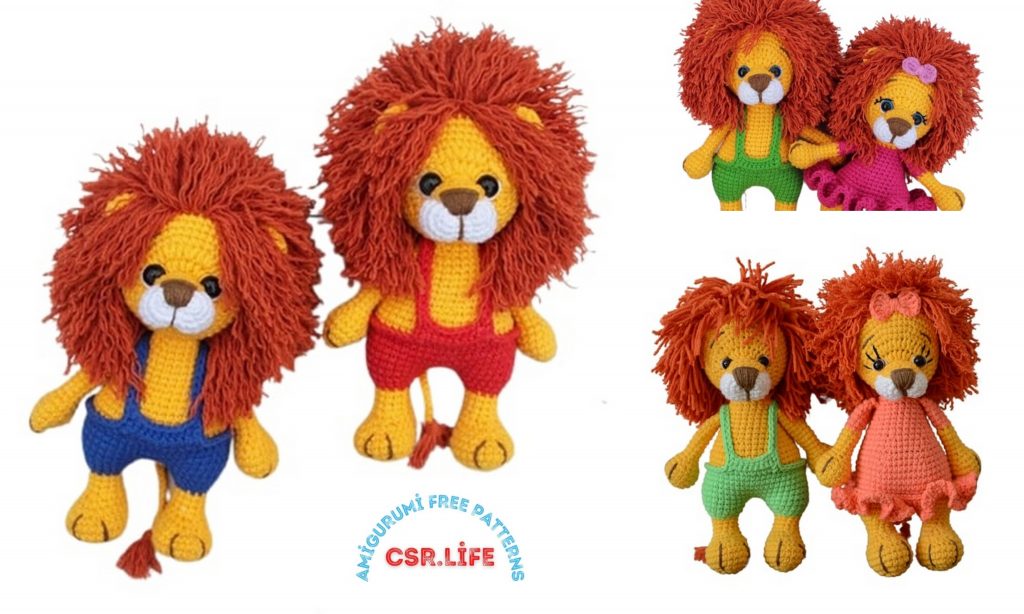
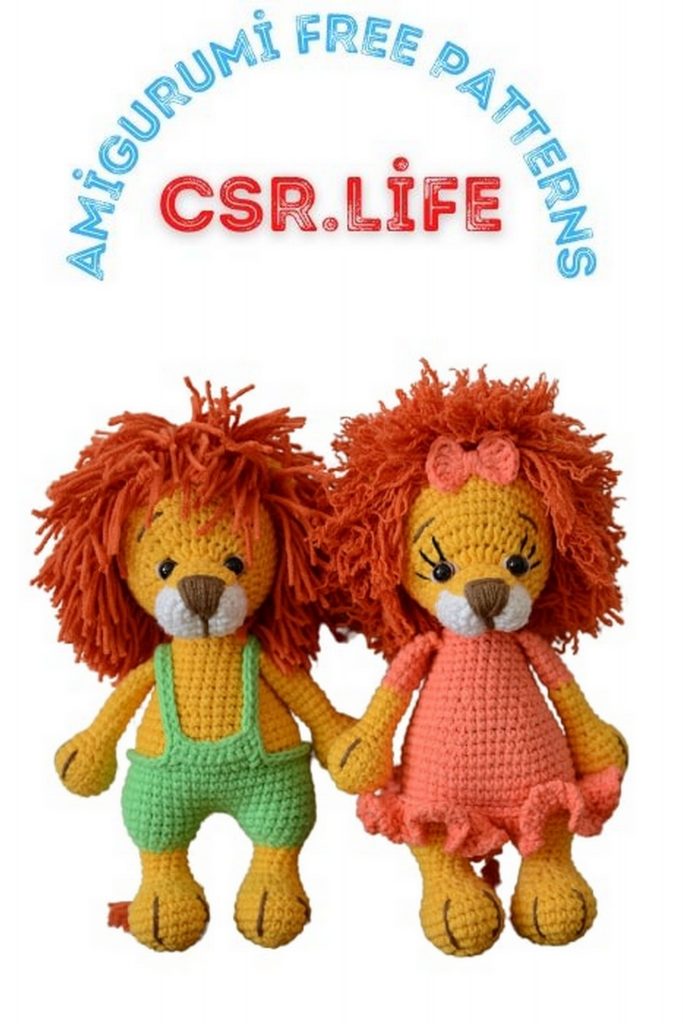
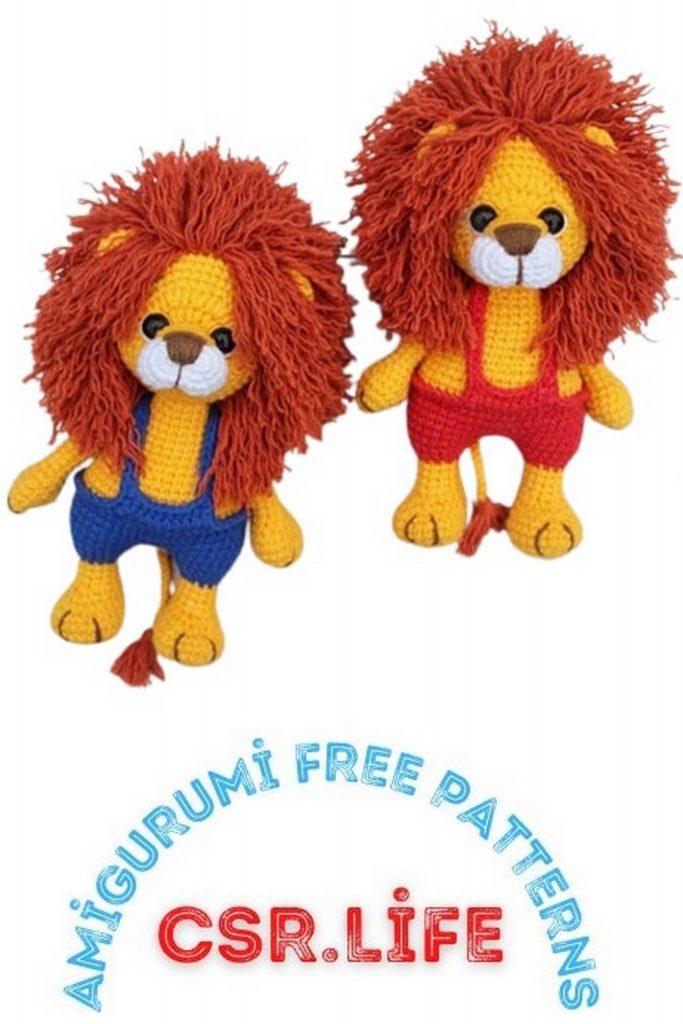
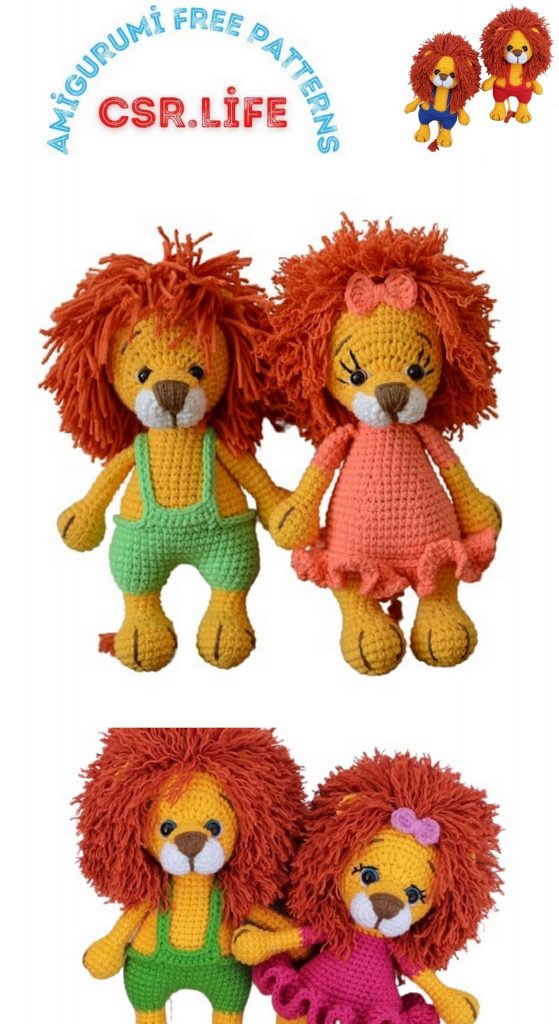
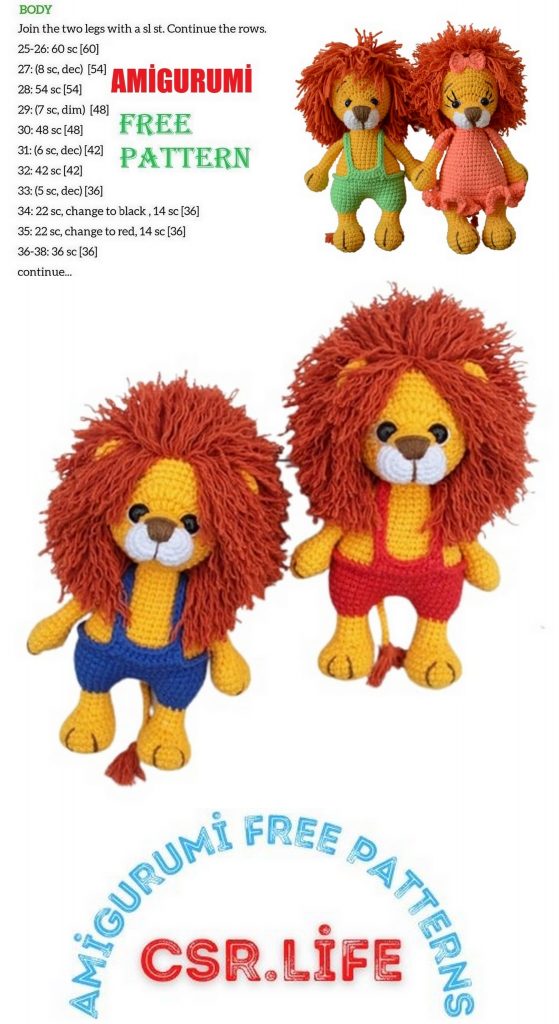
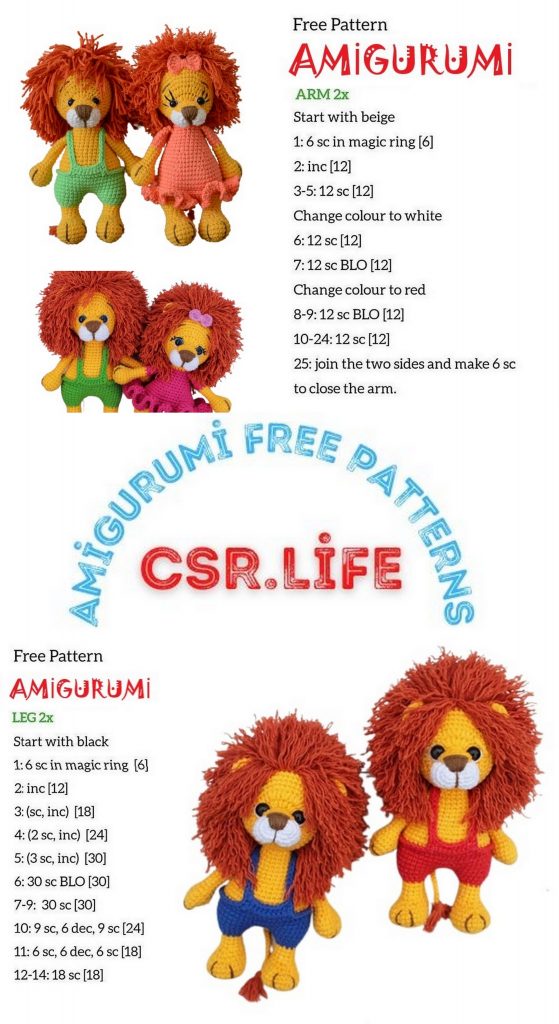
We bring you together with a wonderful amigurumi baby leon pattern. You can also review our article to access this cute baby leon pattern for free.
Abbreviations:
sc – single crochet
st – stitch
ch – chain stitch
Dec – sc next 2 stitches together
inc – sc in indicated stitch 2 times
rnd(s) – sl stround(s)
hdc – half double crochet
sl-st -slip stitch
LIST OF MATERIALS REQUIRED
1. YarnArt JEANS yarn shade 01 (white) – for the face.
2. YarnArt JEANS yarn shade 35 (yellow) – for the body.
3. YarnArt JEANS yarn shade 40 (brown) – for embroidery nose and paws design.
4. Yarn Alize Cotton Gold shade 89 (terracotta) – for the mane.
5. YarnArt JEANS or Alize Cotton Gold of any the shade you like – for the panties.
6. Hook number 2.
7. Filler (holofiber, synthetic fluff).
8. 8 mm eyes on the safety mount.
9. Long needle with a large eye for tightening and threading fastening.
10. Needle for sewing together toy parts.
11. Scissors.
When using the specified materials and medium density knitting toy turns out to be about 15 cm tall.
HEAD
Start knitting with white thread.
Cast on 5 CH, knit from second loop from hook.
1st row: inc, 2 İNC, 3 İNC in one loop, 3 İNC (10)
2nd row: 2 inc, 2 İNC, 3inc, 2 İNC, inc (16)
3rd row: (1 İNC, inc) * 2 times, 2 İNC, (1 İNC, inc) * 3 times, 3 İNC, inc (22)
4-6 row: 22 İNC (22)
Cut the thread and secure. On the long side of the piece, mark the middle 5 stitches (as shown).
Set your muzzle aside for now.
We will knit the upper part of the spout immediately.
To do this, take a yellow yarn, dial 6 CH, leaving the long end of the thread (we will use it to sew the detail to the muzzle).
Knit, starting from the second loop from the hook: 5 İNC, CH, turn knit, 5 İNC. Tie the received part with INC on three sides.
Next, attach it to the marked five loops on the face and continue knitting in the following way:
7 row: 5 İNC (connecting the loops of the nose and muzzle), 17 İNC (22)
Work 14 stitches of offset.
Now we will consider the beginning of the row here (below the muzzle).
Sew the nose to the muzzle using the long end of the thread that we left at the beginning. The bottom of the nose should connect to the muzzle between rows 3 and 4.
8 row: 7 İNC, 7 inchdc, 8 İNC (29)
9th row: 4 İNC, inc, 1 İNC, 1 HDC, (1 HDC, inchdc) * 7 times, 1 HDC, 1 İNC, inc, 5 İNC (38)
10 row: 6 İNC, (3 İNC, inc) * 6 times, 8 İNC (44)
11 row: 15 İNC, inc, 12 İNC, inc, 15 İNC (46)
12th row: 20 İNC, inc, 5 İNC, inc, 19 İNC (48)
13-18 row (6 rows): 48 İNC (48)
19 row: 5 İNC, dec, (10 İNC, dec) * 3 times, 5 İNC (44)
20 row: (9 İNC, dec) * 4 times (40)
If you are using safety eyes, insert them between the 8th row half-posts at 10 HDC (5 increments).
Start filling your head.
21 row: 4 İNC, dec, (8 İNC, dec) * 3 times, 4 İNC (36)
22 row: (7 İNC, dec) * 4 times (32)
23 row: 3 İNC, dec, (6 İNC, dec) * 3 times, 3 İNC (28)
24 row: (5 İNC, dec) * 4 times (24)
25 row: (2 İNC, dec) * 6 times (18)
26 row: (1 İNC, dec) * 6 times (12)
27 row: dec * 6 times (6)
Fill the head to the end, pull the hole, hide the thread.
EARS (2 parts)
1st row: 6 İNC in amigurumi ring (6)
2nd row: increase * 6 times (12)
3-4 row: 12 İNC (12)
Fold the eyelet in half, knit 5 İNC together.
Cut the thread, leave the long end for sewing.
HANDLES (2 parts)
1st row: 6 İNC in amigurumi ring (6)
2nd row: increase * 6 times (12)
3rd row: (1 İNC, inc) * 6 times (18)
4-5 row: 18 İNC (18)
6 row: (4 İNC, dec) * 3 times (15)
7 row: (3 İNC, dec) * 3 times (12)
8 row: (2 İNC, dec) * 3 times (9)
9-19 row (11 rows): 9 İNC (9)
Do not fill the handle too tightly.
I only fill the lower part of it.
Fold the piece in half, knit 3 İNC together.
Cut the thread, leaving a long end for sewing.
LEGS-BODY
Start knitting with yellow thread.
1st row: 6 İNC in amigurumi ring (6)
2nd row: increase * 6 times (12)
3rd row: (1 İNC, inc) * 6 times (18)
4th row: (2 İNC, inc) * 6 times (24)
5-7 row (3 rows): 24 İNC (24)
8 row: 6 İNC, 6 dec, 6 İNC (18)
9th row: 6 İNC, 3 dec, 6 İNC (15)
10 row: 4 İNC, 3 dec, 5 İNC (12)
11-13 row: 12 İNC (12)
Change the thread to the color of the pants.
14th row: (3 İNC, inc) * 3 times (15)
15 row: (4 İNC, inc) * 3 times (18)
16 row: (5 İNC, inc) * 3 times (21)
Cut the thread, fasten and hide.
Tie another piece of the same kind, but do not cut the thread on it, but knit another 16 İNC, then 3 CH and attach it to the first piece, placing it symmetrically with the second one.
17th row: 21 İNC on the first leg, 3 İNC on one side of the chain from CH, 21 İNC on the second leg, 3 İNC on the second side of the chain from CH (48)
Now count the beginning of the row here.
18-22 row (5 rows): 48 İNC (48)
Work 13 stitches of offset.
Now count the beginning of the row in this place.
Change the color to yellow.
23 row: 48 INC behind the back wall of the loop (48)
24 row: (6 İNC, dec) * 6 times (42)
25 row: 42 İNC (42)
26 row: (5 İNC, dec) * 6 times (36)
27 row: 36 İNC (36)
28 row: (4 İNC, dec) * 6 times (30)
29 row: 30 İNC (30)
30 row: (8 İNC, dec) * 3 times (27)
31 row: 27 İNC (27)
32 row: (7 İNC, dec) * 3 times (24)
33 row: 24 İNC (24)
34 row: (6 İNC, dec) * 3 times (21)
In row 35, knit the handles as follows:
35 row: 3 İNC together with one handle, 9 İNC, 3 İNC together with the second handle, 6 İNC (21)
36 row: (5 İNC, dec) * 3 times (18)
37 row: 18 İNC (18)
Cut the thread, leave a long end for sewing.
TAIL
Cast on 15 CH with yellow yarn.
Cut the thread, leaving a long end to be sewn on.
This will be the base of the ponytail.
Prepare 10 pieces of terracotta yarn, about 8 cm long.
Fold them together in half.
Using a hook with a larger diameter (4-5 mm), pull through the first loop of the chain and secure (see picture).
Trim the brush.
OVERALLS
On the front of the torso, mark 9 middle half stitches of 23 rows.
Attach a panty-colored thread to this section.
1-2 row: 9 İNC, CH, turn knitting
3rd row: 9 İNC.
Without cutting the thread, dial 25 CH for the panty strap.
Work 24 İNC back along the chain from CH. Next, tie all İNC pants in a circle.
As you knit, similarly make the second strap (symmetrically to the first).
Cut the thread, fasten. Sew on the straps on the back of the panties in a crisscross pattern.
ASSEMBLY AND DECORATION OF THE TOY, MANE
Tighten the muzzle, pulling the eyes deep into the muzzle and a little between each other (at the 3rd stage online, you can watch a video of how I pull the muzzle).
With a brown thread, embroider the nose of the toy, grabbing the loops of its upper part (see the figure below).
Embroider the whites of the eyes, eyebrows, and mouth.
Sew the ears between the 17th and 18th rows of the head.
Sew the head and ponytail to the torso.
Embroider the feet.
For the mane, prepare terracotta yarn about 9 cm long (I wind the yarn around my index and middle fingers, then cut in the middle).
Attach the strings as shown in the illustration to each row of the head, starting with row 15 (2 rows to the ears).
The process is painstaking, but do not be alarmed – not as long as it might seem) But the result will please you!
When the whole head is ready, trim the hairs.
To keep the mane lush, use a needle to peel each thread.
Baby Leon is ready!

