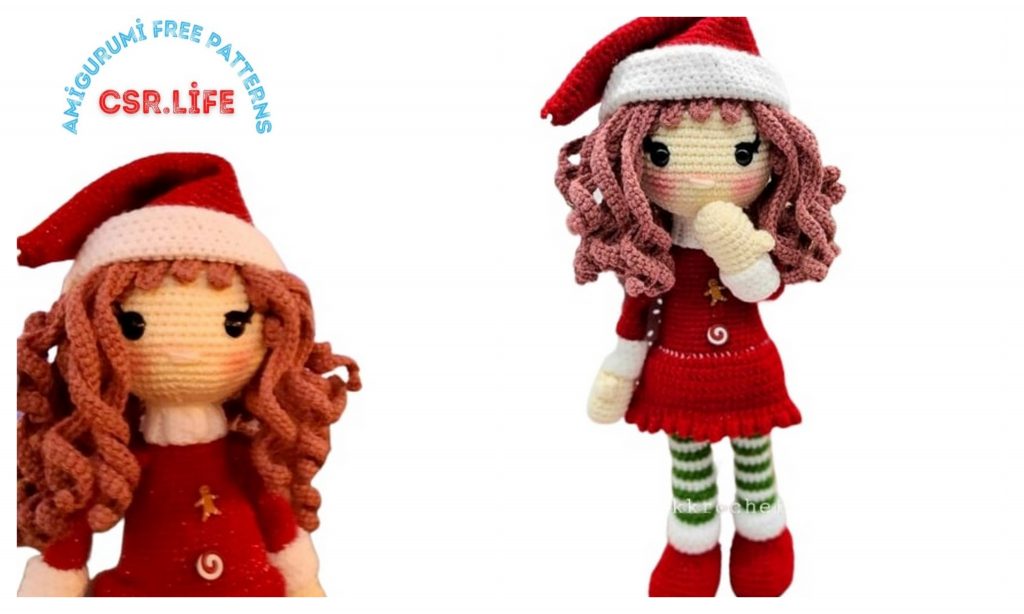
Christmas Girl Amigurumi Free Crochet Pattern
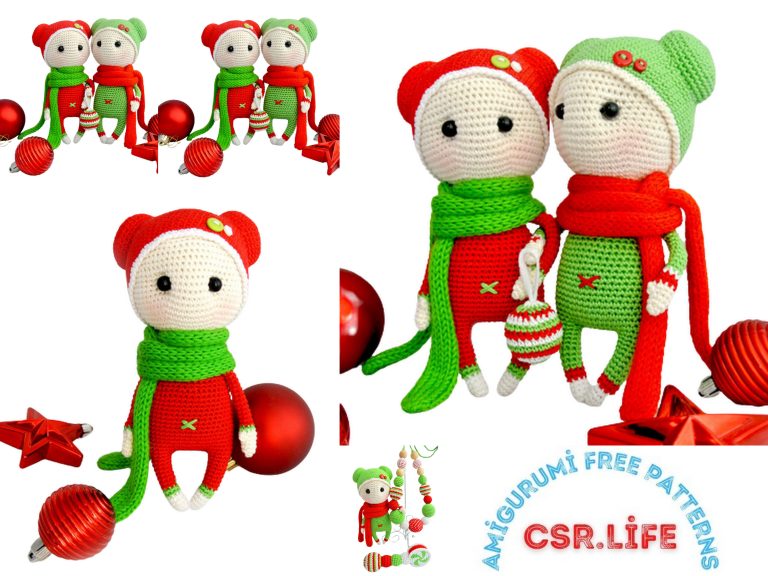
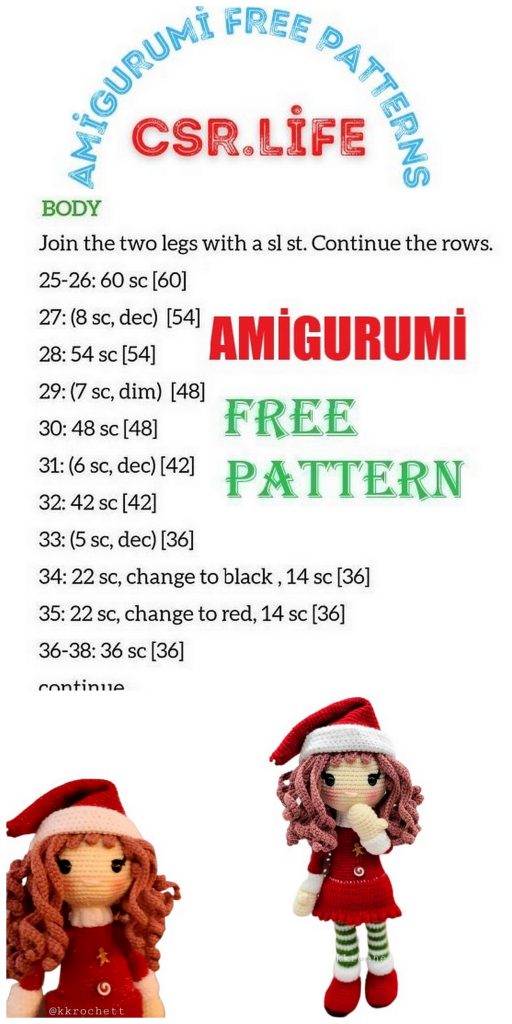
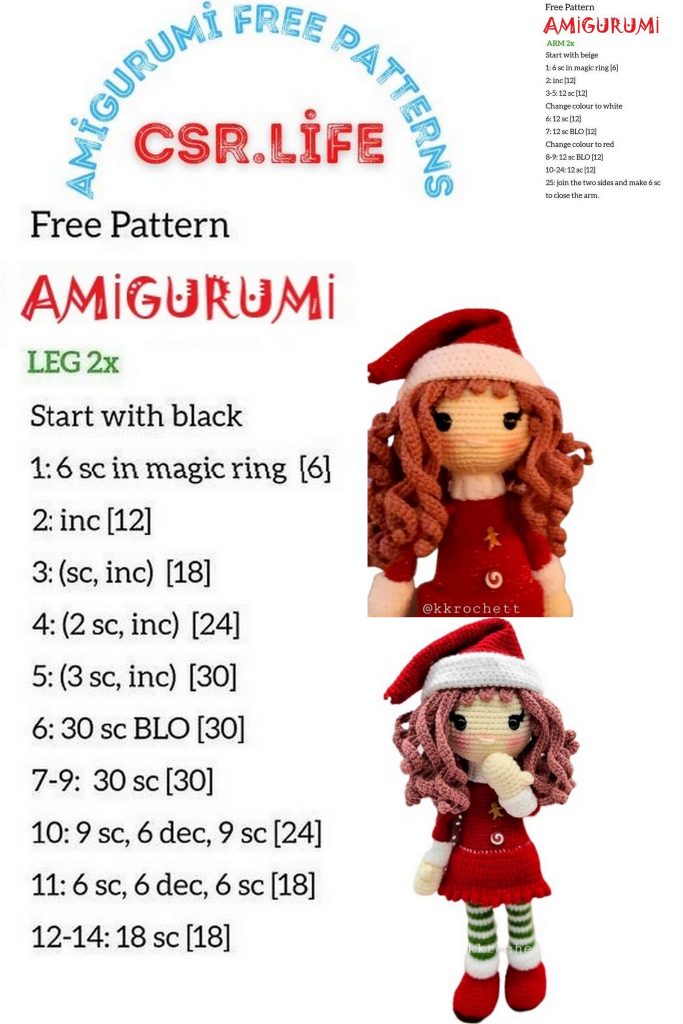
As christmas approaches, the most beautiful christmas amigurumi patterns are here for free. In this article, we shared the amigurumi christmas girl pattern.
MATERIALS/TOOLS
Big Twist Twinkle Yarn
Red
White
Green
Yarn Bee Soft & Sleek
100% acrylic yarn, worsted
Hook: D-3.25mm
12mm safety eyes
Pipe cleaner (optional-for the neck)
Stuffing
Permanent fabric glue
Tapestry needle
Stitch markers
Scissors
Thread
Makeup-blush
Ivory
Mauve
I love this yarn!
Coffee
ABBREVIATIONS
Ch: chain stitch
BLO: back loop only
Dc: double crochet
Dec: decrease (2 sc together)
FLO: front loop only
Hdc: half double crochet
Inc: increase (2 sc in one stitch)
Incdc: 2 dc in one stitch
MR: magic ring
Rnd: round
Sc: single crochet
SI st: slip stitch
St: stitch
READ FIRST!
This doll can be made using other materials and hook sizes – the only thing that will change is the size of the doll.
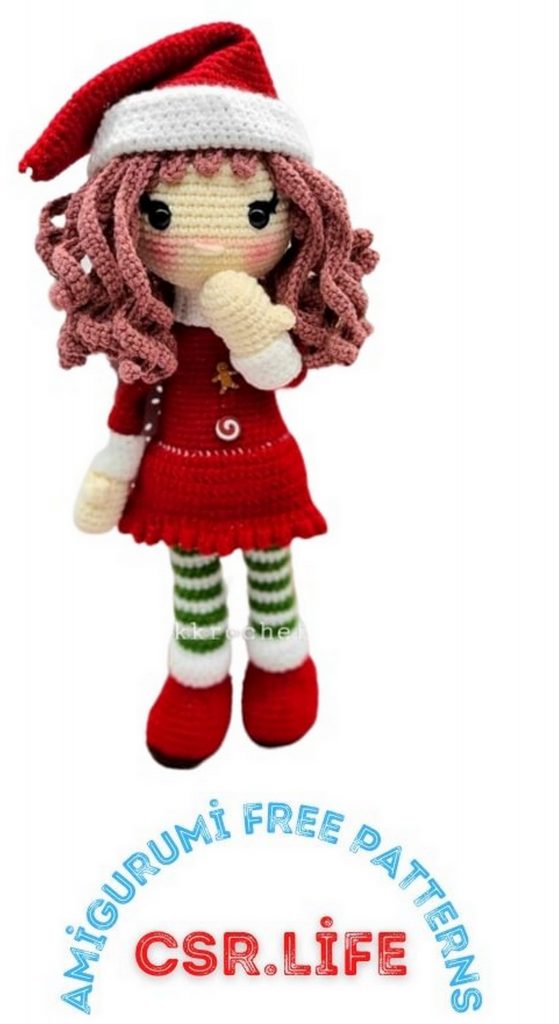
I used the 3.25mm hook for the whole doll, and she measures approx. 50cm with the hat (folded)
Crochet with tight stitches, but don’t hurt your hands either
Tused metallic yarn because I love anything shiny, but you don’t have to! It will look beautiful with matte yarn as well
Betterif your doll have some support in the neck – it could be a wooden dowel, a chopstick, wires, or a 3rd arm stuffed with pipe cleaners
Always crochet in rounds UNLESS the pattern says otherwise.
Stuff the doll FIRMLY (as much fiberfill as possible without stretching the stitches) and very often
ARMS
POPCORN STITCH
Rnd 1) MR. 6 SC
Rnd 2) 6 inc (12)
Rnd 3) (1 sc, l inc) x 6 (18)
Rnd 4-6) 18 sc (18)
Rnd 7) 16 sc, 1 dec (17)
Rnd 8) 7 sc, 1 dec, 7 sc, 1 popcorn stitch (with 5 dc) (16)
Rnd 9) 14 sc, 1 dec (15)
Rnd 10) 1 dec, 13 sc (14)
Rnd 11) 6 sc, 1 dec, 6 sc (13)
Rnd 12) 11 sc, 1 dec
Rnd 13) 12 sc (12)
Rnd 14) (3 sc, 1 inc) x3 (12)
Change to red color. Stuff only the hands.
Rnd 15) BLO 15 sc (15)
Rnd 16-28) 15sc (15)
Rnd 29) 6 sc, 1 dec, 5 sc, 1 dec (13)
Rnd 30) 5 so, 1 dec, 4 sc, I dec (11)
Rnd 31) 11 sc (11)
FASTEN OFF AND LEAVE A LONG TAIL TO SEW THE ARMS TO THE BODY AT ROUNDS 30-31 APPROX.
WHITE RIM
PUT THE ARMS UPSIDE DOWN (the doll’s, not yours e
-start with a new thread on front loops of round 15
Crochet 4 rounds of 15 hdc each.
Fasten off. Fold.
RIGHT LEG
Start with coffee color. Work around the foundation chain.
Chain 10
Rnd 1) 8 sc, 3 sc in the last ch, 7 sc, 1 inc (20)
Rnd 2) 1 inc, 7 sc, 3 inc, 7 sc, 2 inc (26)
Rnd 3) 1inc, lsc, 7 sc, (1 inc, 1sc) x3, 7 sc, (1sc, 1inc) х2 (32)
Rnd 4) 2inc, 2 sc, 7 sc, (linc, 2sc) x3, 7 sc, (2ѕС, linc) х2 (38)
Rnd 5) linc, 3 sc, 7 sc, (1 inc, 3sc) x3, 7 sc, (3sc, linc) х2 (44)
Change to red.
Rnd 6) BLO 44 sc (44)
Rnd 7-9) 44 SC (44)
Rnd 10) 13 sc, (1 dес, 1 sc) x6, 13 sc (38)
Rnd 11) 11 sc, (1 dес, 1 sc) х 5, 12 sc (33)
Rnd 12) 10 sc. (1 dес, 1 sc) x4, 9 sc, 1 dec (28)
Rnd 13) (2 sc, 1 dec) x7 (21)
Rnd 14-15) 21 sc (21)
RIGHT LEG
Alternate the thread color according to the table below.
ROUND INSTRUCTIONS # ST
16 BLO 21sc 21
17 21sc 21
18 (5sc, 1 dec) x3 18
19-20 18sc 18
21-22 18sc 18
23-24 18sc 18
25-26 18sc 18
27 (7 sc, 1 dec) x2 16
28 16sc 16
29-30 16sc 16
31-32 16sc 16
33-34 16sc 16
35-36 16sc 16
37-38 16sc 16
39-40 16sc 16
41-42 16sc 16
FASTEN OFF (only fasten off the right leg )
WHITE TRIM
PUT THE DOLL’S LEGS UPSIDE DOWN start with a new WHITE thread on frontloops of round 16 and crochet 5 rounds of 15 hdc each. Fasten off. Fold.
HEAD
Keep going with skin color.
Rnd 1) (1 sc, 1 inc) x6 (18)
Rnd 2) (2 sc, 1 inc) x6 (24)
Rnd 3) (3 sc, I inc) x 6 (30)
Rnd 4) (4 sc, i inc) x 6 (36)
Rnd 5) (5 sc, 1 inc) x6 (42)
Rnd 6) (6 sc, 1 inc) x 6 (48)
Rnd 7) (7 sc, 1 inc) x6 (54)
Rnd 8) (8 sc, 1 inc) x6 (60)
Rnd 9-18) 60 SC (60)
Place the 12mm safety eyes between
rows 14 and 15, with 7 stitches in
between. Sew the eyelashes.
Rnd 19) (8 SC, 1 dec) x6 (54)
Rnd 20) (7 sc, 1 dec) x6 (48)
Rnd 21) (6 sc, 1 dec) x 6 (42)
Rnd 22) (5 sc, 1 dec) x6 (36)
Rnd 23) (4 SC, 1 dec) x6 (30)
Rnd 24) (3 sc, 1 dec) x6 (24)
Rnd 25) (2 sc, 1 dec) x6 (18)
Rnd 26) (1 sc, 1 dec) x6 (12)
Rnd 27) 1 dec x6 (6)
FASTEN OFF, and leave a long tail to close the head.
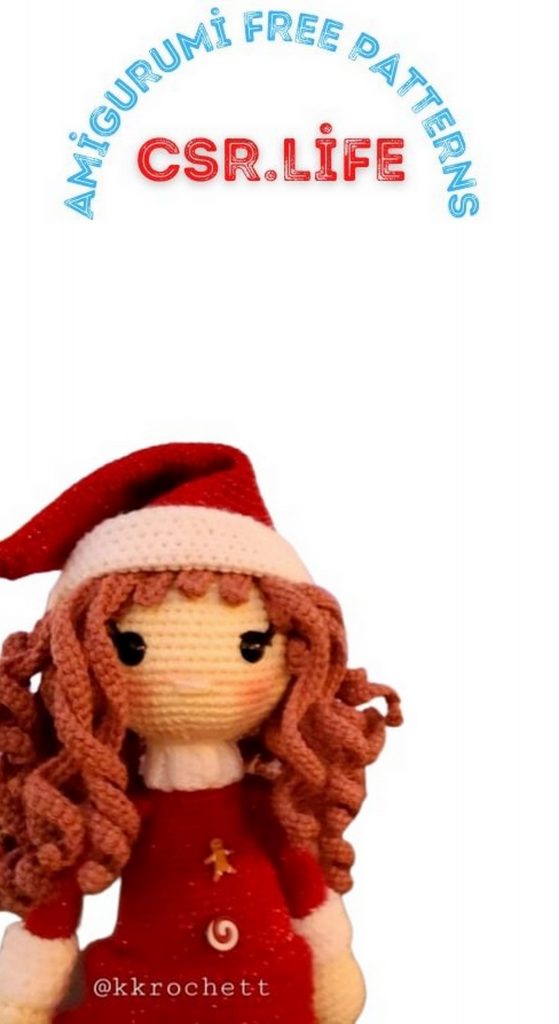
Add the eyebrows, 2 stitches above the eyes (4 st long, 1 st wide)
Finally, add the nose between rows 12 y 13 (3 stüches long) and a touch of blush.
LEFT LEG + BODY
Same as rightleg but DO NOT
FASTEN OFF AT THE END OF RND 42.
Change color to WHITE.
Rnd 1) 16 sc (left leg), chain 4, 16 SC (other leg), 4 sc (in the ch) (40)
Rnd 2) (5 sc, 1 inc) x 6,4 SC (46)
Rnd 3-5) 46 SC (46)
Rnd 6) 1 sc, I inc, 19 sc, 1 inc, 24 sc (48)
Rnd 7-13) 48 SC (48)
Change color to red.
Rnd 14) BLO 48 sc (48)
Rnd 15) 48 SC (48)
Rnd 16) (6 SC, I dec) x 6 (42)
Rnd 17-21) 42 sc (42)
Rnd 22) (5 sc, 1 dec) x 6 (36)
Rnd 23-25) 36 SC (36)
Rnd 26) (4 sc, 1 dec) x 6 (30)
Rnd 27-29) 30 SC (30)
Rnd 30) (3 sc, 1 dec) x 6 (24)
Rnd 31-33) 24 sc (24)
Rnd 34) (2 sc, 1 dec) x 6 (18)
Change to skin color.
Rnd 35) BLO 18 SC (18)
Rnd 36) (4 sc, I dec) x 3 (15)
Rnd 37) (3 sc, 1 dec) x 3 (12)
TURTLENECK
In white color.
Rnd 1) Chain 7
Rnd 2) (in 2nd ch from the hook) 6 hdc, chain 1 turn (6)
Rnd 3) BLO 6 hdc, chain 1, turn (6)
Keep repeating rnd 3 until you have the right size (it has to cover the neckentirely)
FASTEN OFF and leave a long tail.
Sew it together around the neck.
SKIRT
Start with a new RED thread and go back to front loops of round 14 on the body-put the doll UPSIDE DOWN.
The chains at the beginning don’t countas a st)
Rndl) chain 3, (7 dc, 1 inc) x6, sl st (54)
Rnd 2-6) chain 3,54 dc, sl st (54)
Rnd 7) chain 3, (1 popcorn st, chain 1, 1 dc) x 27. sl st
FASTEN OFF.
HAIR
There is a “cap” and 2 layers of hair strands (S).
The cap has to fit very tight into the head. Start with mauve color.
CAP
The chains at the beginning don’t count as a st.
Rnd 1) MR, 9 dc, sl st. (9)
Rnd 2) chain 3,9 incdc, sl st (18)
Rnd 3) chain 3, (1 dc, 1 incdc) x 9, sl st (27)
Rnd 4) chain 3, (2 dc, 1 incdc) x 9, sl st (36)
Rnd 5) chain 3, (3 dc, 1 incdc) x 9, sl st (45)
Rnd 6-8) chain 3, 45 dc, sl st (45)
Rnd 9) chain 1, BLO 45 sc, sl st (45)
FIRST LAYER – 45 LONG HAIR STRANDS
ALL OF THE STRANDS ARE BLO.
(see picture below so you can see how to position the cap and which one is the BLO)
Start the sc on 2nd ch from hook.
S1-S45) chain 40, 39 sc, sl st (39)
DO NOT FASTEN OFF. KEEP ON WITH THE SECOND LAYER SECOND LAYER – 10 SHORT STRANDS (BANGS)
ALL OF THE STRANDS ARE FLO
(see picture below so you can see how to position the cap and which one is the BLO]
Start the sc on 2nd ch from hook.
S1) chain 14, 13 sc, sl st (13)
S2) chain 12, 11 sc, sl st (11)
S3-S8) chain 7. (start on 3rd ch from hook)
5 hdc, skip a st on the cap, sl st ON NEXT ST (5)
S9) chain 12, 11 sc, sl st (11)
S10) chain 14, 13 sc, sl st (13)
FASTEN OFF
HAT
Start with red color.
Chain 66, sl st on the 1st chain to
form a circle.
Rnd 1-10) 66 SC (66)
Rnd 11) (9 sc, 1 dec) x 6 (60)
Rnd 12-16) 60 SC (60)
Rnd 17) (8 sc, 1 dec) x 6 (54)
Rnd 18-22) 54 SC (54)
Rnd 23) (7 sc, 1 dec) x 6 (48)
Rnd 24-26) 48 SC (48)
Rnd 27) (6 sc, 1 dec) x 6 (42)
Rnd 28-30) 42 SC (42)
Rnd 31) (5 sc, 1 dec) x 6 (36)
Rnd 32-34) 36 SC (36)
Rnd 35) (4 sc, 1 dec) x 6 (30)
Rnd 36-38) 30 SC (30)
Rnd 39) (3 sc, 1 dec) x 6 (24)
Rnd 40-42) 24 sc (24)
Rnd 43) (2 sc, 1 dec) x 6 (18)
Rnd 44-46) 18 SC (18)
Rnd 47) (1 sc, 1 dec) x 6 (12)
Rnd 48-50) 12 Sc (12)
Rnd 51) 6 dec (6)
Fasten off, and leave a long tail to close it up.
WHITE RIM
Go back to the bottom loops of the 66 chains.
Start with a new WHITE thread (with the hat upside down)
5 rounds of 66 hdc.
Fasten off. Fold.
РОМРОМ
Rnd 1) MR, 6 SC (6)
Rnd 2) 6 inc (12)
Rnd 3) (1 sc, 1 inc) x6 (18)
Rnd 4-5) 18 sc (18)
Rnd 6) (1 sc. 1 dec) x6 (12)
Rnd 7) 6 dec (6)
Fasten off, and leave a very long tail so you can:
– Close up the pompom
– Chain 10 (still with the same long tail)
Sew this pompom+chains to the tip of the hat

