Christmas Gnome Amigurumi Free Crochet Pattern
We share Amigurumi organic crochet toys free patterns with you. You can knit amigurumi christmas gnome free pattern with pleasure.
Abbreviations:
SC – single crochet
İNC – increase
DEC – decrease
CH – chain
SLST – slip stich
CHRISTMAS GNOME
BODY AND HEAD
1 Round: Make a magic ring
2 Round: 6 SC
3 Round: 1 increase X 6 = 12
4 Round: (1 SC, 1 increase) X 6 = 18
5 Round: (2 SC, 1 increase) X 6 = 24
6 Round: (3 SC, 1 increase) X 6 = 30
7 Round: (4 SC, 1 increase) X 6 = 36
8 Round: (5 SC, 1 increase) X 6 = 42
9 Round: (6 SC, 1 increase) X 6 = 48
10 Round = 48 SC (In this round only the stitch is knitted at the back)
11 Round: (5 SC, 1 increase) X 8 = 56
12 Round: (6 SC, 1 increase) X 8 = 64
13 Round: (7 SC, 1 increase) X 8 = 72
14 Round: 72 SC
15 Round: (8 SC, 1 increase) X 8 = 80
16 Round: 80 SC
17 Round: (9 SC, 1 increase) X8 = 88
18 Round: 88 SC
19 Round: (10 SC, 1 increase) X 8 = 96
Round 20/21/22/23/24/25/26/27/28/29/30/31/32/33 Rounds = 96 SC
34 Round: (22 SC, 1 decrease) X 4 = 92
35 Round: 92 SC
36 Round: (21 SC, 1 decrease) X 4 = 88
37 Round: 88 SC
38 Round: (20 SC, 1 decrease) X 4 = 84
39 Round: 84 SC
40 Round: (19 SC, 1 decrease) X 4 = 80
41 Round: 80 SC
42 Round: (18 SC, 1 decrease) X 4 = 76
43 Round: 76 SC
44 Round: (17 SC, 1 decrease) X4 = 72
45 Round: 72 SC
46 Round: (16 SC, 1 decrease) X 4 = 68
47 Round: 68 SC
48 Round: (15 SC, 1 decrease) X 4 = 64
49 Round: (14 SC, 1 decrease) X 4 = 60
50 Round: (13 SC, 1 decrease) X 4 = 56
51 Round: (12 SC, 1 decrease) X 4 = 52
52 Round: (11 SC, 1 decrease) X 4 = 48
53 Round: (10 SC, 1 decrease) X 4 = 44
54 Round: (9 SC, 1 decrease) X 4 = 40
55 Round: (8 SC, 1 decrease) X 4 = 36
56 Round: (7 SC, 1 decrease) X 4 = 32
57 Round: (6 SC, 1 decrease) X 4 = 28
58 Round: (5 SC, 1 decrease) X 4 = 24
59 Round: (4 SC, 1 decrease) X 4 = 20
60 Round: (3 SC, 1 decrease) X 4 = 16
61 Round: (2 SC, 1 decrease) X 4 = 12
62 Round: (1 SC, 1 decrease) X 4 = 8
63 Round: 1 decrease X 4 = 4
Close and leave thread to sew
POCKETS
EVERYTHING THIS POCKET WORK BEGINS WITH A
AIR CHAIN AND END WITH A PAST POINT
ATTENTION DO NOT FORGET THIS BECAUSE THEY WILL NOT BE WRITTEN IN THE ROUNDS
1 Round: the strand behind the 48 stitches left on ROUND 10 is taken
2 Round: (5 SC, 1 increase) X 8 = 56
3 Round: (6 SC, 1 increase) X 8 = 64
4 Round: (7 SC, 1 increase) X 8 = 72
5 Round: (8 SC, 1 increase) X 8 = 80
6 Round: (9 SC, 1 increase) X 8 = 88
7 Round: (10 SC, 1 increase) X 8 = 96
8/9/10/11 Rounds = 96 SC
12 Round: (11 SC, 1 increase) X 8 = 104
13/14/15/16 Rounds: 104 SC
17 Round: (12 SC, 1 increase) X 8 = 112
18/19/20/21 Rounds = 112 SC
22 Round: (13 SC, 1 increase) X 8 = 120
23/24/25/26 Rounds = 120 SC
27 Round: (14 SC, 1 increase) X 8 = 128
28 Round: 128 SC
29 Round: CHANGE WHITE COLOR AND MAKE A RETURN OF
TERMINATION AS YOU LIKE IT (128 SC).
. For the design of the auxiliary bags, we will have to perform the following processes ..
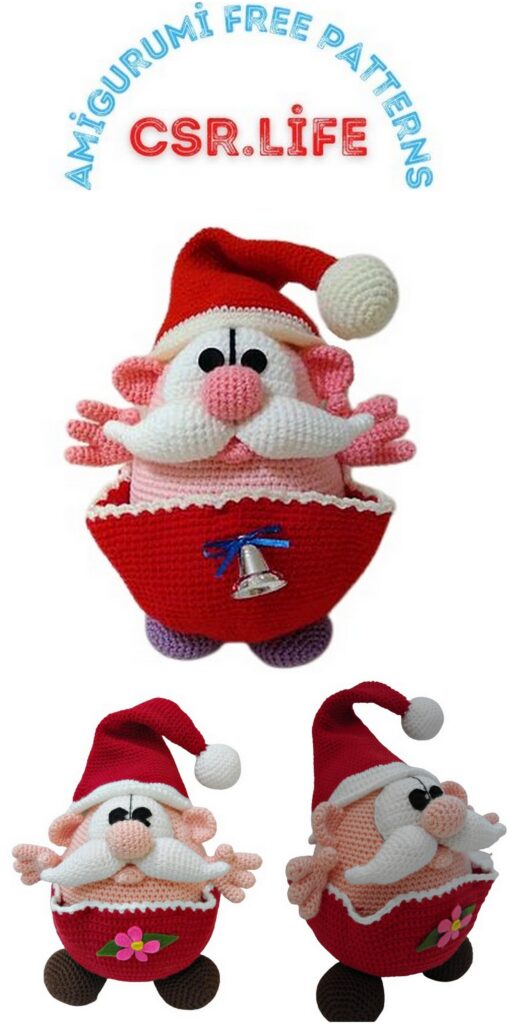
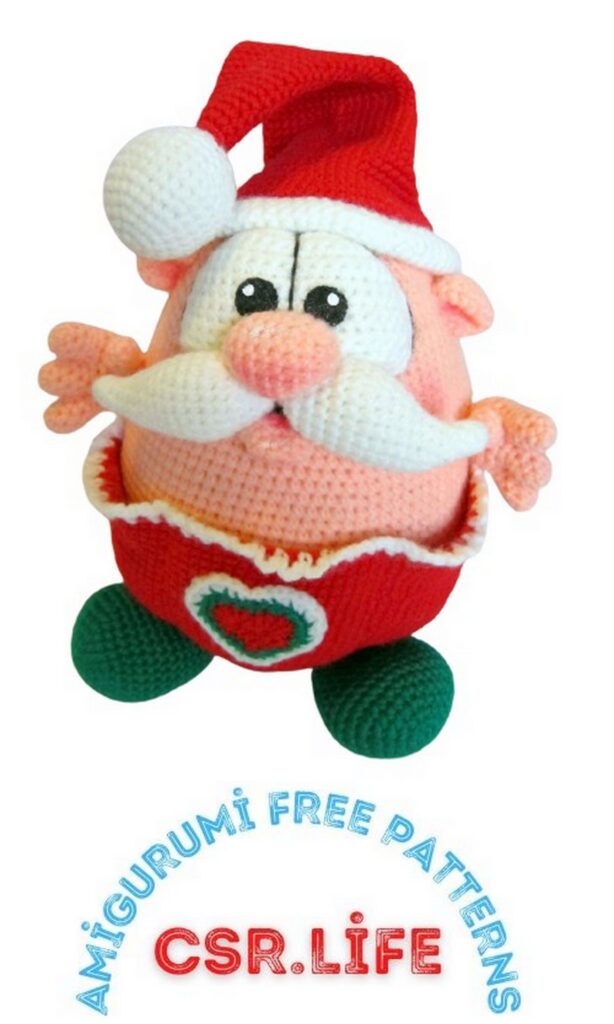
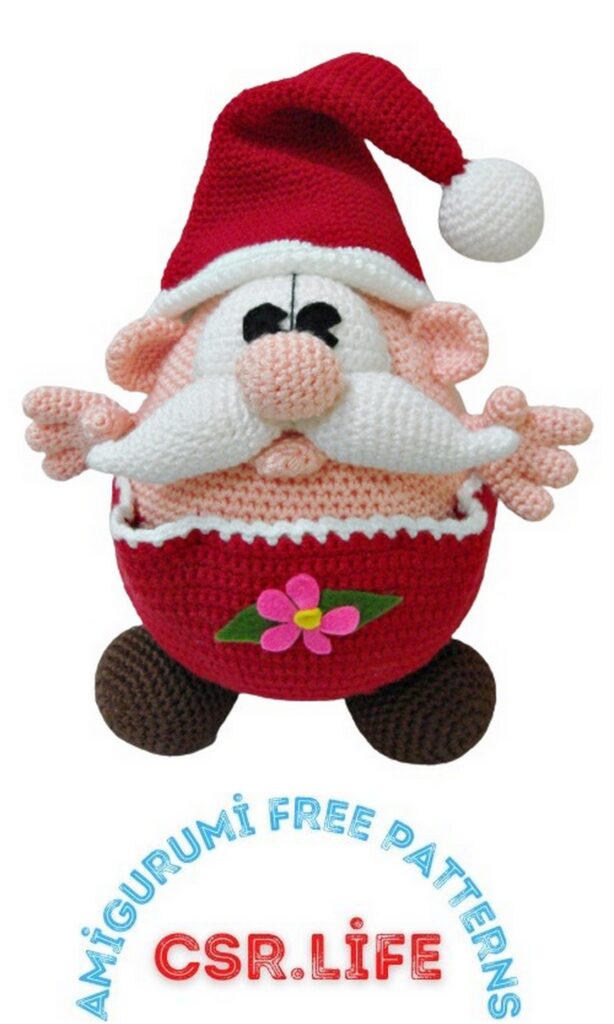
• If we are going to add some exterior detail to the gnome, we must do it now, because when we close the bags, it cannot be incorporated … (we add a bunny …)
• We fix with pins the point where we will begin to fix the central bag:
We will follow the instructions according to the following photos:
(the thread serves as a guide, to know where we have to go sewing the pockets, then we remove it later …)
(We will try to compensate the pockets, so that you do not get unbalanced the gnome and have different pocket sizes …)
(Nor should we forget on the side that we will place the handyman, we should leave them without a hole, so that it facilitates their sewing to the body….)
EYES White
They are not done in continuous turns, you have to turn the work (that’s why always we leave 1 cad in the air)
1 Round: 6 chains and one in the air, go around the work
2 Round: 1 increase, 4 SC 1 increase = 8
3 Round: 1 increase, 6 SC 1 increase = 10
4 Round: 1 increase, 8 SC 1 increase = 12
5 Round: 1 increase, 10 SC 1 increase = 14
6 Round: 1 increase, 12 SC 1 increase = 16
7 Round: 1 increase, 14 SC 1 increase = 18
8 Round: 18 SC
9 Round: 1 increase, 16 SC, 1 increase = 20
11/10/12/13 Rounds: 20 SC, 1 air chain = 20
14 Round: 1 SC, 1 decrease, 14 SC, 1 decrease, 1 SC, 1 air chain = 18
15 Round: 1 SC, 1 decrease, 12 SC, 1 decrease, 1 SC = 16
Close the job.
give 1 SC around the entire eye, to close all the pts ..
We fix the eyes with pins, in the center of the egg, before sewing them …
• We start sewing the eyes on the head, and leave a hole, where we will put the filling…
• Subsequently, we pass black strand, to perform the division of the eyes, lightly frowning, to give volume … Also, we will pass through the outer orbit of the eyes, to give depth …
BIGOTS X 2 WHITE
They will be done in a spiral, in continuous rounds….
1 Round: magic ring
2 Round: 6 SC
3y4 Rounds: 6 SC
5 Round: (2 SC, 1 increase) X 2 = 8
6 Round: (3 SC, 1 increase) X 2 = 10
7 Round: (4 SC, 1 increase) X 2 = 12
8 Round: 12 SC
9 Round: (1 increase X 2), 10 SC = 14
10 Round: 14 SC
11 Round: 1 SC, (1 increase X 2), 11 SC = 16
12 Round: 16 SC
13 Round: 1 SC, 1 increase, 2 SC, 1 increase, 11 SC = 18
14 Round: 1 SC, 1 increase, 4 SC, 1 increase, 11 SC = 20
15/16 Rounds = 20 SC
17 Round: 1 SC, 1 decrease, 4 SC, 1 decrease, 11 SC = 18
18 Round: 1 SC, 1 decrease, 2 SC, 1 decrease, 11 SC = 16
19 Round: (2 SC, 1 decrease) X 4 = 12
20 Round: 2 SC, 1 decrease, 4 SC, 1 decrease, 2 SC = 10
21 Round: 5 decreases = 5
• Fix the whiskers with pins, under the eyes, and sew them to the head …
PINK COLOR NOSE
It will be done in a spiral, in continuous rounds …
1 Round: magic ring
2 Round: 6 SC
3 Round: 6 increases = 12
4 Round: (2 SC, 1 increase) X 4 = 16
5 Round: (7 SC, 1 increase) X 2 = 18
6/7 Round = 18 SC
8 Round: (7 SC, 1 decrease) X 4 = 16
9 Round = 16 SC
10 Round: (2 SC, 1 decrease) X 4 = 12
11 Round: 6 decreases = 6
Leave thread to sew to the head later …
Fix it with pins…. And then sew it …
MOUTH
It will be done in a spiral, in continuous rounds …
1 Round: magic ring
2 Round: 6 SC
3 Round: 6 increases = 12
4 Round: 12 SC
5 Round: (5 SC, 1 increase) X 2 = 14
Close and leave thread to sew it later….
EARS-x 2
It will be done in a spiral, in continuous rounds …
1 Round: magic ring
2 Round: 6 SC
3 Round: 6 increases = 12
4 Round: (3 SC, 1 increase) X 3 = 18
5/6/7/8 Rounds = 18 SC
Close and leave thread… Fix them to the head with pins …
PUPILS X 2
• Yes, you don’t want to embroider the pupils, you can make them in felt, and stick it to the little face … See the photos …
HAT
It will be done in a spiral, in continuous rounds …
With white it starts
1 Round: magic ring
2 Round: 6 SC
3 Round: 6 increases = 12
4 Round: (1 SC, 1 increase) X 3 = 18
5 Round: (2 SC, 1 increase) X 4 = 24
6 Round: 24 SC
7 Round: (3 SC, 1 increase) X 6 = 30
8/9/10 Rounds = 30 SC
11 Round: (3 SC, 1 decrease) X 6 = 24
12 Round = 24 SC
13 Round: (2 SC, 1 decrease) X 6 = 18
14 Round: (1 SC, 1 decrease) X 6 = 12
15 Round: 6 decreases = 6
CHANGE COLOR TO RED
16 Round: 6 increases = 12
17/18/19/20 Rounds = 12 SC
21 Round: (2 SC, 1 increase) X 4 = 16
22/23/24/25 Rounds: 16 SC
26 Round: (3 SC, 1 increase) X 4 = 20
27/28/29/30 Rounds: 20 SC
31 Round; (4 SC, 1 increase) X 4 = 24
32/33/34 Rounds: 24 SC
35 Round: (5 SC, 1 increase) X 4 = 28
36/37/38 Rounds: 28 SC
39 Round: (6 SC, 1 increase) X 4 = 32
40/41/42 Rounds: 32 SC
43 Round: (7 SC, 1 increase) X 4 = 36
44/45 Rounds: 36 SC
46 Round: (8 SC, 1 increase) X 4 = 40
47/48 Rounds: 40 SC
49 Round: (9 SC, 1 increase) X 4 = 44
50 Round: 44 SC
51 Round: (10 SC, 1 increase) X 4 = 48
52 Round: 48 SC
53 Round: (11 SC, 1 increase) X 4 = 52
54 Round: 52 SC
55 Round: (12 SC, 1 increase) X 4 = 56
56 Round: 56 SC
57 Round: (13 SC, 1 increase) X 4 = 60
58 Round: (14 SC, 1 increase) X 4 = 64
59 Round: (15 SC 1 increase) X 4 = 68
60 Round: (16 SC 1 increase) X 4 = 72
61 Round: (17 SC 1 increase) X 4 = 76
62 Round: 76 SC
63 Round: 76 SC + 1 cad
CHANGE WHITE COLOR
64/65/66 Rounds: 76 SC
67 Round: (18 SC, 1 increase) X 4 = 80
68/69/70 Rounds: 80 SC
Close ….
Fit the cap to the gnome between Rounds 64/70 and sew some stitches …
SHOES X 2
It will be done in a spiral, in continuous rounds …
1 Round: Magic Ring
2 Round: 6 SC
3 Round: 1 increase X 6 = 12
4 Round: (1 SC, 1 increase) X 6 = 18
5 Round: (2 SC, 1 increase) X 6 = 24
6 Round: (3 SC, 1 increase) X 6 = 30
7 Round: (4 SC, 1 increase) X 6 = 36
8/9/10/11/12 Rounds = 36 SC
13 Round: (7 SC, 1 decrease) X 4 = 32
14/15 Rounds = 32 SC
16 Round: (6 SC, 1 decrease) X 4 = 28
17 Round = 28 SC
18 Round: (5 SC, 1 decrease) X 4 = 24
19 Round: (4 SC, 1 decrease) X 4 = 20
20 Round: (3 SC, 1 decrease) X 4 = 16
21/22/23/24 Rounds = 16 SC
25 Round: (2 SC, 1 decrease) X 4 = 12
26 Round: 6 decreases = 6 SC
Close and leave thread to sew
Later we will sew them to the body….
HANDS X 2
It will be done in a spiral, in continuous rounds …
• Hands are made of body color…. They are done finger to finger, and
later we will join them, until forming the hand …
We start by making the fingers (3 independent fingers):
1 Round: Magic Ring
2 Round: 6 SC
3 Round: 5 SC, 1 increase = 7
4/5/6 Round: 7 SC
Now we will make the thumb:
1 Round: Magic Ring
2 Round: 6 SC
3 Round: 5 SC, 1 increase = 7
4/5 Round: 7 SC
We will join all the fingers with the next round… .. see the photos…
Prepare it with the ends in this position …
7/8/9 Round: 17 SC
10 Round: 1 SC, (2 SC, 1 decrease) x 4 = 13
11 Round: 1 SC, (1 SC, 1 decrease) x 4 = 9
11 Round: 1 SC, (1 decrease) x 4 = 5 Fill and close the hand ..
Round 9 …
Without Thumb With the thumb
• Sew it to the sides, where they will be very tight to the body….
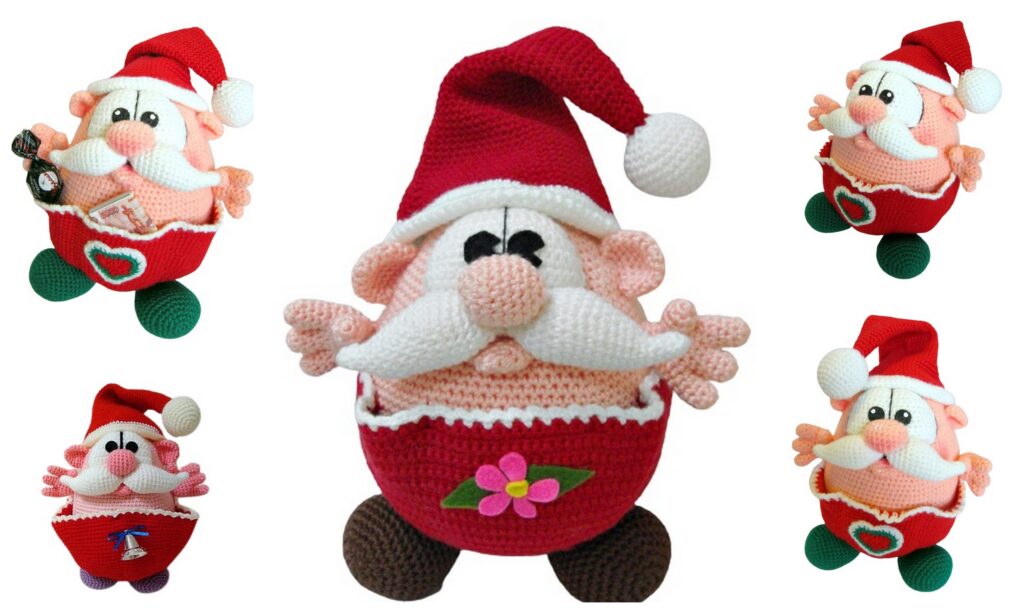
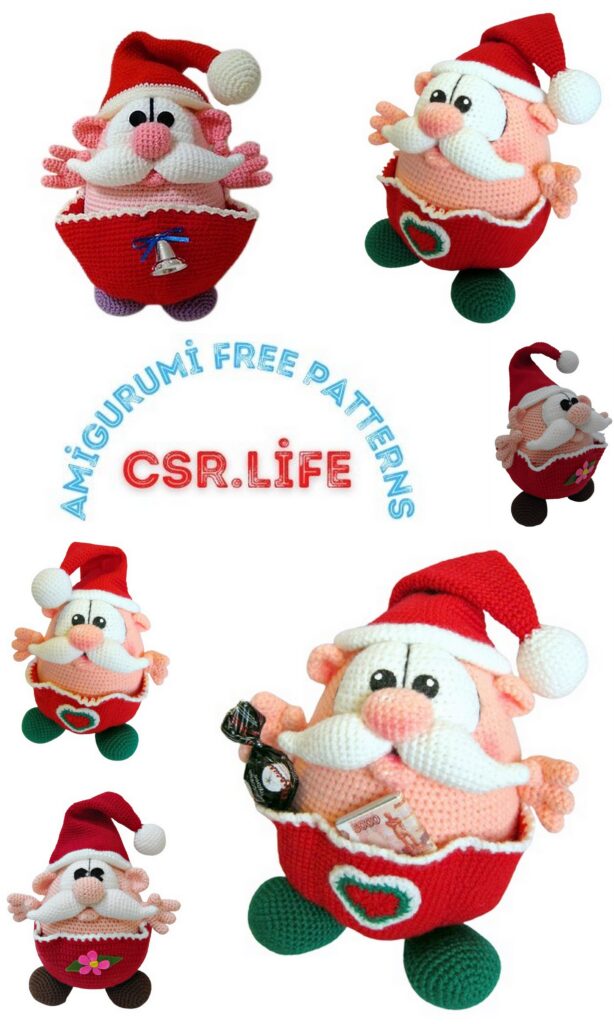
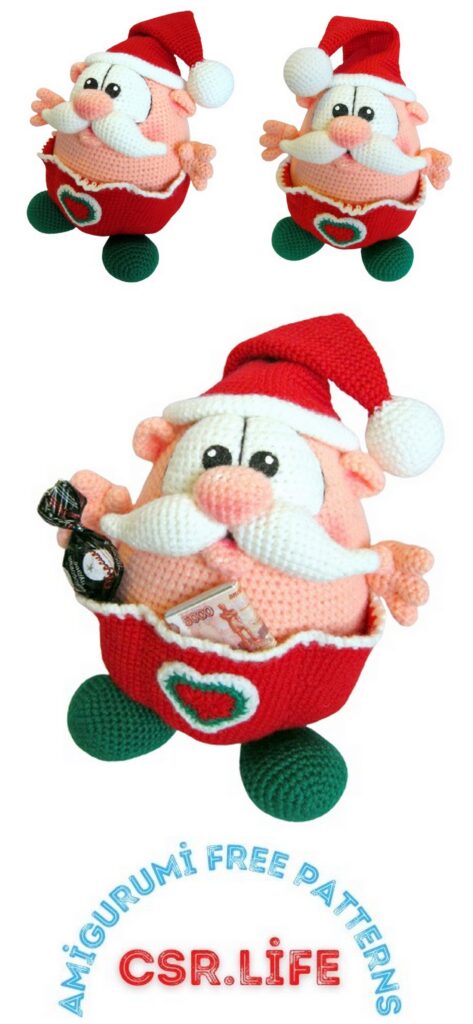
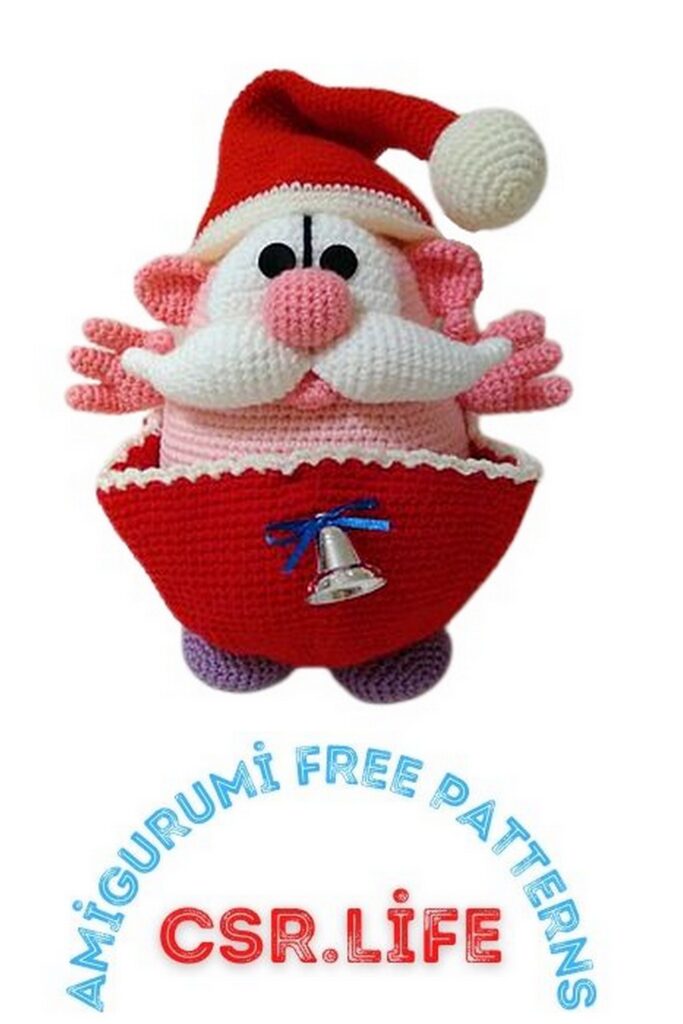
THE ORNAMENT THAT GOES FORWARD EVERYONE DOES THE ONE YOU LIKE THE MOST.
I hope they do and they have very nice KISSES

 1)Yarn. When knitting, I used: * YarnArt Jeans (skein weight: 50 gr., Thread length: 160 m, Composition: 55% cotton, 45% polyacrylic, Manufacturer: Turkey) …