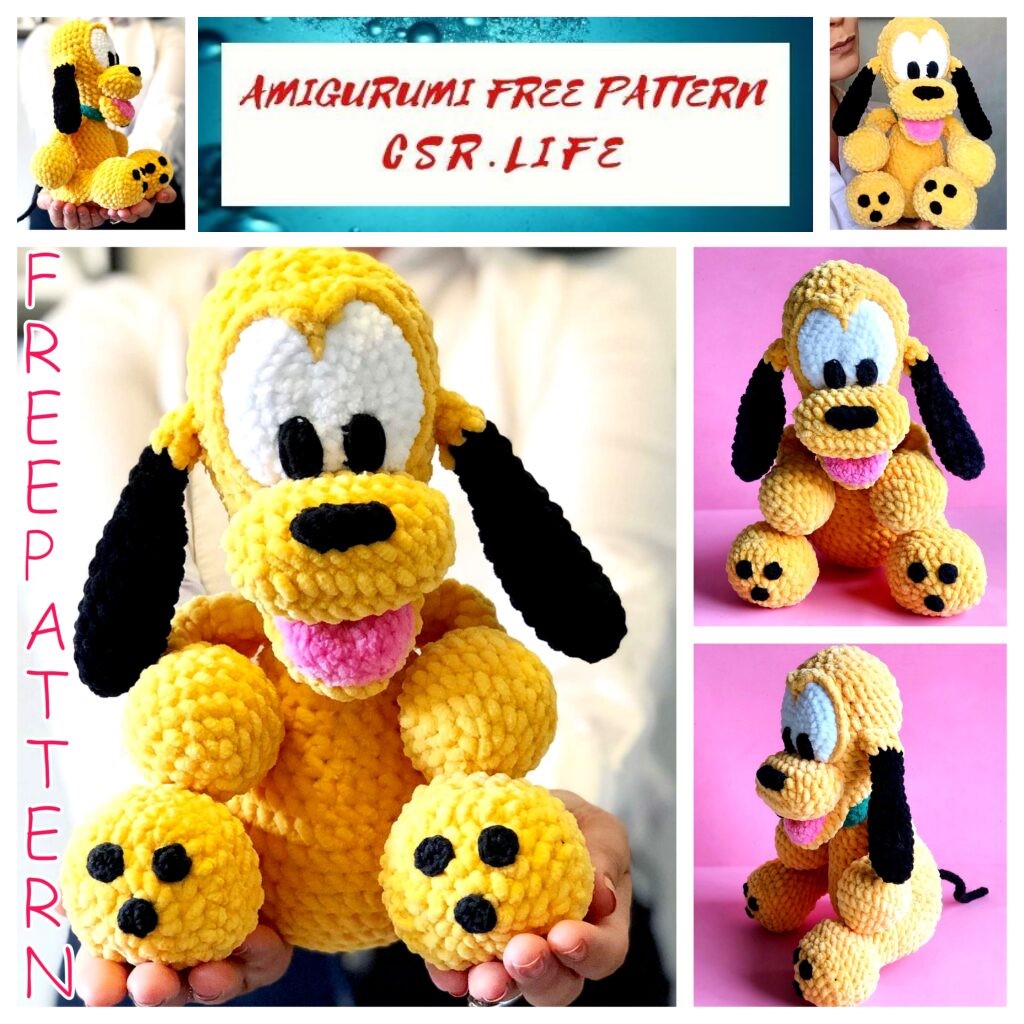
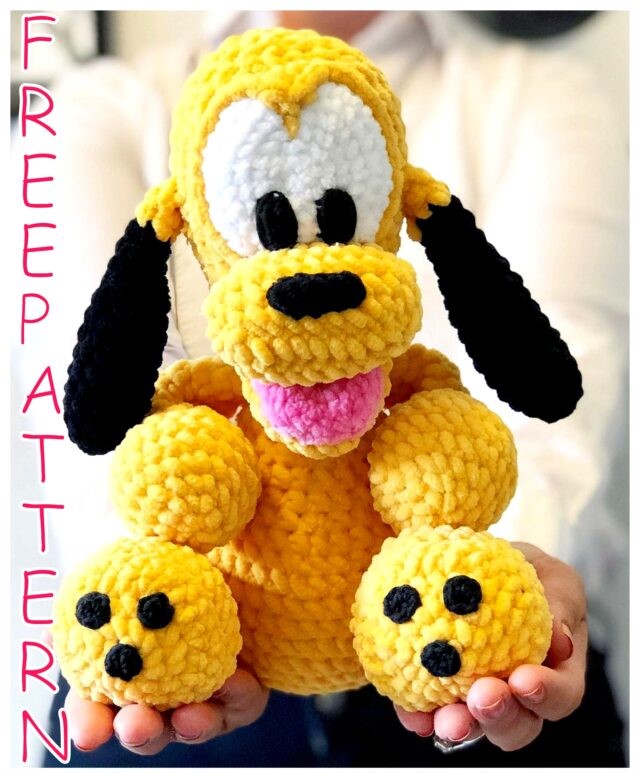
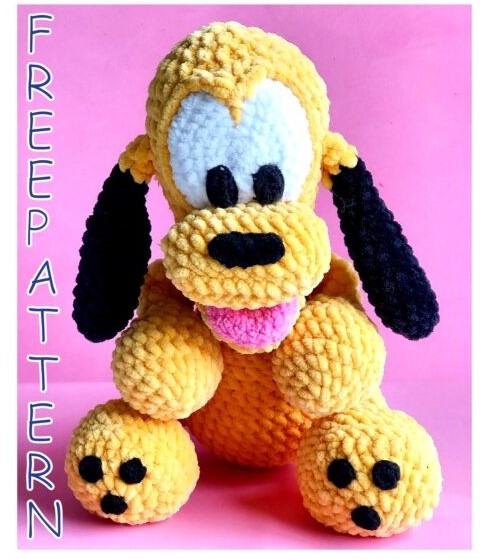
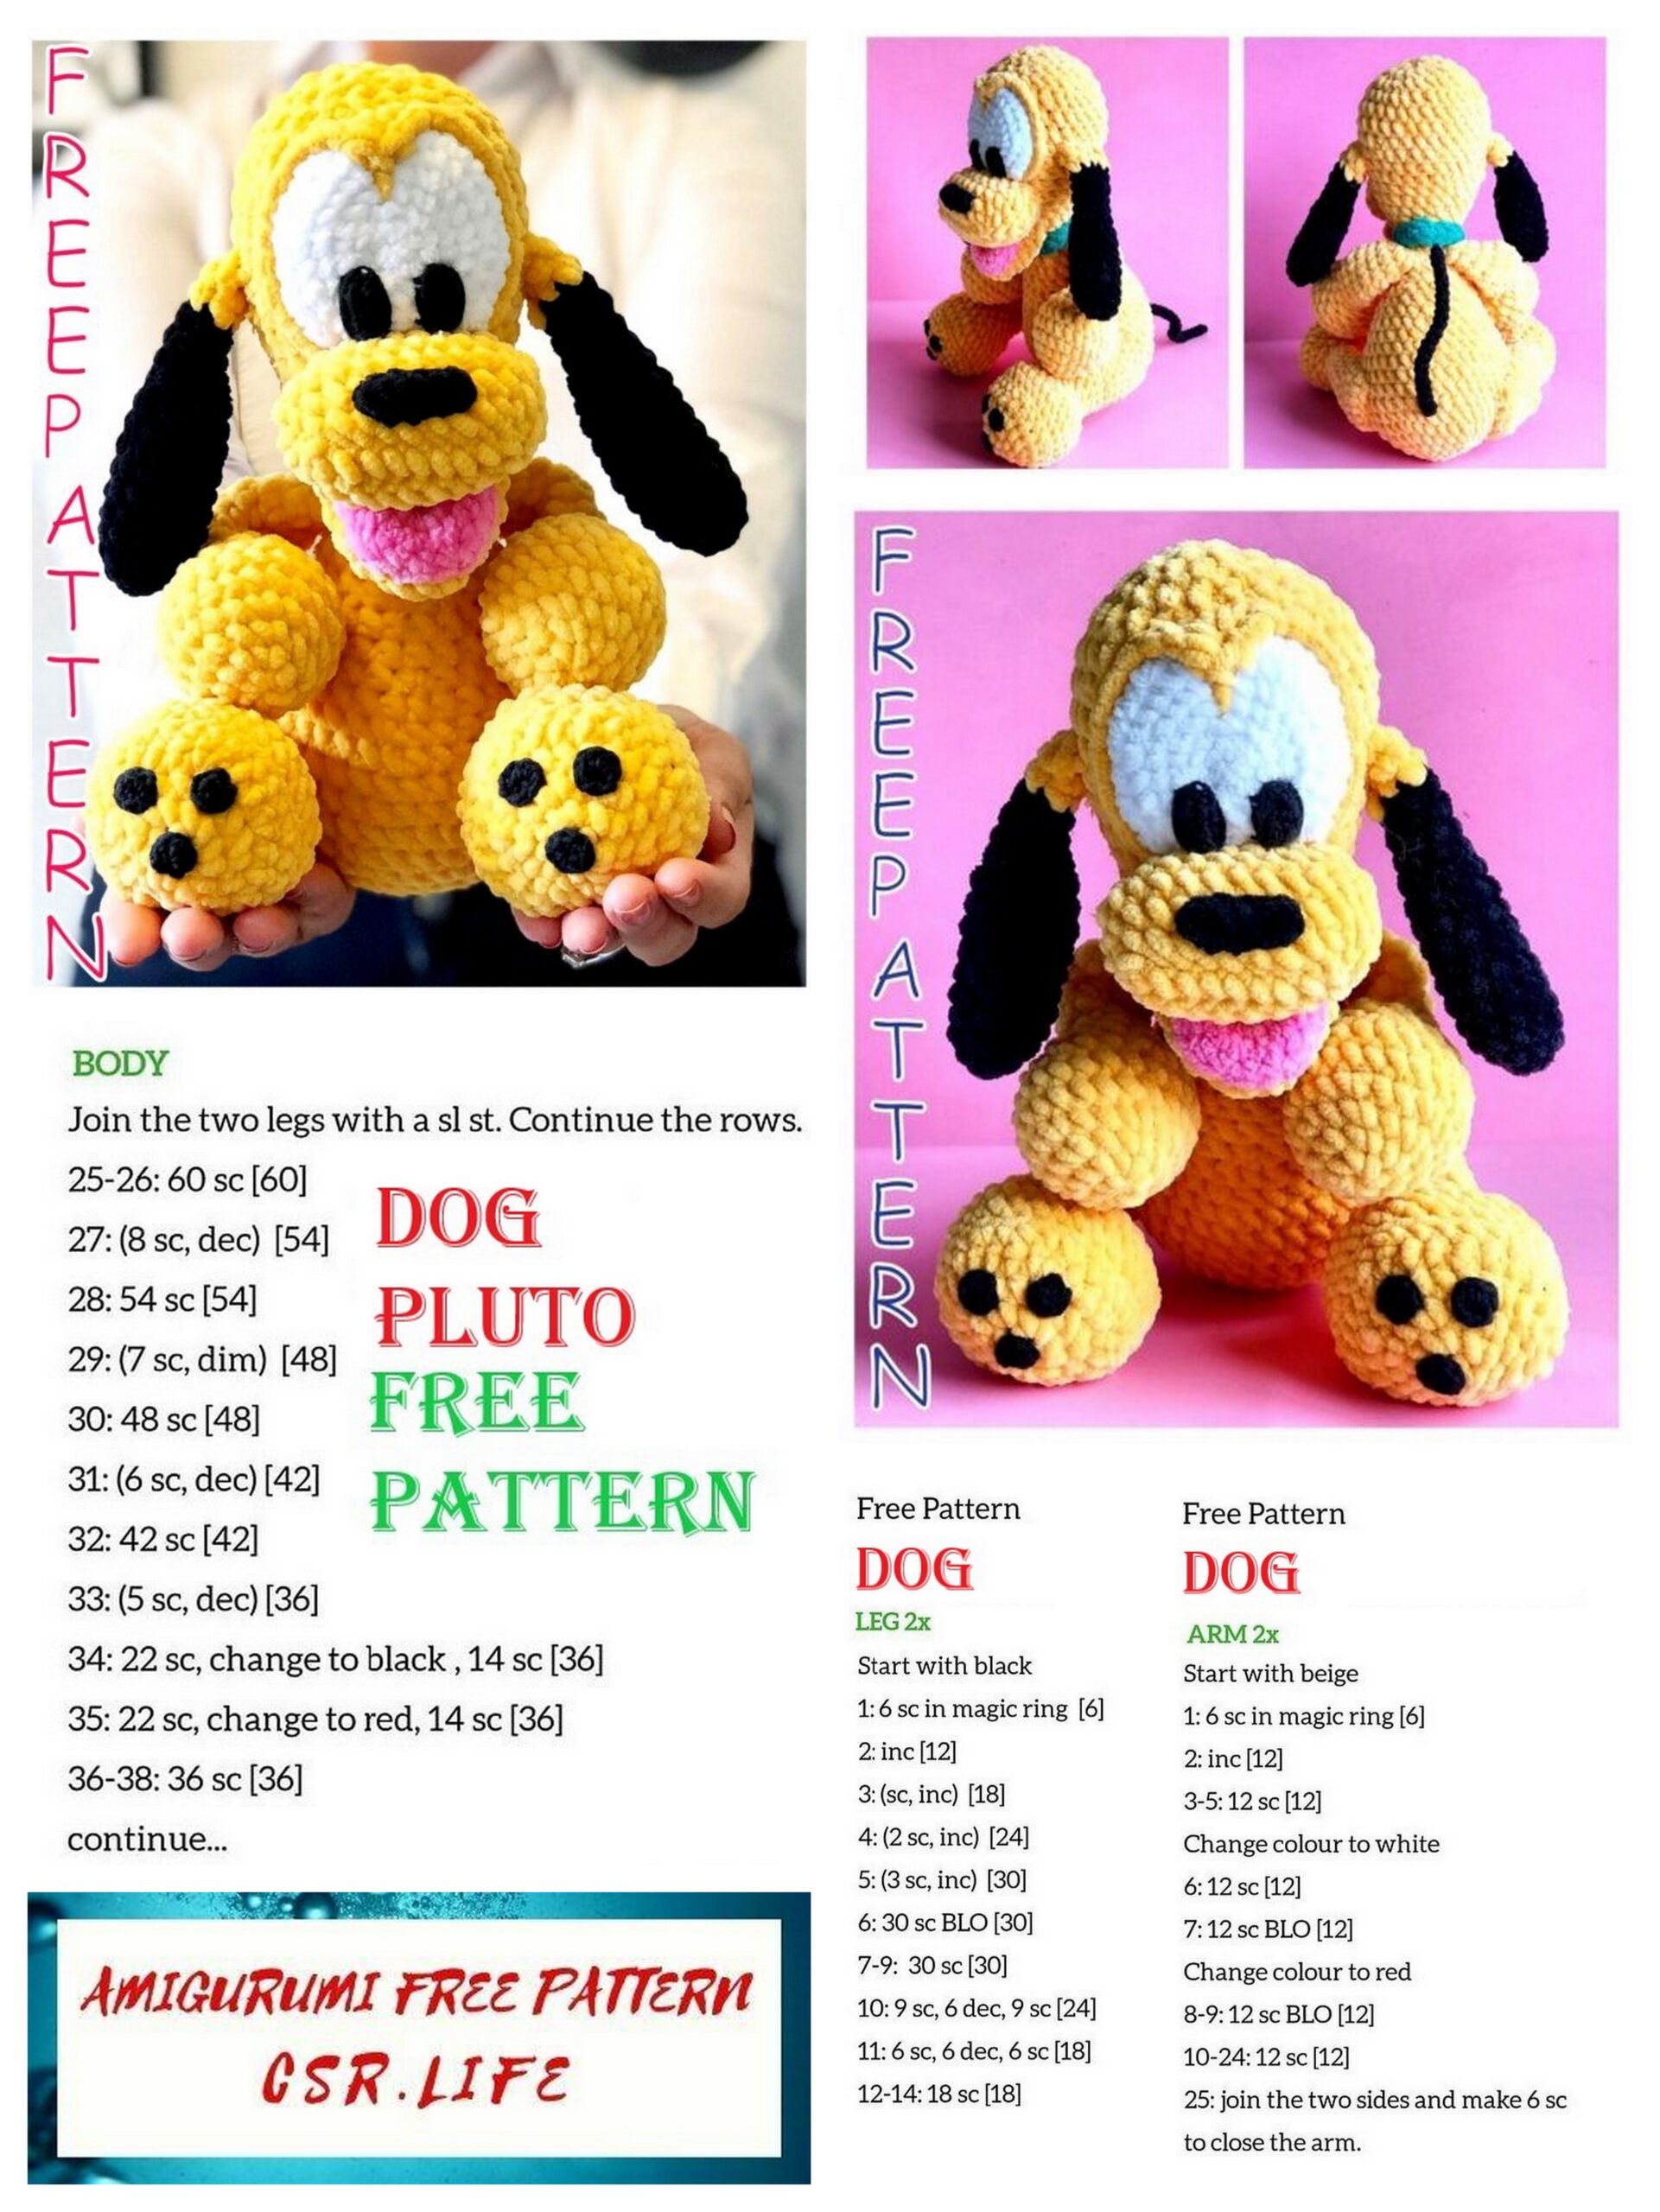
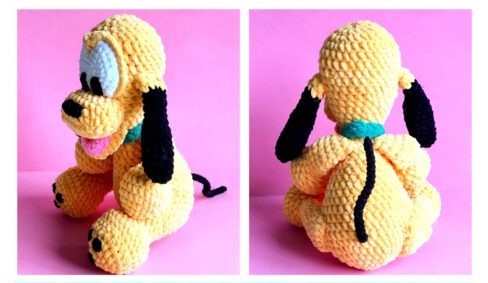
Dog Baby Pluto Amigurumi Free Pattern
We are the only address for amigurumi free patterns. We share the most popular patterns for you. amigurumi dog pluto pattern is just one of them.
Abbreviations:
R — row
ch — chain
sc — single crochet
inc — increase
dec — decrease
BLO — back loop only
[…] – number of stitches you should have at the end of the row
(…) – repeat whatever is between the brackets the given number of times
MATERIALS USED:
Colour A: Cygnet Yarns Chenille Chunky, Honeydew
Colour B: James C Brett Flutterby Chunky, Pink
Colour C: James C Brett Flutterby Chunky, Black
Colour D: James C Brett Flutterby Chunky, White
Colour E: Rico Ricorumi DK, Black
Crochet Hook: 4mm for chenille yarm
2.5mm for DK yarn
Toy stuffing
Stitch marker
PATTERN

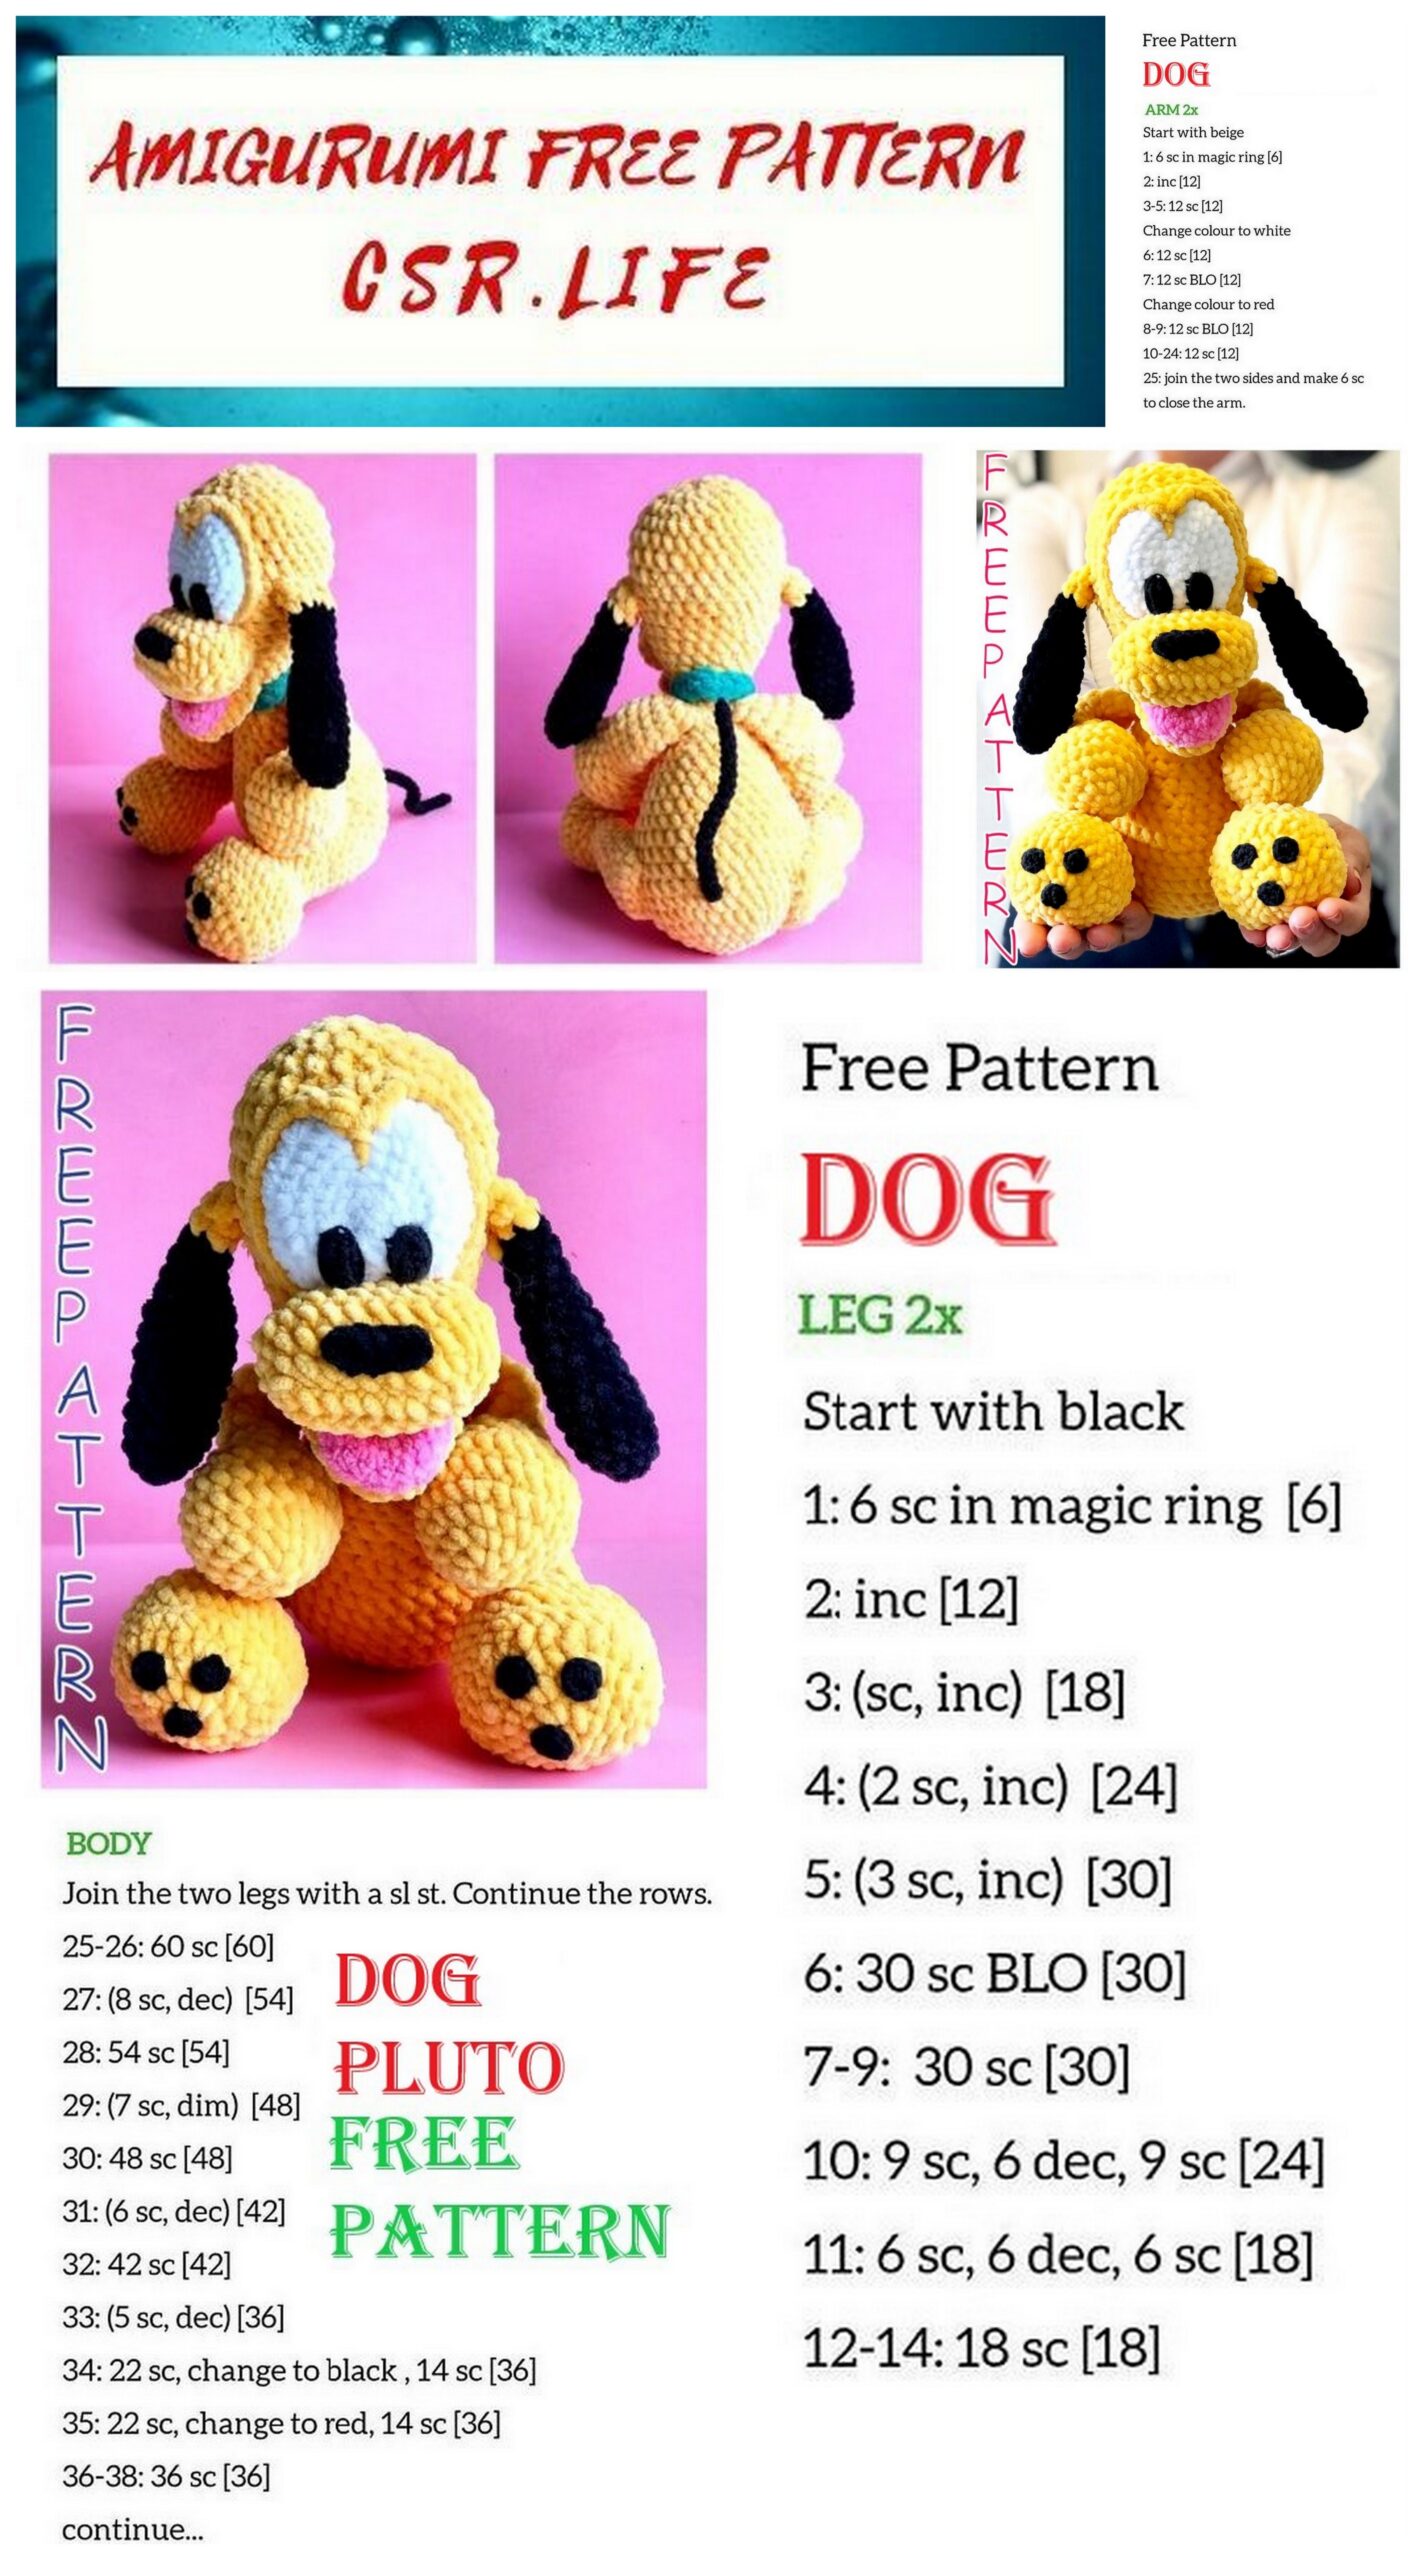
HEAD:
1. Using colour A, work 6 sc in magic ring (6)
2. Inc in each st (12)
3. *1 sc, 1 inc** repeat * to ** 6 times (18)
4. Sc in each st
5. *2 sc, 1 inc** repeat * to ** 6 times (24)
6-7. Sc in each st
8. *3 sc, 1 inc** repeat * to ** 6 times (30)
9-12. Sc in each st
13. *3 sc, 1 dec** repeat * to ** 6 times (24)
14. *2 sc, 1 dec** repeat * to ** 6 times (18)
15. *1 sc, 1 dec** repeat * to ** 6 times (12)
16. Dec (6) Fasten off leaving a long tail for sewing the last stitches together.
EYES (THE WHITE PART) :
1. Using colour D, work 6 sc in magic ring (6)
2. Inc in each st (12)
3. *1 sc, 1 inc** repeat * to ** 6 times (18)
4. *2 sc, 1 inc** repeat * to ** 6 times (24)
5. *3 SC, 1 inc** repeat * to ** 6 times (30)
6. *4 sc, 1 inc** repeat * to ** 6 times (36)
Fasten off leaving a long tail for sewing the white eye part to the head.
PUPILS (MAKE 2):
1. Using colour E (and 2.5 hook), chain 5, sc 4 starting from the second st from the hook
2. Sc across the 4 sts on the other side of the chain
Fasten off leaving a long tail for sewing the pupils to the white part of the eye.
EARS (MAKE 2):
1. Using colour C, work 6 sc in magic ring (6)
2. Inc in each st (12)
3-10. Sc in each st
11.*1 sc, 1 dec** repeat * to ** 4 times (8)
12-14. Sc in each st
15-16. Change to colour A, sc in each st
Fasten off leaving a long tail for sewing the ears to the head.
There’s no need to stuff the ears. Attach ears to round 11 of the head.
BODY:
1. Using colour A, work 6 sc in magic ring (6)
2. Inc in each st (12)
3. *1 sc, 1 inc** repeat * to ** 6 times (18)
4. *2 sc, 1 inc** repeat * to ** 6 times (24)
5. *3 sc, 1 inc** repeat * to ** 6 times (30)
6. *4 sc, 1 inc** repeat * to ** 6 times (36)
7-12. Sc in each st
13. *4 sc, 1 dec** repeat * to ** 6 times (30)
14. Sc in each st
15. *3 sc, 1 dec** repeat * to ** 6 times (24)
16-17. Sc in each st
18. *2 sc, 1 dec** repeat * to ** 6 times (18)
19. Sc in each st
20. *1 sc, 1 dec** repeat * to ** 6 times (12)
21-22. Sc in each st
Fasten off leaving a long tail for sewing the body to the head after stuffing the body firmly.
Attach the body to the bottom of the head.
ARMS (MAKE 2):
1. Using colour A, work 6 sc in magic ring (6)
2. Inc in each st (12)
3. *1 sc, 1 inc** repeat * to ** 6 times (18)
4. *2 sc, 1 inc** repeat * to ** 6 times (24)
5. *3 sc, 1 inc** repeat * to ** 6 times (30)
6-7. Sc in each st
8. *2 sc, 1 dec** repeat * to ** 6 times (18)
9. *1 sc, 1 dec** repeat * to ** 6 times (12)
10. *4 sc, 1 dec** repeat * to ** 2 times (10)
11-18. Sc in each st
Stuff the larger part of the arms only.
Attach the arms to row 20 of the body, there will be 2 sts between the arms on the back.
LEAD:
1. Chain 21
2. Start in the second chain from the hook and sc 20.
Fasten off, leaving a long tail.
Attach the lead around Pluto’s head with a few sts from the end of the chain to the start of the chain.
TAIL:
1. Using colour E, work 4 sc in magic ring (4)
2-23. Sc in each st
To make the tail a bit more sturdy I added a few tails of yarn up the centre of the tail.
Attach the tail to round 8 of the body at middle of the back.
LEGS (MAKE 2):
1. Using colour A, work 6 sc in magic ring (6)
2. Inc in each st (12)
3. *1 sc, 1 inc** repeat * to ** 6 times (18)
4. *2 sc, 1 inc** repeat * to ** 5 times, ch 1 and turn your work.
This will leave 3 unworked stitches
5. Sc across the 20 stitches you just worked, ch 1, turn
6. *3 sc, 1 inc** repeat * to ** 5 times.
Now you’ll work across the 3 sts you didn’t work in round 4.
First work one sc down the side of your previous two rounds, then sc across the 3 unworked sts, sc 1 st up the side.
You’ll now be working across all sts again. (30)
7. Sc in the back loop only.
8. Sc in each st
9. *3 sc, 1 dec** repeat * to ** 6 times (24)
10. *2 sc, 1 dec** repeat * to ** 6 times (18)
11.*1 sc, 1 dec** repeat * to ** 6 times (12)
12-22. Sc in each st
Fasten off, leaving a long tail to attach the legs to the body.
Stuff the larger part of the legs only.
The legs are attached flat across rounds 6-9, slightly diagonally (swipe to image 9 for guidance).
There will be 20 sts between the bottom of the two legs on the back.
To make the bend in the leg, attach the top of row 4 of the leg to row 11.
Make a few more stiches across the top of row 1-3 to secure to the body.
PAW PADS (MAKE 6):
Using colour E, work 6 sc in magic ring (6)
Fasten off, leaving a long tail to attach the pads to the paws.
Attach 1 pad to the middle of round 1 of the leg, attach the other 2 in row 4 with 1 st in between (swipe to image 9 for guidance).
MUZZLE:
1. Using colour A, chain 9, turn
2. Sc 8 starting from the second st from the hook
3. Sc across the 8 stitches on the other side of the chain (Continue working in the round)
4. *Sc 7,1 inc** repeat * to ** 2 times (10)
5. *Sc 6, 1 inc, 1 inc** repeat * to ** 2 times (12)
6-8. Sc in each st
Fasten off, leaving a long tail for attaching the muzzle to the head.
NOSE:
Using colour C, chain 5, sc 4 starting from the second st from the hook Fasten off leaving a long tail for sewing the nose to muzzle.
MOUTH :
1. Using colour A, work 6 sc in magic ring (6)
2. Inc in each st (12)
3. *1 sc, 1 inc** repeat * to ** 6 times (18)
4-5. Sc in each st
Fasten off leaving a long tail for attaching the mouth to the head
TONGUE :
1. Using colour B, work 6 sc in magic ring (6), chain 1 Now you’ll turn your work instead of joining the circle
2. Inc in each st (12), chain 1, turn
3. Sc in each st, chain 1, turn
4. *1 sc, 1 inc** repeat * to ** 6 times (18)
Fasten off leaving a long tail for attaching the tongue to the mouth.ing Attach the tongue to the top of the mouth, no stuffing is necessary for the mouth.
ASSEMBLY:
I recommend pinning all the parts in place before starting to sew the parts together.
See below where each part will sit.
Attach the eye section across row 8-15 of the head.
Attach the muzzle across rounds 5-8, overlap the muzzle over the bottom of the eye section by one row.
Stuff as you go along when sewing.
Attach the mouth just below the muzzle between rounds 2-4 of the head.
Attach the nose to the muzzle above the first row.
Attach the pupils to the white eye section just above the muzzle with a couple of stitches in between.
Once sewn in place, using a bit of colour E, make a long stitch from the bottom of the eye up the side to the top and down the other side to make the pupil look more oval shaped.
EDGING OF THE EYE:
1. Using colour A, SC 10 sts up the outside of the white section.
2. Now diagonally make 3 sts down in to the centre of row 4 of the white part (swipe to image 9 for guidance).
3. Diagonally crochet up the other side across 3 rows.
4. Continue down the outside of the white part a further 10 sts.
Cut off a tail of colour A and fill in the white part at the top of the eye section between the new sts you’ve just made.
Using colour A, make a st across row 3 of the white part of the eye, up to the middle point of the new yellow sts.