Free Spotted Zebra Amigurumi Pattern – Fun and Easy Crochet Tutorial
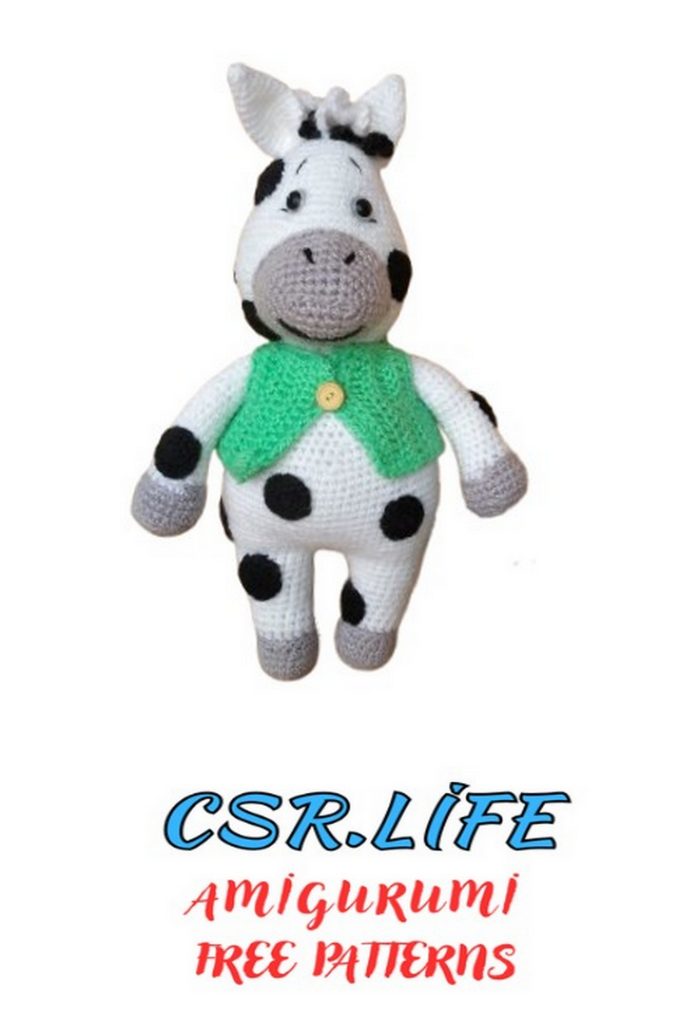
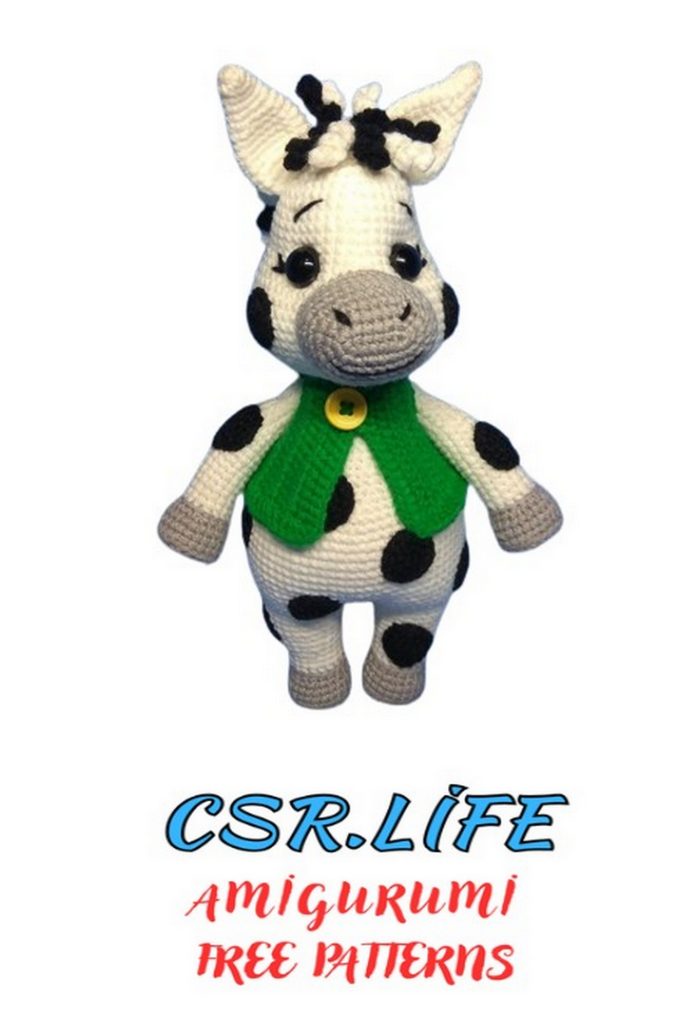
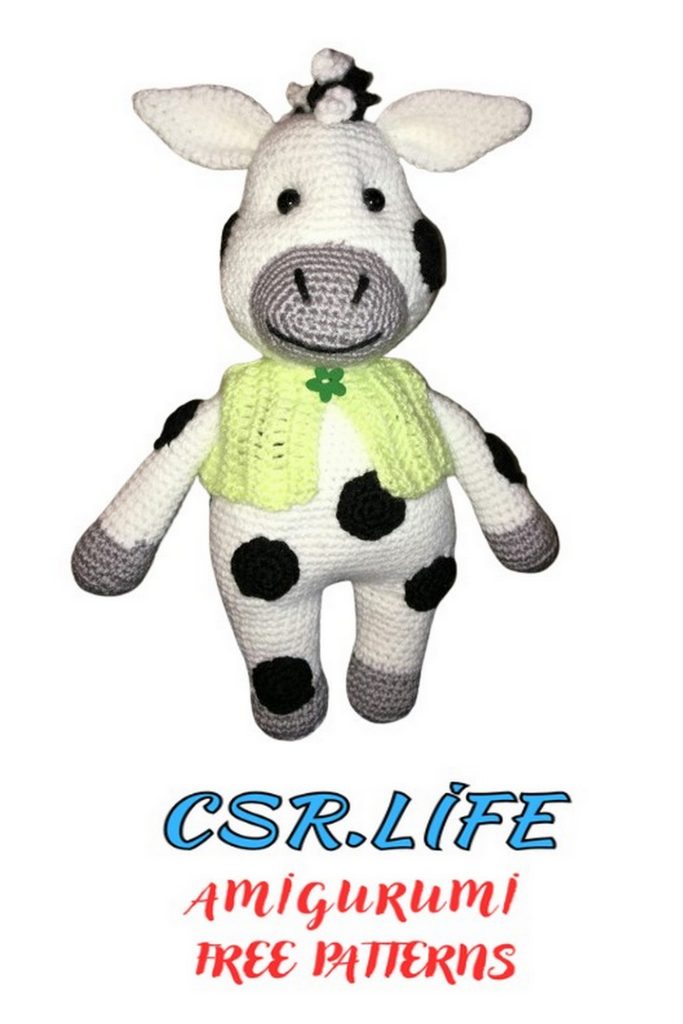
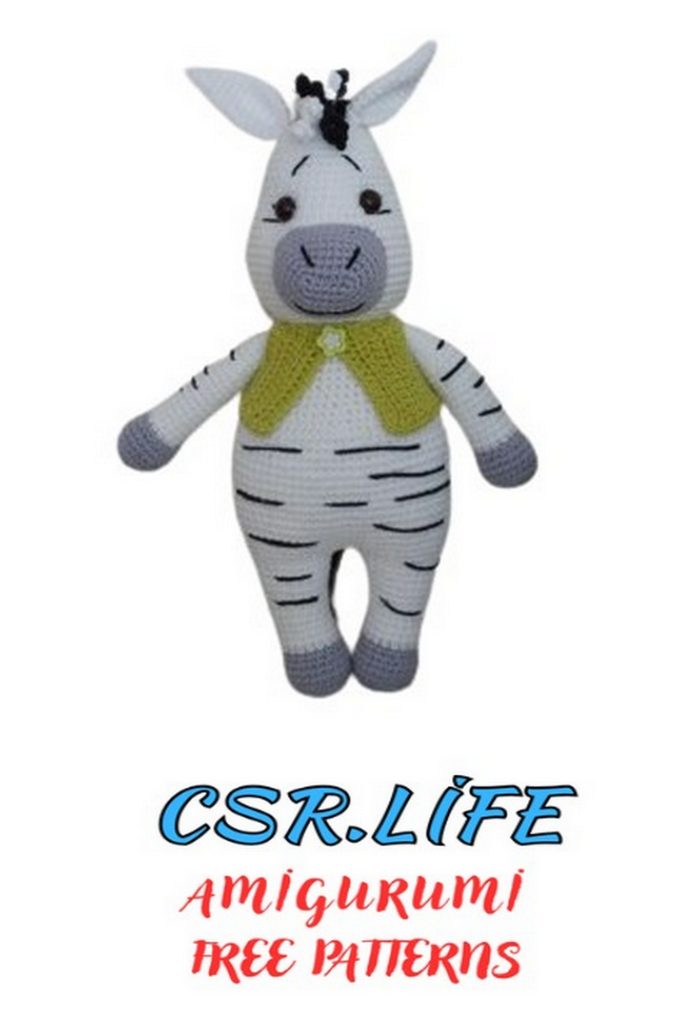
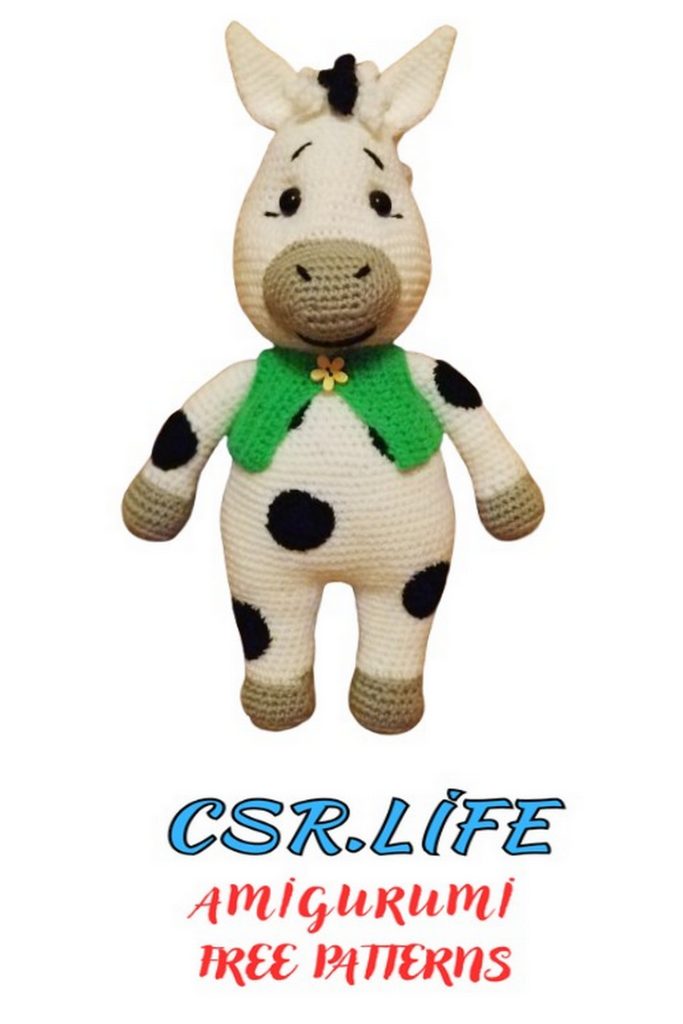
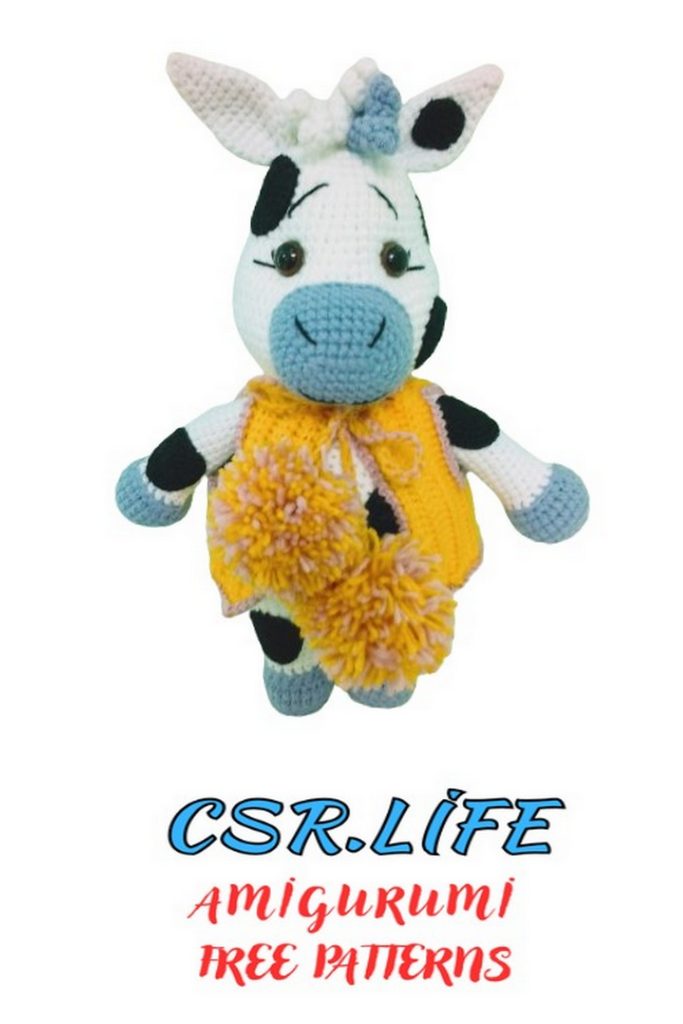
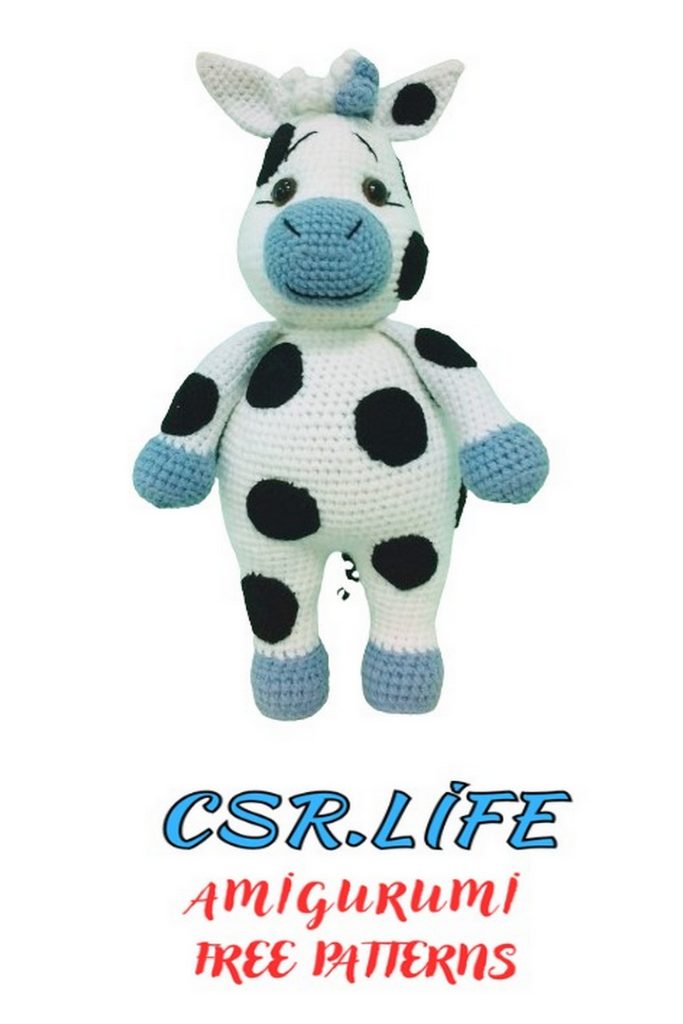
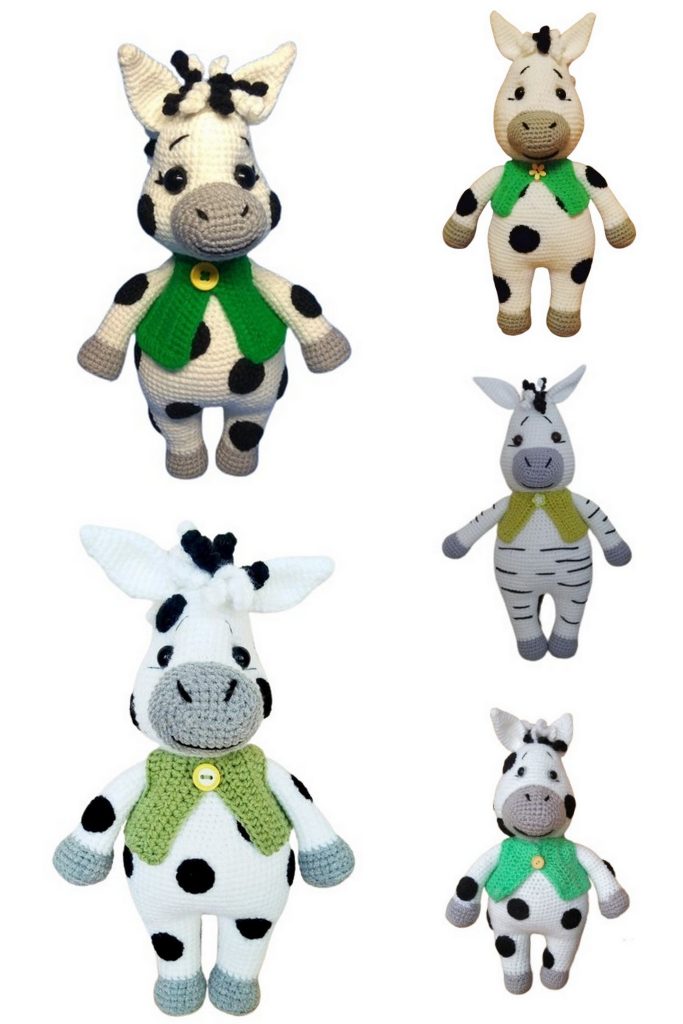
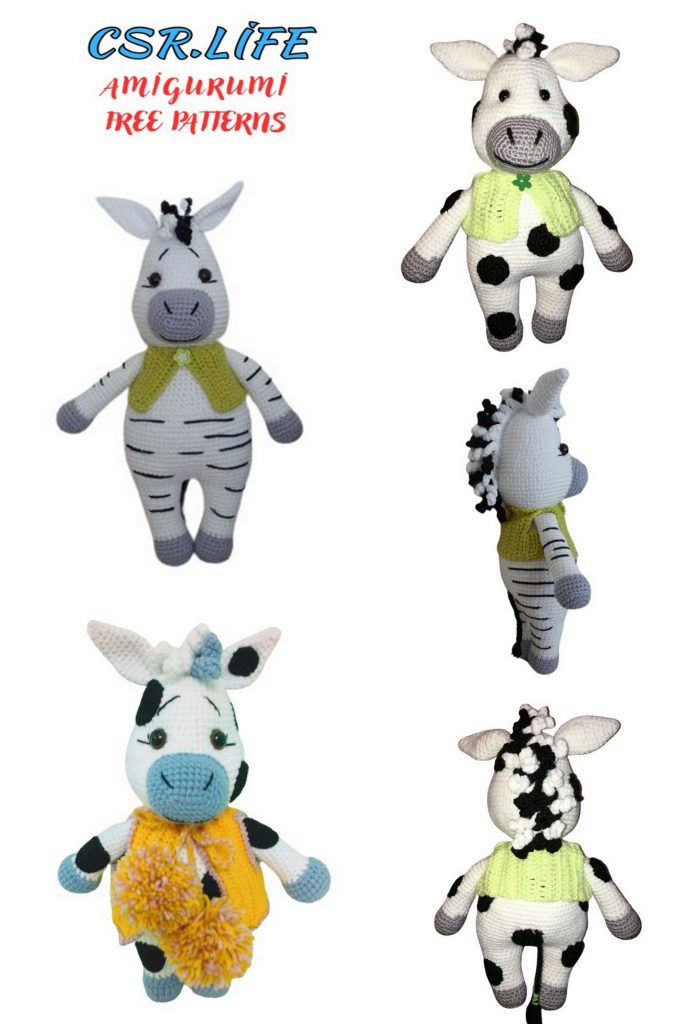
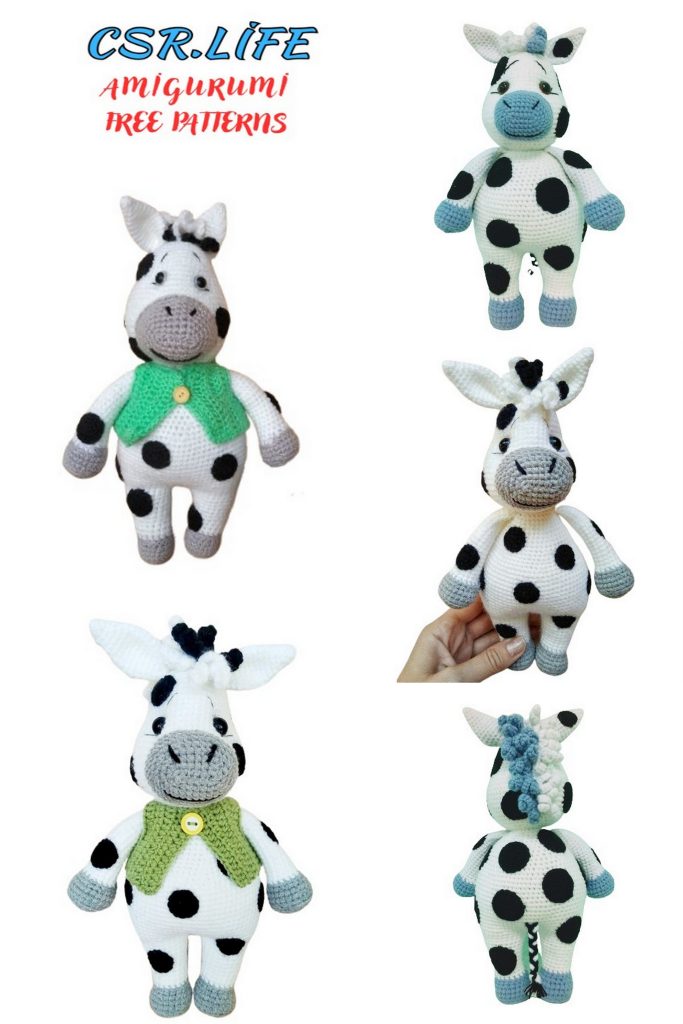
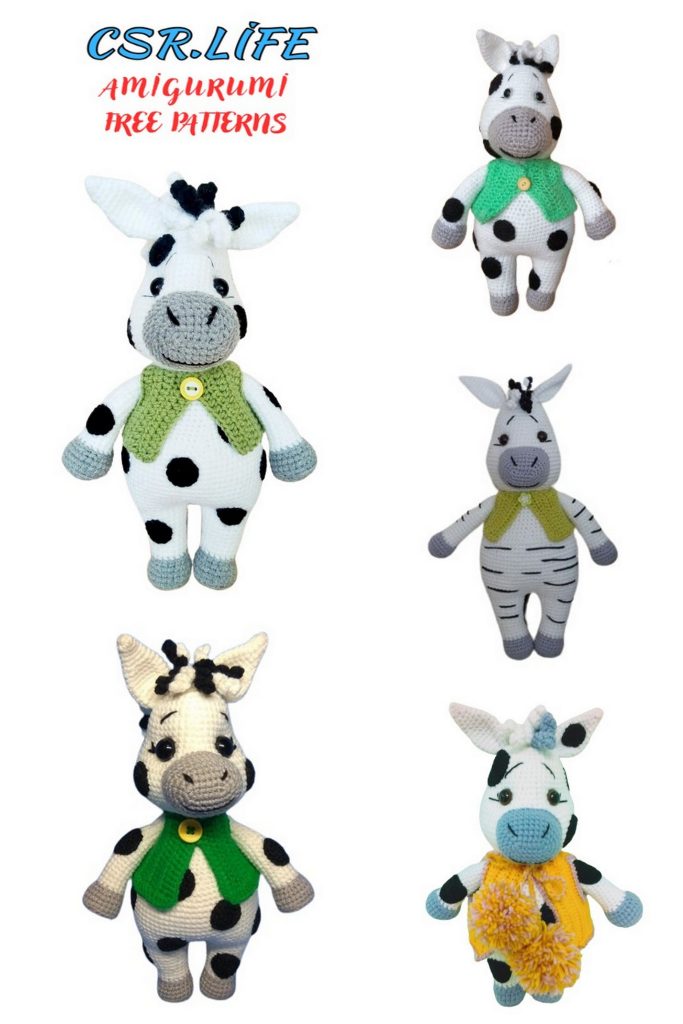
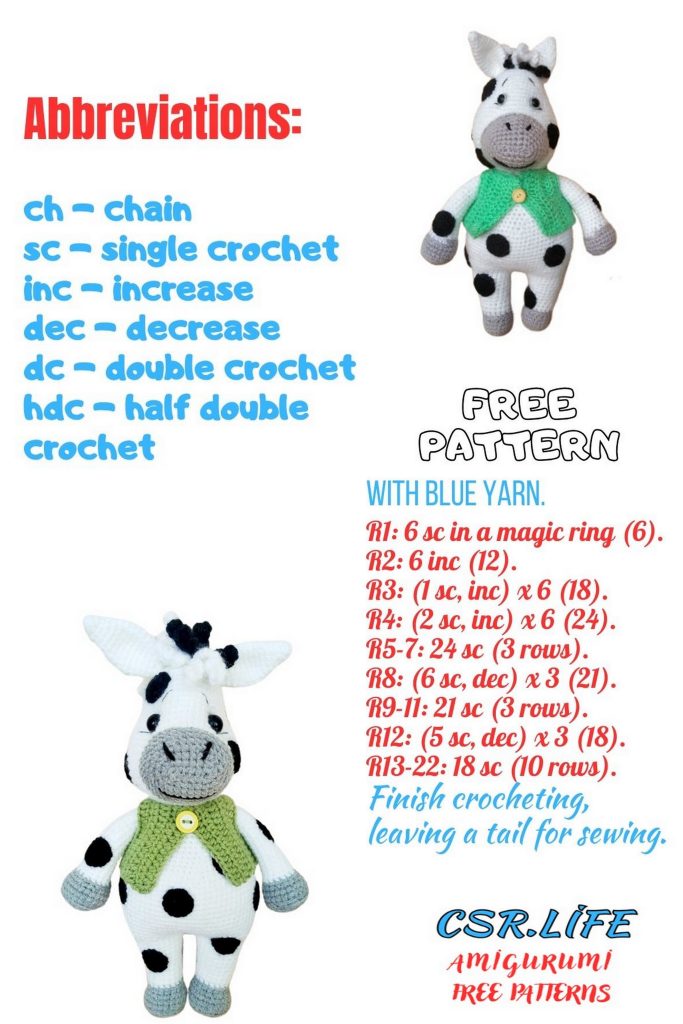
Add a touch of whimsy to your crochet projects with our free spotted zebra amigurumi pattern! This delightful design is perfect for crocheters of all skill levels, featuring clear, step-by-step instructions and detailed photos to help you create a unique and charming zebra. With its playful spots and adorable appearance, this amigurumi zebra makes a wonderful gift or a fun addition to your collection. Grab your crochet hook and some yarn, and let’s bring this spotted zebra to life!
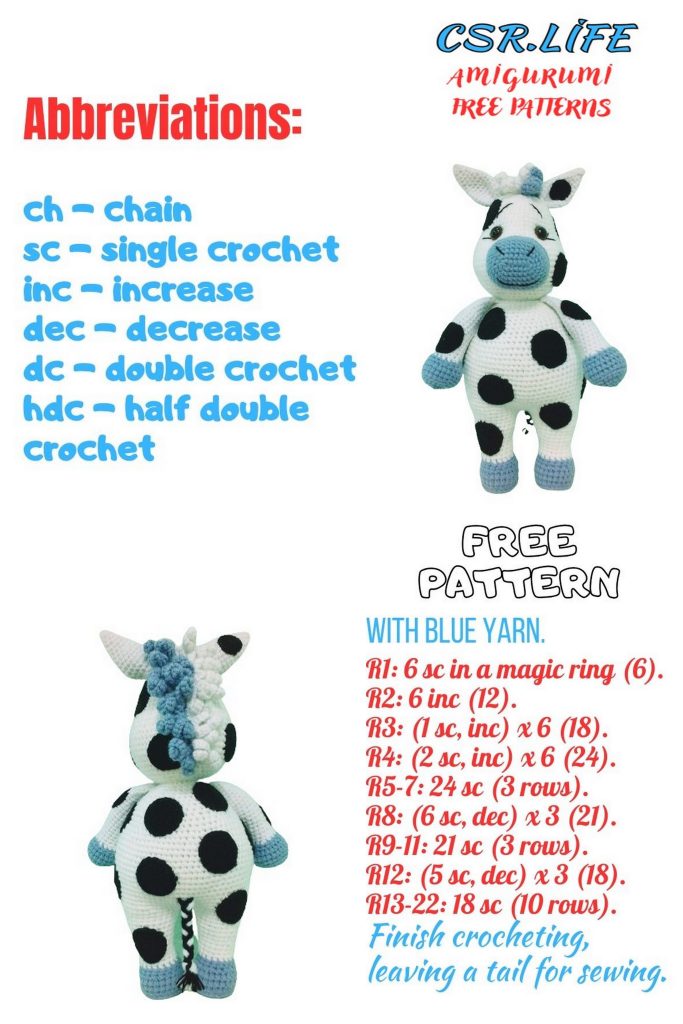
ABBREVİATİONS:
MR – magic ring
sc – single crochet
inc – increase
dec – decrease
ch – chain
sl st – slip stitch
hdc – half double crochet
(…)x6 – repeat the action in brackets 6 times.
Materials:
White yarn (200m/50g)
Black yarn (200m/50g)
Gray yarn (200m/50g)
Yarn of any color for the vest
2 black beads for the eyes
Crochet hook size 1.75-2 (or any suitable for your yarn)
Sewing needle
Black thread for embroidering the face
Stuffing
Button
PATTERN
Legs (make 2):
Start with gray yarn.
1: 6 sc in MR (6)
2: (inc) x6 (12)
3: (sc, inc) x6 (18)
4: (2 sc, inc) x6 (24)
5: Crochet in back loops only 24 sc.
6-7: 24 sc (2 rounds)
8: (2 sc, dec) x6 (18)
9: 18 sc
Change to white yarn.
10: 18 sc in back loops only.
11-13: 18 sc (3 rounds)
14: (5 sc, inc) x3 (21)
15-16: 21 sc
17: (6 sc, inc) x3 (24)
18-20: 24 sc
Finish the leg, fasten off and cut the yarn. Make the second leg in the same way, but do not cut the yarn as we will continue to crochet the body.
Body:
Ch 2 from the second leg and join to the first leg with a sl st.
1: 25 sc around the first leg, 2 sc along the chains, 25 sc around the second leg, 2 sc along the chains on the other side (54). Place a marker to mark the beginning of the round.
2: (8 sc, inc) x6 (60)
3: (5 sc, inc) x10 (70)
4: 15 sc, inc, 35 sc, inc, 18 sc (72)
5-16: 72 sc (12 rounds)
17: (10 sc, dec) x6 (66)
18: 66 sc
19: (9 sc, dec) x6 (60)
20: (8 sc, dec) x6 (54)
21: (7 sc, dec) x6 (48)
22-23: 48 sc (2 rounds)
24: (6 sc, dec) x6 (42)
25-26: 42 sc (2 rounds)
27: (5 sc, dec) x6 (36)
28: 36 sc
29: (4 sc, dec) x6 (30)
30: 30 sc
The body is finished. Fasten off and hide the tail.
Head:
Using white yarn.
Stuff the piece as you go.
1: 6 sc in MR
2: (inc) x6 (12)
3: (sc, inc) x6 (18)
4: (2 sc, inc) x6 (24)
5: (3 sc, inc) x6 (30)
6: (4 sc, inc) x6 (36)
7: 36 sc
8: (5 sc, inc) x6 (42)
9-12: 42 sc (4 rounds)
13: (6 sc, inc) x6 (48)
14: 48 sc
15: (7 sc, inc) x6 (54)
16: (8 sc, inc) x6 (60)
17: (9 sc, inc) x6 (66)
18-23: 66 sc (6 rounds)
24: (9 sc, dec) x6 (60)
25: 60 sc
26: (8 sc, dec) x6 (54)
27: (7 sc, dec) x6 (48)
28: (6 sc, dec) x6 (42)
29: (5 sc, dec) x6 (36)
30: (4 sc, dec) x6 (30)
31: (3 sc, dec) x6 (24)
32: (2 sc, dec) x6 (18)
33: (sc, dec) x6 (12)
Fasten off and cut the yarn. The head is ready!
Arms (make 2):
Start with gray yarn.
1: 6 sc in MR
2: (inc) x6 (12)
3: (sc, inc) x6 (18)
4: (2 sc, inc) x6 (24)
5: 24 sc in back loops only.
6-7: 24 sc (2 rounds)
8: (2 sc, dec) x6 (18)
Change to white yarn.
9: (4 sc, dec) x3 (15)
10-21: 15 sc (12 rounds)
22: (3 sc, dec) x3 (12)
23-28: 12 sc (6 rounds)
Fold the piece in half and crochet 5 sc through both layers. Fasten off and hide the tail.
Ears (make 2):
1: 6 sc in MR
2: 6 sc
3: (sc, inc) x3 (9)
4: 9 sc
5: (2 sc, inc) x3 (12)
6: 12 sc
7: (3 sc, inc) x3 (15)
8: 15 sc
9: (4 sc, inc) x3 (18)
10-13: 18 sc (4 rounds)
14: (sc, dec) x6 (12)
Fold the piece in half and crochet 5 sc through both layers.
Muzzle:
Ch 7, crochet starting from the 2nd chain from the hook.
1: inc, 4 sc, 3 sc in the last chain, 4 sc on the other side of the chain, inc (15)
2: (inc) x2, 4 sc, (inc) x3, 5 sc, inc (21)
3: (sc, inc) x2, 4 sc, (sc, inc) x3, 6 sc, inc (27)
4: (2 sc, inc) x2, 4 sc, (2 sc, inc) x3, 7 sc, inc (33)
5: 33 sc
6: (3 sc, inc) x2, 4 sc, (3 sc, inc) x3, 8 sc, inc (39)
6-7: 39 sc
Fasten off and hide the tail.
Mane: (make two pieces: one black and one white)
Crochet a chain of 41 ch (30 ch for the BASE CHAIN, 11 ch for the first curl).
Crochet the first curl: Starting from the 2nd chain from the hook, make 2 sc in each chain, repeat 10 times.
Then make 2 sc in the BASE CHAIN. Then crochet 11 ch and return back making 2 sc in each chain (second curl).
Make 10 such curls.
Then make 5 more curls, but with 8 ch as the base (they will be shorter).
Fasten off, cut the yarn, and hide the tails.
Crochet the second piece in the same way but with the other color. Then put them together and sew them.
Polka Dots: (I made 23 polka dots)
1: 6 sc in MR
2: (inc) x6 (12)
3: (sc, inc) x6 (18)
Fasten off and hide the tail.
Assembly and Finishing:
I first pin all the pieces with pins, if everything fits, then sew them. You can do it as you prefer, as you are used to.
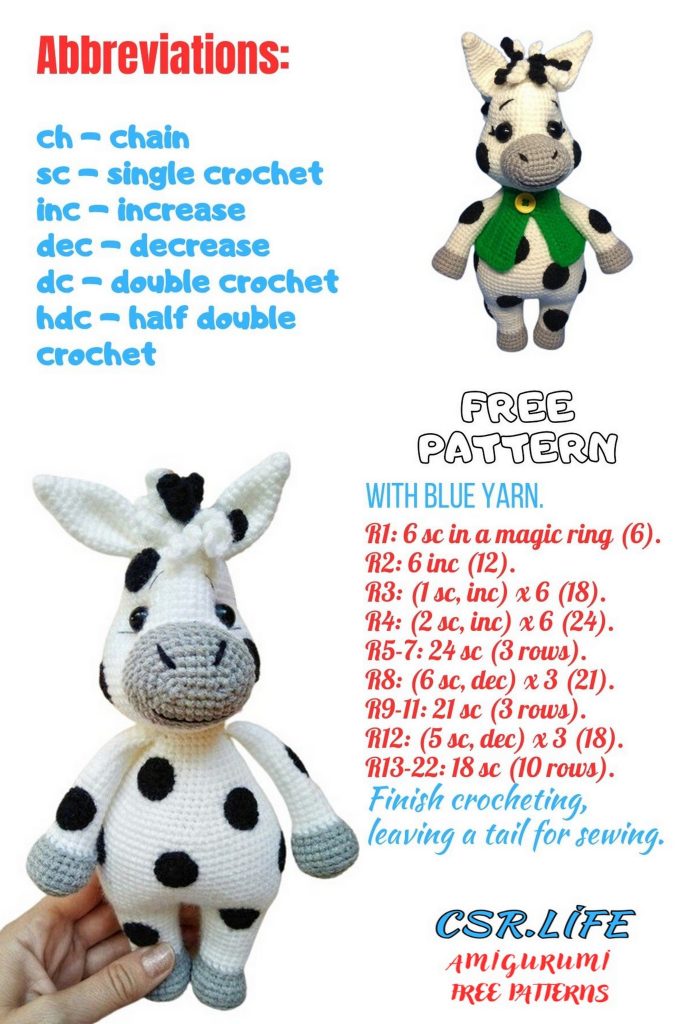
The wide part of the head is the cheeks, and the narrow part is the top of the head.
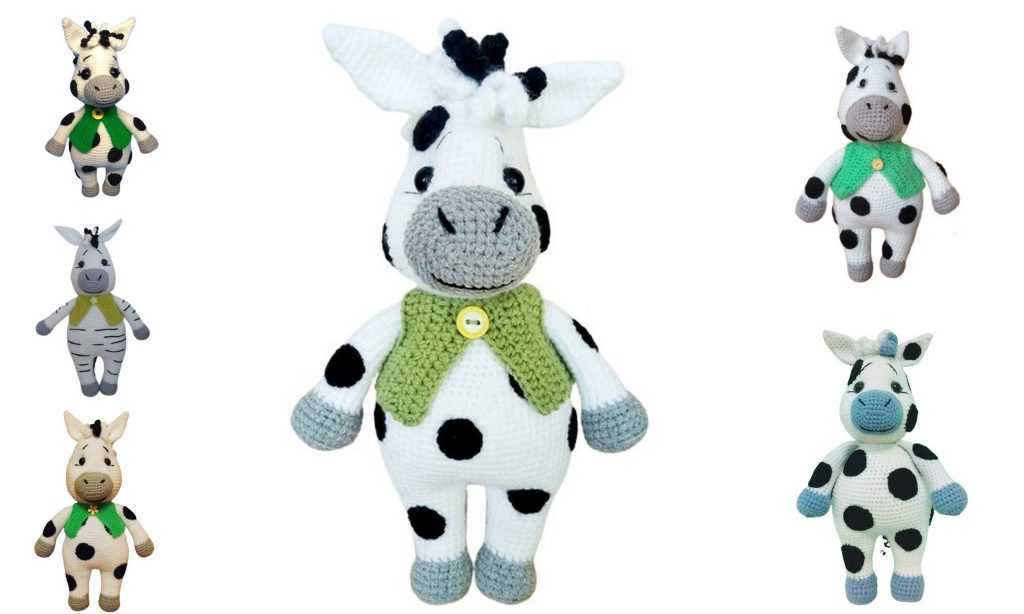
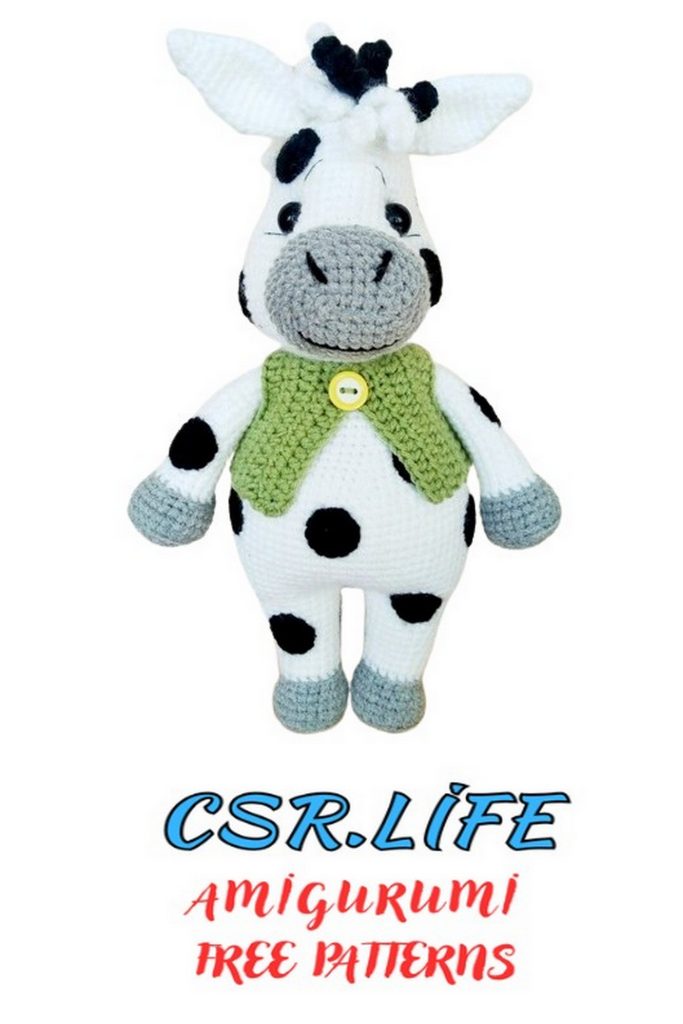
Referencing the photo, sew the muzzle, stuffing it as you go. Embroider the nostrils and mouth.
Sew the ears on the 4th round from the top of the head.
Sew the mane between the ears.
Calculate the eye indentations: Move up 2-3 rounds from the muzzle – this is the height where the eyes will be placed, and the distance between the eyes is the width of the muzzle. Insert the needle from one point to another and make the indentations.
Then sew or glue the eyes, you can embroider eyelashes and eyebrows.
Sew the upper arms on the penultimate round of the body.
Sew the head to the body.
Finally, sew the polka dots. I also pin them first. You can make more or fewer as you like.
Tail:
Cut 3 strands of black yarn approximately 25 cm each, pull through a sc where the tail will be, and braid. Knot the ends. Trim the excess, leaving a small tassel.
Vest:
1: Chain 15. Starting from the 3rd ch from the hook, 13 hdc, turn
2-5: Ch 2, 13 hdc, turn
6: Ch 2, 5 hdc, turn
7-9: Ch 2, 5 hdc, turn
10: Ch 2, 5 hdc, 10 ch, turn
11: Starting from the 3rd ch from the hook, 13 hdc, turn
12-21: 13 hdc, turn
22: Ch 2, 5 hdc, turn
23-25: Ch 2, 5 hdc, turn
26: Ch 2, 5 hdc, 10 ch, turn
27: Starting from the 3rd ch from the hook, 13 hdc, turn
28-30: Ch 2, 13 hdc, turn
31: Ch 2, hdc, ch, skip 1 stitch, 11 hdc.
Finish crocheting. Cut the yarn and hide the tails. Sew the shoulders (a few stitches). Sew on the button. The vest is ready.

